How to Hook Up a Solar Pump to Your Well in 5 Easy Steps
To hook up a solar pump to your well, start by choosing the right pump based on your well’s depth and water needs. Picking the correct solar pump is super important because it ensures you get the right flow rate and pressure for your specific setup.
Next, prepare the well by cleaning it thoroughly and checking for any damage or debris that might cause problems later on. You want everything to be clear and ready before installation.
Then, install your solar panels in a sunny spot where they’ll get maximum sunlight throughout the day. Make sure to securely mount and wire them properly to avoid any issues with power supply.
After that, connect and configure the pump with tight, weatherproof connections. This step keeps your system safe from the elements and running smoothly.
Finally, test the system to guarantee it runs efficiently and meets your water demand. Once everything is working, you can enjoy your sustainable water supply.
Keep going to uncover tips on optimizing and maintaining your setup.
Key Takeaways
- Choose a solar pump that matches your well depth, water demand, and solar panel capacity. This step is key to making sure everything works smoothly.
- Next, clean and inspect the well. You want to be sure the water levels are steady and the casing is intact.
- Then, securely mount your solar panels in a sunny, south-facing spot. Make sure they’re at the right angle and the wiring is properly set up.
- After that, connect the pump to the solar system. Use tight, weatherproof connections and configure the controls to suit your setup.
- Finally, test the pump during peak sunlight. Keep an eye on the flow and pressure, and adjust as needed for the best performance.
Choose the Right Solar Pump for Your Well
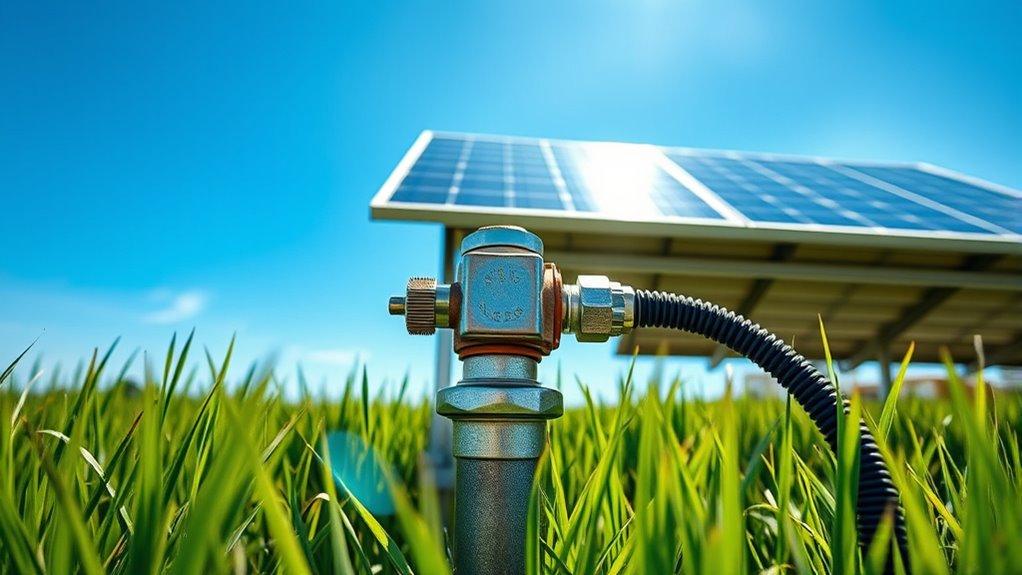
How do you know which solar pump suits your well best? Start by evaluating your well’s depth and water needs. Shallow wells require surface pumps, while deeper wells need submersible pumps designed to handle greater depths.
Next, consider the daily water demand—calculate how many gallons you’ll need to pump each day. This helps determine the pump’s flow rate and power requirements. Solar pumps vary in wattage, so match the pump’s power with your available solar panel output.
Also, check the pump’s voltage compatibility with your solar system. Finally, look at the pump’s durability and maintenance needs to ensure it fits your environment and skill level. Choosing the right pump upfront saves you time, money, and frustration later on.
Prepare Your Well for Installation
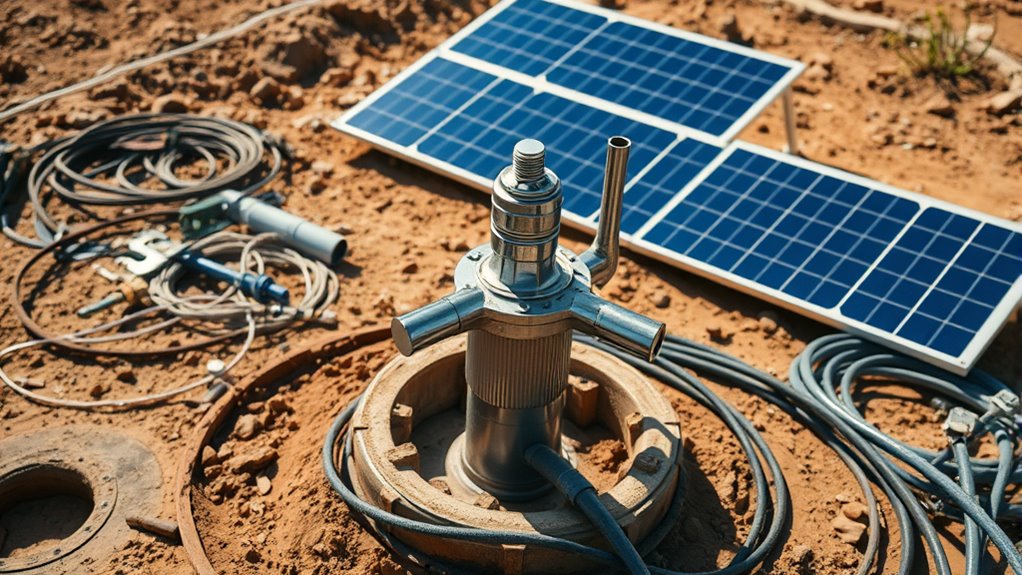
Before you install your solar pump, you’ll want to thoroughly clean and inspect your well to make sure it’s free of debris and functioning properly. Remove any dirt, sediment, or obstructions that could clog the pump or reduce water flow.
Thoroughly clean and inspect your well to ensure debris-free, optimal pump performance before installation.
Check the well casing and seals for cracks or damage, as these could cause leaks or contamination. Confirm that the water level is steady and deep enough to support your chosen pump.
Also, verify the well’s electrical wiring and controls are in good condition if applicable. Taking these steps helps avoid issues after installation and ensures your solar pump operates efficiently.
Proper preparation saves you time and prevents costly repairs down the line. It really sets a solid foundation for your solar water system.
Install Your Solar Panel System
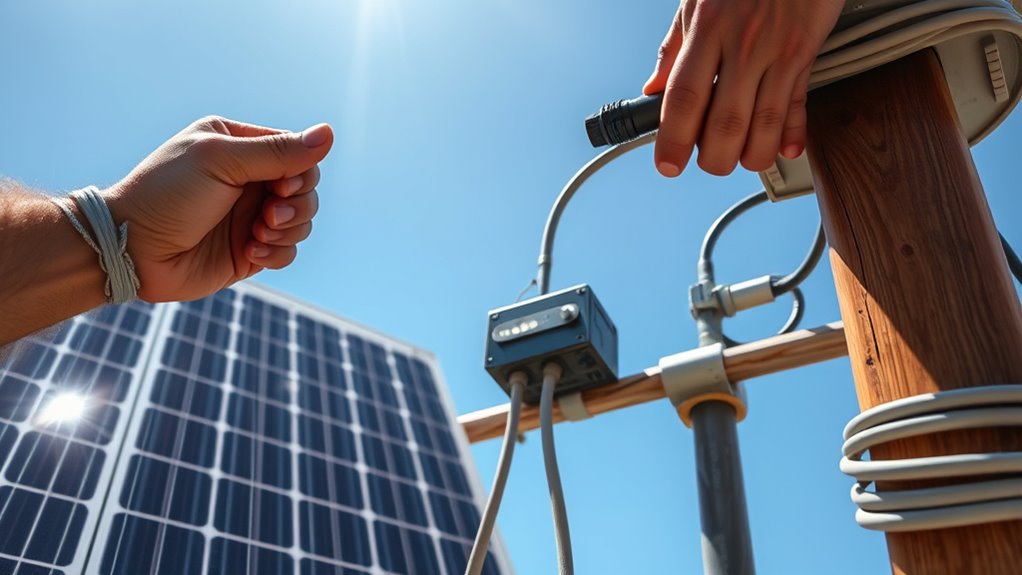
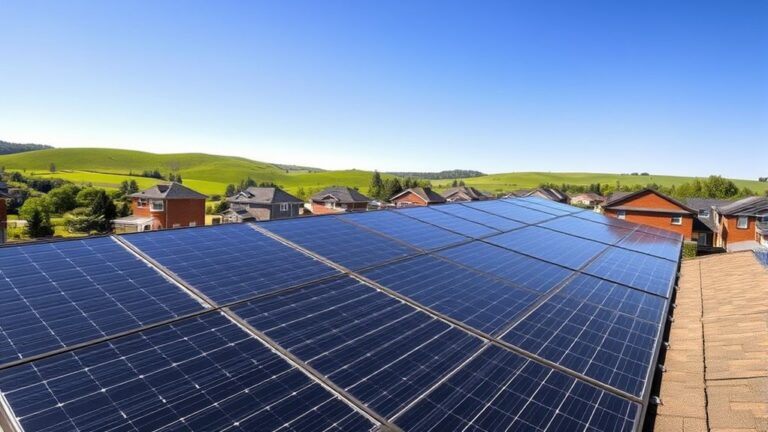
Where should you position your solar panels for the best performance? Ideally, place them where they can soak up sunlight all day without obstructions.
To install your solar panel system effectively, follow these steps:
- Choose a Sunny Spot: Pick a location with maximum sun exposure. Usually, that’s a south-facing roof or an open ground area.
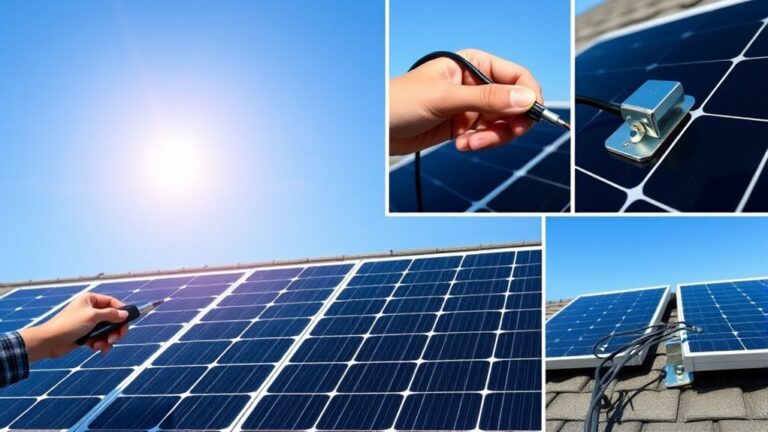
- Mount the Panels Securely: Use sturdy racks or brackets to fix the panels firmly. Make sure they’re angled correctly to capture sunlight year-round.
- Run Wiring Safely: Route wires from the panels to your control box or battery carefully. This helps avoid damage and keeps voltage loss to a minimum.
Connect and Configure the Solar Pump
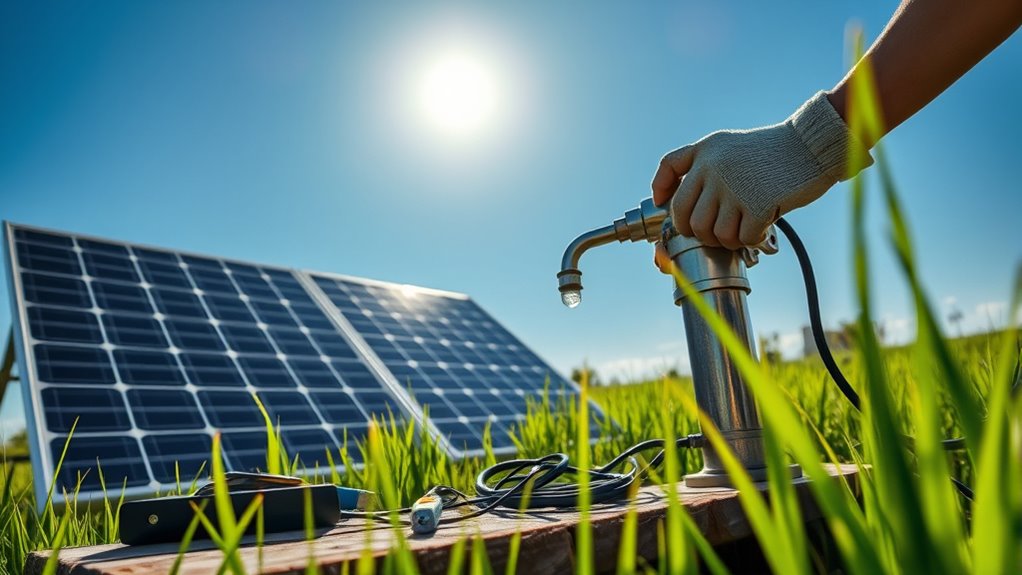
With your solar panels securely in place and wired, the next step is to connect your solar pump to the system. Begin by attaching the pump’s power cables to the charge controller or directly to the solar panel output, depending on your setup. Make certain the connections are tight and weatherproof to avoid corrosion.
Next, install the pump on your wellhead, securing it firmly and making sure the intake is properly submerged. Configure the pump controller by setting the voltage and current limits according to the manufacturer’s guidelines. This will help protect your pump from electrical damage and keep things running efficiently.
Finally, connect any necessary sensors or float switches that prevent dry running. Once everything is connected and configured, your solar pump will be ready to go. It’s pretty straightforward once you get the hang of it!
Test and Optimize Your Solar Pump
Once you’ve connected and configured your solar pump, you’ll need to test its operation to assure everything runs smoothly. Start by running the pump during peak sunlight to observe its performance.
Next, monitor these key factors:
- Flow Rate: Check if the pump delivers the expected water volume. Adjust settings if the flow is too low or too high.
- Pressure: Ensure the system maintains adequate pressure to meet your water needs without stressing the pump.
- Power Consumption: Compare the power draw against your solar panel capacity to avoid underperformance or overload.
Frequently Asked Questions
How Do Solar Pumps Compare to Traditional Electric Pumps in Cost?
You’ll find solar pumps cost more upfront due to panels and equipment but save you money long-term with no electricity bills.
Traditional pumps cost less initially but add ongoing energy expenses, making solar more economical over time.
What Maintenance Is Required for Solar Pumps During Winter Months?
You might think winter maintenance is tricky, but it’s simple: drain the system to prevent freezing, cover solar panels to avoid snow buildup, and check wiring for damage.
These steps keep your pump running smoothly year-round. Just a little care goes a long way!
Can Solar Pumps Operate During Extended Cloudy Weather?
Solar pumps can operate during extended cloudy weather, but their performance drops since they rely on sunlight. You might experience reduced water flow, so it’s smart to have a backup power source or storage system to guarantee consistent pumping.
It’s always a good idea to plan for those less sunny days. That way, you won’t be caught off guard if the pump slows down or stops working temporarily.
Are There Any Government Incentives for Installing Solar Well Pumps?
Imagine sunlight fueling your well while saving you money—yes, you can get government incentives like tax credits and rebates for installing solar well pumps.
Check federal, state, and local programs to maximize your savings and benefits.
It’s definitely worth looking into because these incentives can really help cut down the upfront costs.
Plus, going solar is good for the environment and your wallet in the long run!
How Do I Troubleshoot Common Solar Pump Performance Issues?
You should check for blockages and inspect wiring connections. Make sure the solar panels get enough sunlight during the day.
Also, verify the pump’s pressure settings. Don’t forget to clean or replace filters regularly to keep your solar pump performing efficiently.
Conclusion
Think of hooking up your solar pump like planting a tree—each step you take is a root that anchors your success. Choosing the right pump is the seed, preparing your well the soil, installing solar panels the sunlight.
Connecting the pump is the water, and testing the final growth ensures everything is working smoothly. With patience and care, your solar pump will flourish.
It’ll provide clean, sustainable water just like a tree that stands strong through every season. You’ve got this! By following these easy steps, you’re not only setting up a solar pump for your well but also investing in an eco-friendly, cost-effective water solution that lasts.