
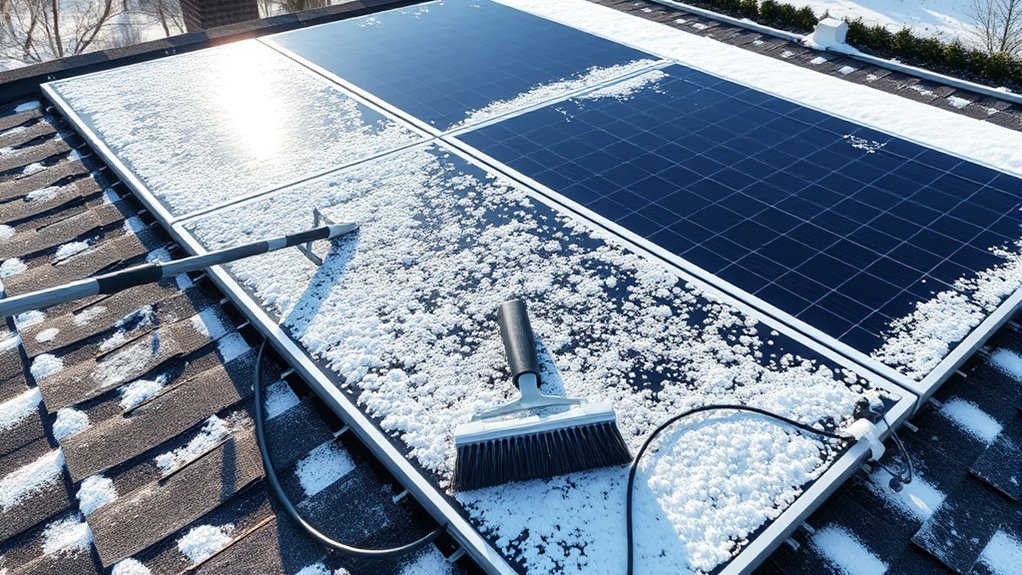
3 Simple Ways to Keep Snow Off Solar Panels
You can keep snow off your solar panels by using gentle tools like soft-bristled brushes or foam-edged rakes. These help clear snow without causing any damage to your panels.
Another effective way is installing snow guards or heating elements. They either block large snow slides or melt snow gradually, preventing heavy buildup.
Also, adjusting your panel tilt between 30 to 45 degrees encourages snow to slide off naturally. This simple angle change can make a big difference in keeping your panels clear.
By following these easy steps, you protect your solar panels and boost their winter efficiency. There’s actually more to learn if you want to optimize your system’s performance throughout the colder months.
Key Takeaways
- Use soft-bristled brushes or foam-edged roof rakes to gently remove snow without damaging panels. These tools help keep your panels safe while clearing the snow away.
- Install snow guards to prevent large snow slides and allow gradual melting. This way, you avoid sudden heavy snowfalls that could cause damage.
- Incorporate heating elements beneath panels to melt snow on contact effectively. It’s a smart way to keep your panels clear without any manual work.
- Tilt panels between 30 to 45 degrees to encourage natural snow sliding. This angle helps snow slide off more easily.
- Adjust panel angles seasonally to optimize snow shedding and maintain efficiency. Changing the angle with the seasons keeps your panels working their best all year round.
Clear Snow Safely From Solar Panels With Specialized Tools
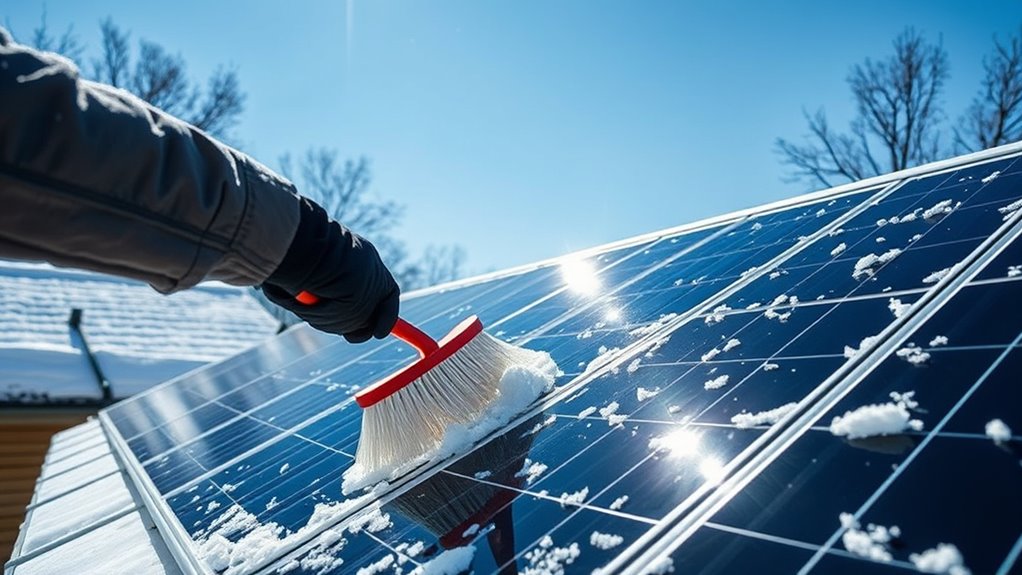
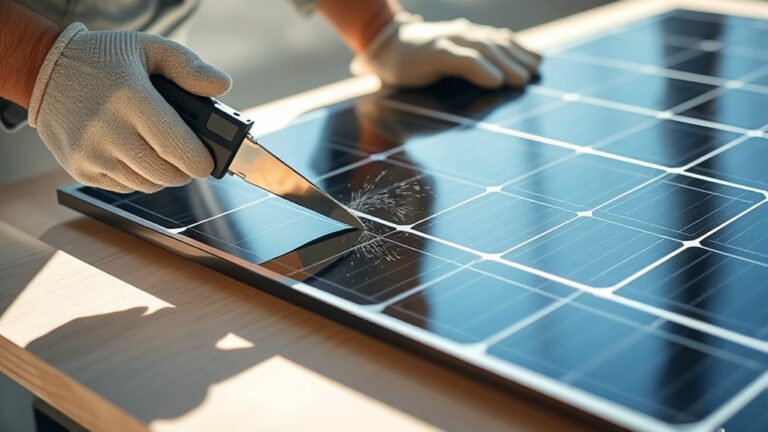
Although it might be tempting to use a regular shovel or broom, you should clear snow from your solar panels with specialized tools designed to protect their delicate surfaces. Regular tools can scratch or damage the panels, reducing their efficiency and lifespan.
Instead, use a soft-bristled brush or a roof rake with a foam edge specifically made for solar panels. These tools help you remove snow gently without applying too much pressure.
Always work from the ground or a stable ladder to avoid accidents, and avoid using metal or hard plastic tools. By choosing the right equipment, you’ll keep your solar panels in top condition and maintain their energy output all winter long.
Taking this careful approach prevents costly repairs down the line.
Prevent Snow Buildup on Solar Panels With Guards and Heating
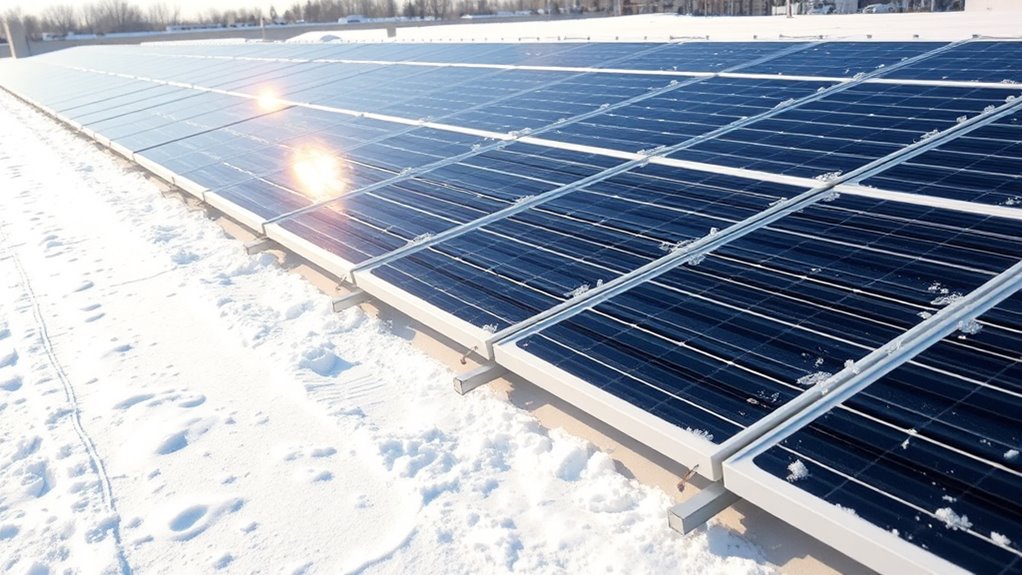
If you want to reduce how often you clear snow from your solar panels, installing guards or heating elements can help prevent buildup altogether. Snow guards act as barriers, stopping large amounts of snow from sliding off suddenly and allowing smaller amounts to melt gradually.
They keep snow from piling up too heavily, which protects your panels and roof. Alternatively, heating systems designed for solar panels gently warm the surface, melting snow as it lands. These systems can be electric heating pads or cable mats installed behind or beneath the panels.
Tilt or Install Solar Panels to Minimize Snow Accumulation
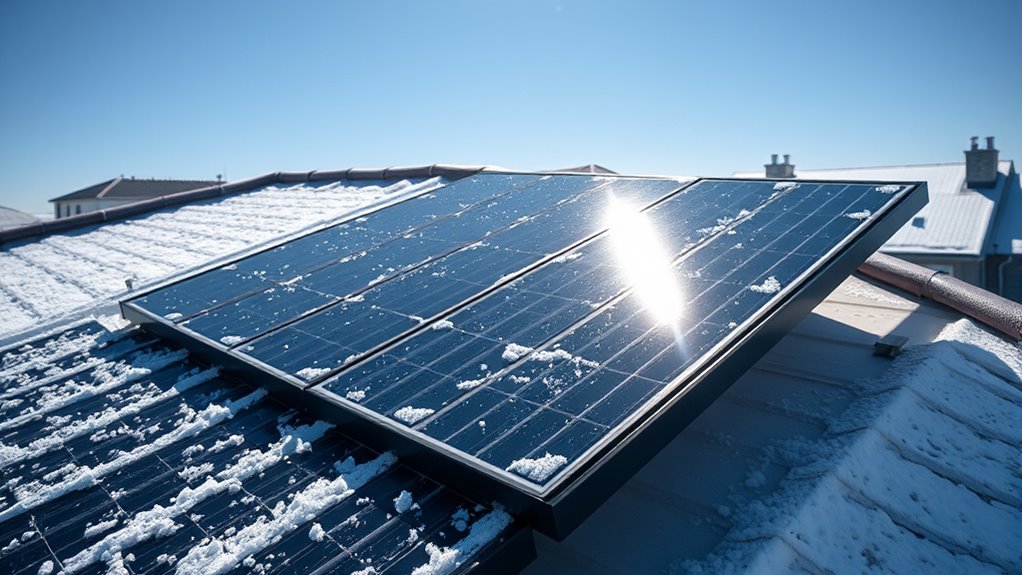
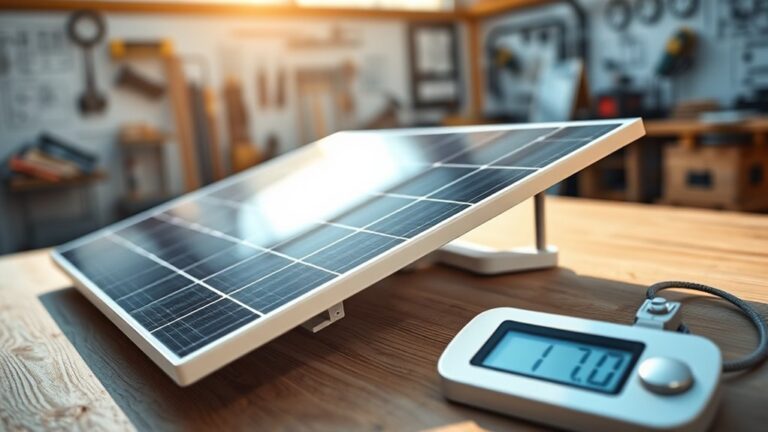
Besides using guards or heating elements, adjusting the angle of your solar panels can substantially reduce snow buildup. When you tilt or install panels at the right angle, snow slides off more easily, keeping your system efficient during winter.
Adjusting your solar panel angle helps snow slide off, maintaining efficiency throughout winter.
Here’s how to do it effectively:
- Choose a steep tilt—around 30 to 45 degrees—to encourage snow to slide off naturally.
- Face panels south (in the Northern Hemisphere) to maximize sun exposure and warmth.
- Use adjustable mounts if possible, so you can change the angle seasonally for ideal snow shedding.
- Avoid flat installations, which trap snow and reduce energy production.
Frequently Asked Questions
How Does Snow Affect the Efficiency of Solar Panels?
Snow blocks sunlight, so your solar panels won’t produce much electricity when covered. You’ll see a significant drop in efficiency until the snow melts or you clear it off.
Once you remove the snow, your panels quickly get back to full energy output. It’s pretty much like giving them a fresh start!
Can Snow Damage Solar Panels Permanently?
You won’t find snow sneaking off with your solar panels like a sneaky thief—no permanent damage usually happens.
Just don’t let heavy, icy snow throw a tantrum and crack them; gentle care keeps them shining bright.
Are There Specific Solar Panel Materials Better for Snowy Climates?
Yes, you’ll find that monocrystalline panels perform better in snowy climates due to higher efficiency and smoother surfaces that shed snow more easily.
Tempered glass also helps resist damage from ice and snow buildup effectively. So, if you’re dealing with lots of snow, these materials are definitely worth considering.
How Often Should Solar Panels Be Inspected in Winter?
Like clockwork, you should inspect your solar panels at least once a month during winter. This helps catch snow buildup or damage early.
Doing this ensures your system keeps working efficiently despite the cold and icy conditions outside. It’s a simple step that can save you from bigger problems later on.
Do Solar Panels Still Generate Electricity Under Snow Cover?
Yes, your solar panels still generate electricity under snow, but their output drops considerably. Snow blocks sunlight, reducing efficiency.
You’ll want to clear heavy snow to maximize power, especially during shorter winter days. It really helps keep things running smoothly.
Conclusion
Think of your solar panels as a window to the sun—when snow covers it, the light gets trapped and the energy slows. By clearing snow safely with the right tools, adding guards or heating, and tilting your panels just right, you’re letting the sun’s power flow freely again.
Taking these simple steps means you’re not just fighting snow—you’re keeping your connection to clean, bright energy alive all winter long.
By keeping snow off your solar panels, you ensure they work efficiently during the cold months. Using proper snow removal methods, installing snow guards, or adding heating elements helps maintain optimal solar energy production. Plus, tilting your panels at the right angle naturally prevents snow buildup.
These easy strategies protect your investment and maximize the benefits of solar energy even in snowy weather. Staying proactive with snow management means your solar panels keep soaking up the sun’s power, providing continuous clean energy all season.
One Comment