How Can You Charge Solar Lights Indoors Step by Step?
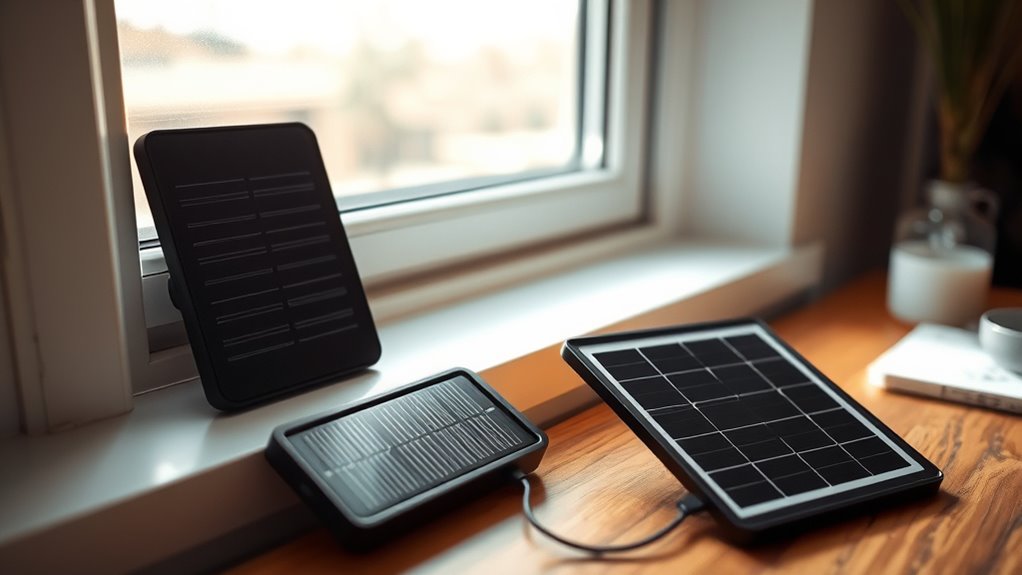
You can charge your solar lights indoors by placing them near a south-facing window where they’ll get the most sunlight. This helps maximize the natural light exposure your solar panels need to convert into energy.
Keep the panels clean and free of dust, so nothing blocks the light from reaching them.
Avoid shaded areas or curtains that might block the sunlight. If natural light isn’t enough, don’t worry! You can use LED grow lights or other bright artificial lights to boost charging.
Just keep in mind, charging indoors usually takes longer than outside—typically about 8 to 12 hours.
Keep going to discover tips for better setup and maintenance to get the most out of your solar lights indoors. With a few simple steps, you can keep your solar lights shining bright no matter where you place them!
Key Takeaways
- Place solar lights near a south-facing window to maximize exposure to natural sunlight indoors. This spot usually gets the most light during the day, which helps your lights charge better.
- Clean solar panels regularly to ensure dust doesn’t block light absorption. A quick wipe every now and then makes a big difference.
- Use LED grow lights or a portable solar charger for supplemental indoor lighting. These can give your solar lights a little extra boost when natural light isn’t enough.
- Avoid shaded areas, curtains, or obstructions that reduce light reaching the solar panel. Even a small shadow can slow down the charging process.
- Charge for 8-12 hours indoors, monitoring progress with a power meter if available. This way, you’ll know when your lights are ready to shine again.
Can You Charge Solar Lights Indoors?
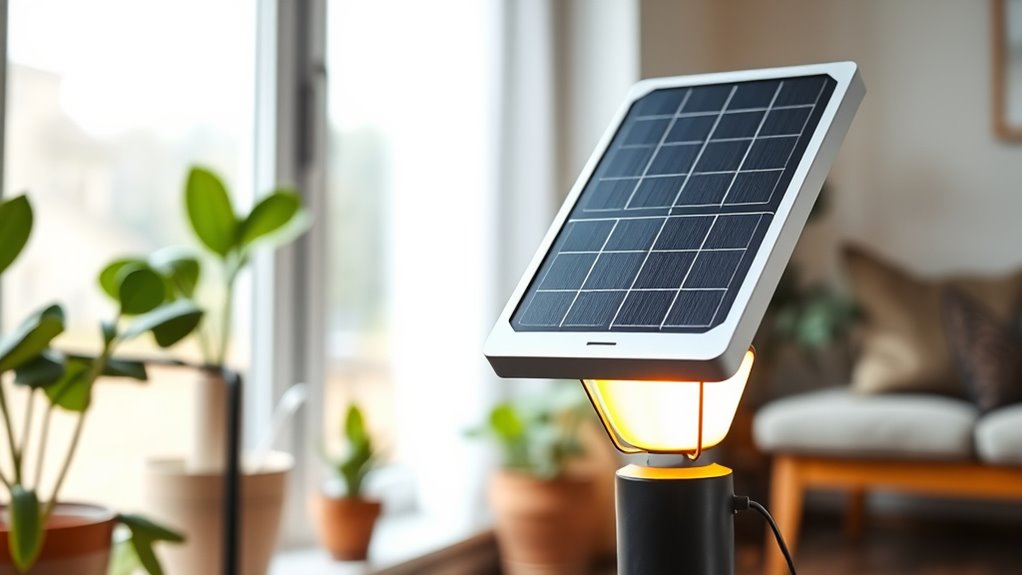
Yes, you can charge solar lights indoors, but the process isn’t as effective as charging them under direct sunlight. When you place your solar lights near a window or under bright indoor lighting, they’ll still absorb some energy, but it’s much weaker than natural sunlight.
You shouldn’t expect your solar lights to reach full charge quickly or even fully indoors. To improve charging, put them where they get the most light possible, like a south-facing window.
Keep in mind, the type of light indoors matters too—LED and fluorescent lights provide limited energy for solar panels. While indoor charging can keep your solar lights working in a pinch, relying on it long-term won’t give you consistent or top performance.
How Solar Lights Charge: And Why Indoor Charging Differs
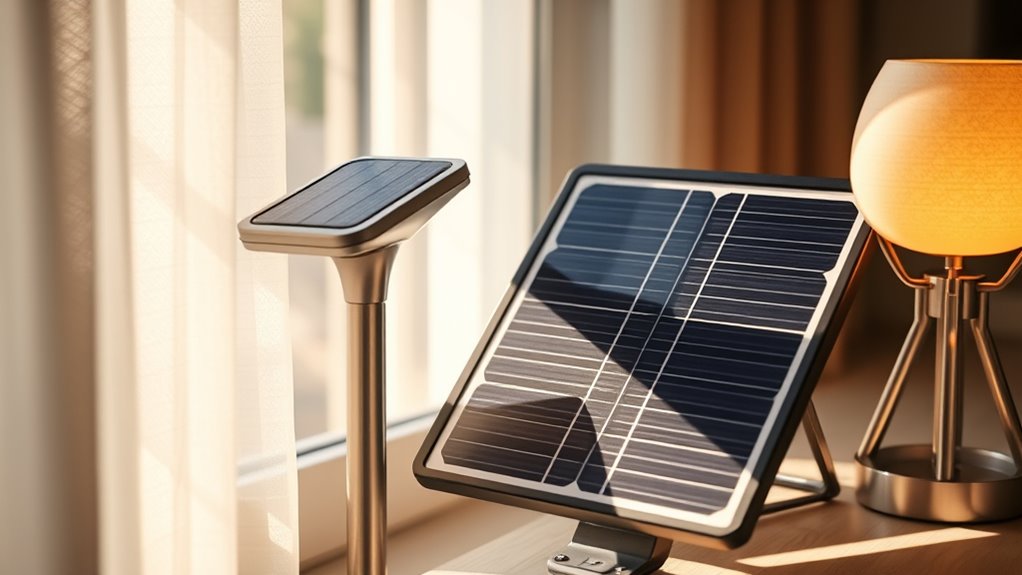
Although solar lights rely on sunlight to charge efficiently, understanding how their solar panels convert light into energy can help explain why indoor charging falls short.
Solar panels contain photovoltaic cells that absorb sunlight and transform it into electrical energy stored in batteries. When you place solar lights outdoors, they get direct exposure to the sun’s full spectrum and intensity, maximizing energy conversion.
Indoors, the light is often weaker and lacks the full spectrum needed for ideal charging. Artificial indoor lighting is usually dimmer and doesn’t emit enough infrared or ultraviolet light, which photovoltaic cells depend on.
Essential Equipment for Charging Solar Lights Indoors
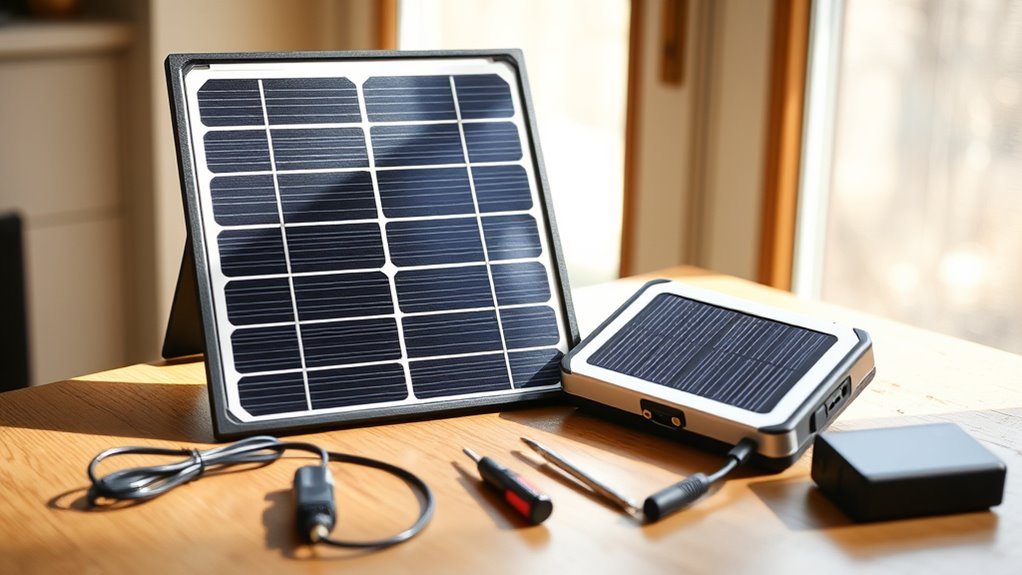
When you want to charge solar lights indoors effectively, having the right equipment makes all the difference. First, you need a solar charger or a portable solar panel with enough wattage to capture light indoors.
LED grow lights are another vital tool—they emit the specific light spectrum solar cells need to charge efficiently. A reliable power meter helps you keep an eye on the charging progress and makes sure your setup works just right.
Also, using a USB solar charger adapter can make it easier to connect your lights if they support USB input. Don’t forget a stable stand or mount to keep your gear steady during charging sessions.
Investing in these essentials means your solar lights will charge safely and efficiently indoors, even without direct sunlight. It’s all about making the most of what you’ve got inside!
Positioning Solar Lights for Maximum Indoor Charging
To maximize indoor charging, you’ll want to place your solar lights where they can absorb the most available light. Position them near windows that receive direct sunlight during the day.
Keep the solar panel clean and free of dust to guarantee ideal light absorption. Avoid placing the lights behind curtains or in shaded corners, as this reduces their charging efficiency.
Consider these tips for the best placement:
- South-facing windows: Capture the most sunlight throughout the day.
- Elevated surfaces: Reduce obstructions that block light reaching the panels.
- Away from artificial lights: These can confuse the sensors and reduce charging effectiveness.
How Long to Charge Solar Lights Indoors and Using Alternative Light Sources
Finding the best spot near a window is just the start of charging your solar lights indoors. You’ll typically need 6 to 8 hours of direct sunlight or its equivalent from alternative light sources for a full charge.
If natural light is limited, you can use LED grow lights or strong desk lamps as substitutes. Keep in mind, the charging time varies by light intensity and battery capacity.
| Light Source | Approximate Charging Time | Notes |
|---|---|---|
| Direct Sunlight | 6-8 hours | Most efficient |
| LED Grow Light | 8-12 hours | Good alternative |
| Fluorescent Lamp | 10-14 hours | Less efficient |
| Incandescent Bulb | 12-16 hours | Least efficient, more heat |
| Overcast Window | 10-12 hours | Depends on brightness |
Adjust times based on your specific environment for best results. It’s a bit of trial and error, but you’ll get the hang of it!
Maintaining and Testing Solar Lights After Indoor Charging
Although charging solar lights indoors can be convenient, you’ll want to regularly maintain and test them to guarantee they work properly. After indoor charging, check the battery and solar panel condition to maximize performance.
Charging solar lights indoors is convenient, but regular maintenance ensures they perform at their best.
Clean the solar panel gently to remove dust or smudges that reduce light absorption. Test the lights in a dark area to confirm they turn on and stay lit as expected.
To maintain and test your solar lights effectively:
- Inspect and clean the solar panel and battery contacts.
- Verify the battery charge level and replace batteries if necessary.
- Test the light function in a dark environment to ensure proper operation.
Following these steps will help you get the most out of your indoor-charged solar lights. It’s a simple routine that really makes a difference!
Frequently Asked Questions
Can Solar Lights Be Used During Power Outages?
Yes, you can use solar lights during power outages since they run on stored solar energy.
Just make sure they’re fully charged beforehand, so they’ll provide reliable light when the electricity goes out unexpectedly.
It’s pretty handy to have them ready, especially when you never know when the power might cut out.
Are Solar Light Batteries Replaceable?
Like a knight swapping armor for battle, you can replace solar light batteries.
Don’t worry, you’ll just open the casing, remove the old battery, and slide in a new one.
That way, your light keeps shining bright without missing a beat.
Do Solar Lights Work in Winter?
Yes, your solar lights can work in winter, but they’ll charge slower due to shorter days and weaker sunlight.
Make sure to place them where they get the most sun, and clean panels regularly for best performance.
It’s all about giving them the best chance to soak up those rays, even when the days aren’t as long.
How Do Weather Conditions Affect Solar Lights?
Weather conditions affect your solar lights by reducing sunlight exposure during cloudy, rainy, or snowy days. This cuts charging efficiency, so your lights might not get fully charged.
Cold temperatures can also lower battery performance. So, your lights might not last as long in harsh weather. It’s just how the weather impacts them!
Can Solar Lights Be Recycled?
Think of solar lights like old phones—you can recycle them!
You’ll want to take them to an e-waste center since their batteries and electronics need special handling. This helps keep harmful materials from polluting the environment.
Conclusion
Charging your solar lights indoors is like nurturing a seed in winter—though sunlight is scarce, with the right care and patience, growth still happens. By positioning your lights near windows or using alternative light sources, you’re giving them a chance to recharge and shine again.
Remember, even in the dimmest moments, a little light goes a long way. Keep nurturing, and your solar lights will brighten your space just like the sun outside.
When you charge solar lights indoors, make sure to place them where they can absorb as much natural light as possible, like near a sunny window. If natural light is limited, consider using artificial light sources such as LED or fluorescent bulbs to help recharge the batteries.
With a bit of patience and the right setup, charging solar lights indoors effectively is totally doable. This way, your solar lights can keep glowing and adding warmth to your home, even when outdoor sunlight isn’t available.