10 Steps to Connect Solar Panels in Series
To connect solar panels in series, first choose panels with matching voltages and compatible specs. This ensures your system works efficiently and safely. Gather your tools and safety gear like insulated gloves and a multimeter before starting the job.
Inspect the panels carefully for any damage and identify the positive and negative terminals clearly. Next, connect the positive terminal of one panel to the negative terminal of the next. This series connection increases the total voltage output of your solar array.
Use a multimeter to measure the total voltage and make sure everything is connected properly. Then, connect the series to your charge controller or battery to start collecting energy.
Regular testing and maintenance keep your system running smoothly. Take time to explore each step in detail, and soon you’ll master connecting solar panels in series like a pro.
Key Takeaways
- Verify all solar panels have matching voltage and current ratings to ensure compatibility before connecting in series. This step is super important to avoid any issues later on.
- Identify and correctly mark positive and negative terminals on each panel to maintain proper polarity in the series connection. Getting this right keeps everything working smoothly.
- Connect the positive terminal of one panel to the negative terminal of the next panel, forming a series string. It’s like linking them one after another to boost the voltage.
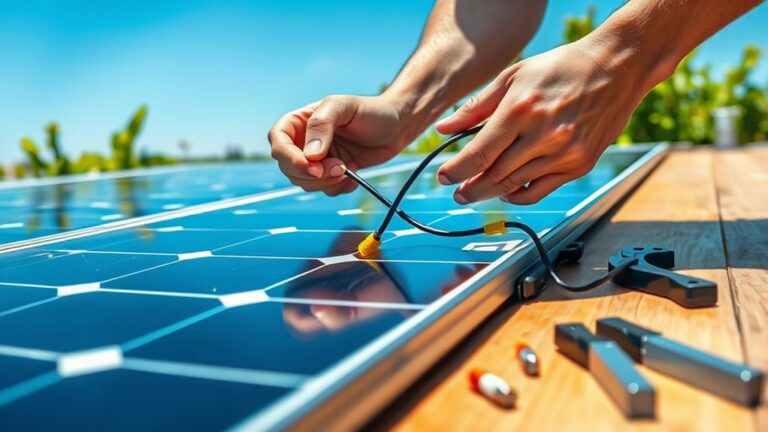
- Use appropriate solar-rated connectors like MC4 to secure and weatherproof each connection in the series. These connectors keep your setup safe from the elements.
- Measure total voltage with a multimeter across the series string to confirm the combined voltage output matches expected values. This way, you know everything’s wired up correctly and ready to go.
Choose The Right Solar Panels For Series Connection
When choosing solar panels for a series connection, you’ll want to pick panels with matching voltage ratings to guarantee consistent performance. If one panel has a lower voltage, it will limit the overall system voltage, reducing efficiency.
Also, verify the panels have compatible current ratings because in a series setup, the current stays the same throughout. Mixing panels with different current capacities can cause power loss or damage.
Check the panel’s specifications for voltage at maximum power (Vmp) and current at maximum power (Imp) to confirm they align. Matching panel types and sizes helps maintain uniform output and prolong system life.
Gather Tools And Safety Gear For Series Solar Panels
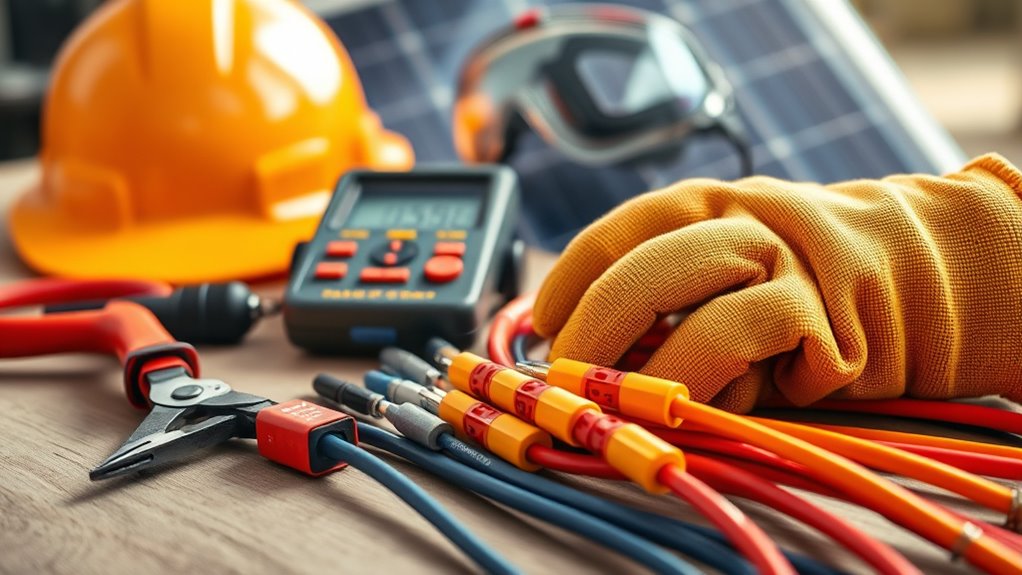
Before you start connecting your solar panels in series, make sure you have all the necessary tools and safety gear on hand. You’ll need a multimeter to check voltage later, insulated screwdrivers, wire strippers, and a wrench set for tightening connections.
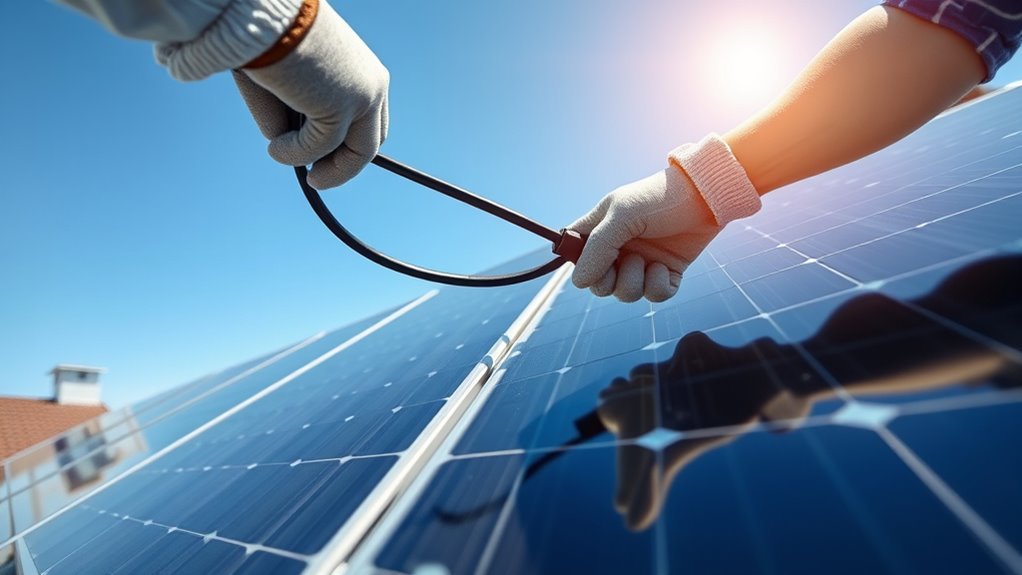
Use appropriately rated cables and connectors designed for solar systems to guarantee secure and reliable wiring. Safety gear is vital—wear insulated gloves to protect against electric shock and safety goggles to shield your eyes from sparks or debris.
Always use proper solar-rated cables and wear insulated gloves and safety goggles for secure, safe wiring.
A sturdy ladder and non-slip shoes are necessary if you’re working on a roof. Finally, have a fire extinguisher nearby just in case.
Being well-prepared with the right tools and safety equipment helps you work efficiently and reduces the risk of accidents during your solar panel installation. It’s always better to be safe than sorry!
Inspect Panels And Verify Voltage Compatibility
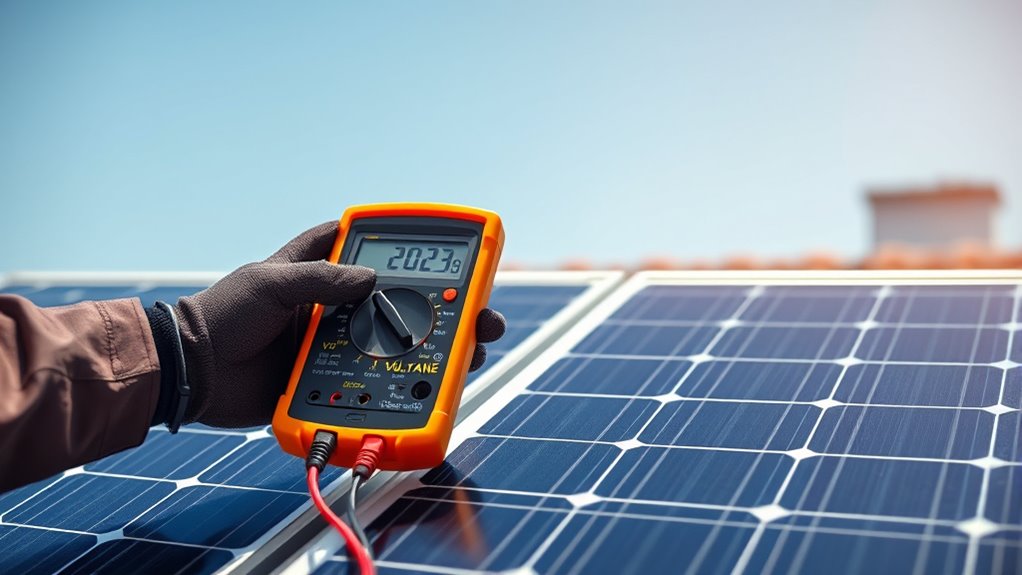
How do you guarantee your solar panels will work together smoothly in a series connection? Start by carefully inspecting each panel for any visible damage, such as cracks, corrosion, or loose wiring. Damaged panels can cause voltage drops or failure in the entire string.
Next, verify that all panels have compatible voltage ratings. Since connecting in series adds voltages, mismatched panels can lead to uneven performance or even damage your system. Check the open-circuit voltage (Voc) and maximum power voltage (Vmp) on each panel’s datasheet or label.
Make sure these values are close across all panels to maintain consistent output. Taking these steps prevents issues, helping your series connection generate reliable, efficient power without unexpected setbacks.
Find The Positive And Negative Terminals
Locating the positive and negative terminals on each solar panel is essential for a proper series connection. You’ll usually find these terminals labeled with a “+” for positive and a “−” for negative, often near the junction box on the back of the panel.
Identifying them correctly guarantees you maintain the correct electrical flow and avoid damage to your system. It’s pretty straightforward once you know what to look for.
Here’s a quick reference to help you spot the terminals:
| Terminal Type | Identification Tips |
|---|---|
| Positive (+) | Marked with “+” symbol |
| Negative (−) | Marked with “−” symbol |
| Color Coding | Red wire usually positive |
| Color Coding | Black wire usually negative |
Always double-check the markings before proceeding to the next step. It’s better to be safe than sorry!
Connect Positive To Negative Terminals
Now that you’ve identified the positive and negative terminals, it’s time to connect them carefully. Make sure each connection is secure to prevent any power loss or damage.
Properly linking positive to negative terminals also helps avoid reverse current. This keeps your system safe and efficient.
Identifying Terminal Polarity
Before you begin connecting your solar panels, you’ll need to identify the terminal polarity to guarantee a proper series connection. Each solar panel has a positive (+) and a negative (-) terminal, usually marked on the back or near the junction box.
If the markings aren’t clear, use a multimeter. Set it to measure voltage, and under sunlight, the positive lead will show a higher voltage reading on the positive terminal.
Connect the positive terminal of the first panel to the negative terminal of the second panel, and continue this pattern for all panels in the series. This makes certain the voltage adds up correctly without causing damage or inefficiency.
Correct polarity identification is vital to maintain system performance and avoid short circuits. So, taking the time to do it right really pays off!
Ensuring Secure Connections
Once you’ve identified the correct terminal polarity and connected the positive terminal of one panel to the negative terminal of the next, it’s important to make certain those connections are secure. Loose or poorly connected terminals can cause voltage drops, reduce system efficiency, or even create safety hazards.
Use properly sized connectors designed for solar panels and verify they fit tightly. Double-check that each connection is free of corrosion or debris, which can interfere with conductivity.
Tighten all screws or clamps firmly, but avoid over-tightening to prevent damage. After securing the connections, gently tug on the wires to confirm they won’t easily come loose.
Taking these steps helps maintain a reliable series connection, guaranteeing your solar array performs at its best and safely over time.
Preventing Reverse Current
How do you prevent damaging reverse current when connecting solar panels in series? The key is to always connect the positive terminal of one panel to the negative terminal of the next. This ensures the current flows in one direction, avoiding any harmful backflow that could damage your panels.
Double-check the polarity before making connections to avoid mistakes. Using blocking diodes can provide extra protection by allowing current to flow forward only. This prevents reverse current during low sunlight or at night.
Make sure all connections are tight and corrosion-free to maintain proper current flow. By following these steps, you’ll protect your solar setup from reverse current issues. This way, you’ll ensure efficient and safe operation over time.
Secure Series Solar Panel Connections Properly
You’ll want to make sure all terminal connections are tight to prevent power loss and potential damage. Use connector types that match your solar panels and wiring for a secure fit.
Properly securing these connections keeps your system safe and efficient. It’s a simple step that makes a big difference in the long run.
Ensure Tight Terminal Connections
Two essential factors guarantee your solar panels perform at their best: tight and secure terminal connections. Loose connections cause voltage drops and energy loss, so make sure every terminal is firmly tightened.
Use a proper screwdriver or wrench to avoid damaging terminals. Check connections regularly to prevent corrosion or loosening over time.
| Step | Action |
|---|---|
| 1. Inspect | Look for dirt or debris on terminals |
| 2. Clean | Wipe terminals with a dry cloth |
| 3. Tighten | Secure screws or bolts firmly |
| 4. Test | Gently tug wires to confirm secure |
Keeping your connections tight ensures ideal current flow and system efficiency. Don’t skip this critical step when wiring your panels in series.
Use Appropriate Connector Types
Although securing your solar panels in series is crucial, using the right connector types guarantees a reliable and safe electrical connection. You should choose connectors specifically designed for solar panels, such as MC4 connectors, which are weatherproof and lock securely.
These connectors prevent accidental disconnections and protect against moisture, which can cause corrosion or short circuits. Avoid using generic or incompatible connectors, as they may not handle the voltage and current properly.
When connecting, make sure the connectors fit snugly and engage fully to maintain a stable circuit. Don’t forget to inspect connectors regularly for wear or damage, replacing any faulty parts immediately.
Measure Total Voltage Output Of The Series Setup
Once your solar panels are connected in series, it’s essential to measure the total voltage output to guarantee the setup functions correctly. Use a digital multimeter set to the voltage (V) setting.
Connect the positive probe to the positive terminal of the first panel and the negative probe to the negative terminal of the last panel. This reading gives you the combined voltage of all panels in series.
Here’s a quick reference for measuring:
| Step | Action | Result |
|---|---|---|
| 1 | Set multimeter to DC voltage | Ready to measure |
| 2 | Connect positive probe to first panel | Positive terminal contact |
| 3 | Connect negative probe to last panel | Negative terminal contact |
| 4 | Read voltage on multimeter | Total series voltage output |
Make sure the voltage matches the sum of individual panel voltages. That way, you know everything’s hooked up right and working as it should.
Connect Your Series Setup To Charge Controller Or Battery
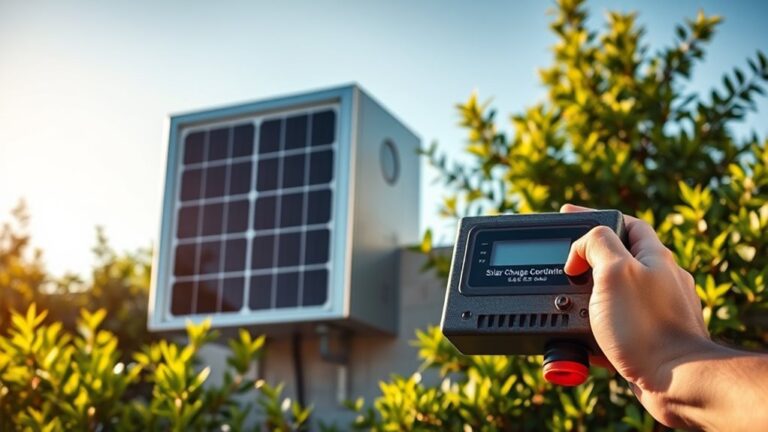
After verifying the total voltage output from your series-connected panels, you’re ready to link the setup to a charge controller or battery. First, confirm your charge controller can handle the combined voltage from your panels.
Ensure your charge controller supports the total voltage from your series-connected panels before making connections.
Connect the positive lead from the series string to the charge controller’s positive input terminal, then attach the negative lead to its negative input terminal. Double-check all connections to prevent any loose contacts.
If you’re connecting directly to a battery, connect the positive wire from your panels to the battery’s positive terminal and the negative wire to the negative terminal. Always use appropriate fuses or breakers between your panels and battery or controller to protect your system from electrical faults.
Make sure your battery is compatible with the voltage and current produced by your series setup. This way, your system runs safely and efficiently.
Test Voltage And Current In Your Series Solar Panel System
Now that your solar panels are connected in series, it’s important to test the voltage output and current flow to guarantee everything’s working correctly.
You’ll want to use a multimeter safely to get accurate readings without risking damage or injury. Let’s go over how to measure these key values properly.
Measuring Voltage Output
Although connecting your solar panels in series increases the total voltage, you’ll need to measure the output to guarantee everything works correctly. Use a digital multimeter set to the DC voltage range to check the voltage across the positive and negative terminals of the series string.
Make sure the panels are exposed to sunlight during measurement for accurate results. Comparing your readings with expected values helps identify any wiring issues or faulty panels.
| Step | Action |
|---|---|
| 1. Set multimeter | Select DC voltage mode |
| 2. Connect probes | Touch positive and negative terminals |
| 3. Read voltage | Compare with calculated total |
Regular voltage checks help maintain system efficiency and safety. It’s a simple step that can save you headaches down the line!
Testing Current Flow
Once you’ve verified the voltage output, the next step is to test the current flow through your series-connected solar panels. This assures your panels are producing the expected current and functioning properly as a system.
Here’s how to do it:
- Set your multimeter to the appropriate DC current range. Make sure it can handle the expected current from your panels.
- Connect the multimeter in series with the solar panel string. This means disconnecting one wire and attaching the meter leads to complete the circuit.
- Read the current value on the multimeter display. Compare this reading with the manufacturer’s specifications to confirm proper current output.
Testing current flow helps you spot any issues early and maximizes system performance. It’s a simple step that can save you headaches down the road.
Using Multimeter Safely
How do you guarantee accurate readings without risking injury when testing your series solar panel system? First, always turn off the system or disconnect the panels before connecting the multimeter to prevent sparks or shocks.
Set your multimeter to the correct measurement type—voltage or current—and range. When measuring voltage, connect the probes in parallel with the panel terminals; for current, connect them in series, ensuring the multimeter’s current input is used.
Use insulated gloves and stand on a dry, non-conductive surface to reduce shock risk. Double-check connections and settings before powering up.
Never touch metal parts of the probes during measurement. Finally, follow your multimeter’s manual and safety guidelines precisely.
Maintain And Troubleshoot Your Solar Setup
Because solar panels face constant exposure to the elements, you’ll need to regularly inspect and maintain your system to guarantee it works efficiently. Start by checking for dirt, debris, or shading that could reduce power output.
Next, examine all wiring and connections for corrosion or damage, especially at junctions and connectors. Finally, monitor your system’s voltage and current with a multimeter to detect any drops or inconsistencies that might indicate a faulty panel or connection.
Here’s a quick checklist to keep your setup in top shape:
- Clean panels regularly to maximize sunlight absorption.
- Inspect and tighten all electrical connections.
- Test output voltage and current monthly to catch issues early.
Following these steps helps you maintain reliable, efficient solar power. It’s easier than you might think!
Frequently Asked Questions
How Do Solar Panels Perform in Cloudy Weather?
Solar panels still generate electricity in cloudy weather, but their output drops considerably. You’ll get less power because clouds reduce sunlight intensity.
What Is the Lifespan of Typical Solar Panels?
Solar panels usually last about 25 to 30 years, but don’t let that fool you—they can keep producing power like a trusty old horse well beyond that, just with slightly less efficiency over time.
Can Solar Panels Be Recycled After Use?
Yes, you can recycle solar panels after use. Many materials inside, like glass and metal, are reusable.
You should contact specialized recycling centers to handle them properly. This helps reduce environmental impact while recovering valuable components.
Are There Government Incentives for Installing Solar Panels?
Yes, you can often get government incentives for installing solar panels, like tax credits, rebates, and grants. Check your local and federal programs to maximize savings and make your solar investment more affordable and rewarding.
It’s definitely worth looking into what’s available in your area. These incentives can really help lower the upfront costs and boost your long-term benefits.
How Do Temperature Changes Affect Solar Panel Efficiency?
Like a Victorian inventor tinkering with steam engines, you’ll notice solar panels lose efficiency as temperatures rise. Heat increases resistance, reducing power output.
Conclusion
By following these steps, you’ll guarantee your solar panels are connected safely and efficiently in series. Remember, “measure twice, cut once” applies perfectly here—checking voltage compatibility and connections avoids costly mistakes.
With the right tools, careful inspection, and proper maintenance, your solar setup will deliver reliable power for years. Stay proactive with testing and troubleshooting, and you’ll enjoy a smooth, eco-friendly energy system that keeps your batteries charged and your home powered.
Connecting solar panels in series correctly is key to maximizing your system’s voltage and efficiency. Taking the time to verify connections and use the proper equipment ensures your solar array performs optimally. This approach not only protects your investment but also supports a sustainable lifestyle by harnessing clean energy effectively. So, stay attentive, follow safety guidelines, and your solar power system will provide dependable, green energy for many years to come.