How to Wire a Solar Panel to a Battery in 5 Easy Steps
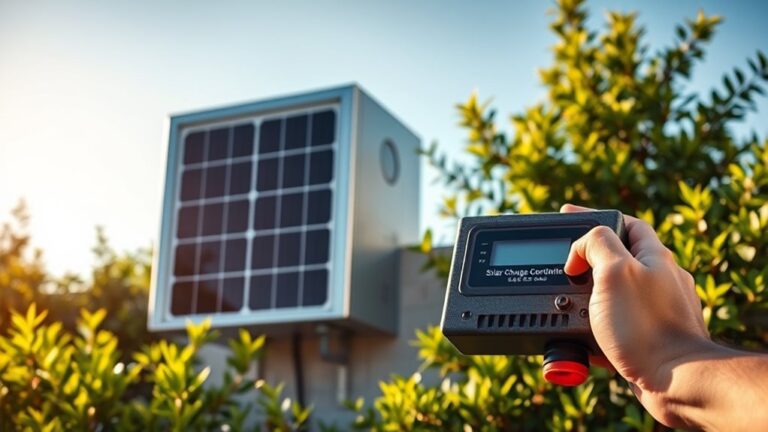
To wire a solar panel to a battery, start by connecting the panel’s positive and negative wires to the charge controller’s input terminals. This step is crucial because it ensures the energy from your solar panel is properly regulated before reaching the battery.
Next, link the charge controller’s battery output terminals to the battery, making sure you match the correct polarity and secure all connections tightly.
Using a fuse near the battery is a smart safety measure—it helps protect your system from potential electrical faults.
Once everything is connected, test the voltage levels with a multimeter. This helps confirm that your setup is charging the battery correctly and that electricity is flowing as it should.
Keep following to uncover tips on optimizing and troubleshooting your solar setup. You’ll be a pro in no time!
Key Takeaways
– Connect the solar panel’s positive and negative wires to the charge controller’s corresponding inputs securely.
Make sure the connections are firm to avoid any power loss.
– Attach the battery to the charge controller’s battery terminals, ensuring correct polarity before connecting the solar panel.
It’s really important to get the positive and negative right here to keep everything safe.
– Use appropriately rated cables and install a fuse or circuit breaker near the battery for system protection.
This helps protect your setup from any unexpected electrical issues.
– Verify all connections are tight, cables are undamaged, and polarity is correct to prevent system damage.
Double-checking now can save you a lot of trouble later.
– Test the system with a multimeter to check voltage levels at the battery, panel, and controller for proper operation.
This final step confirms everything is working as it should.
What You Need to Wire a Solar Panel to a Battery
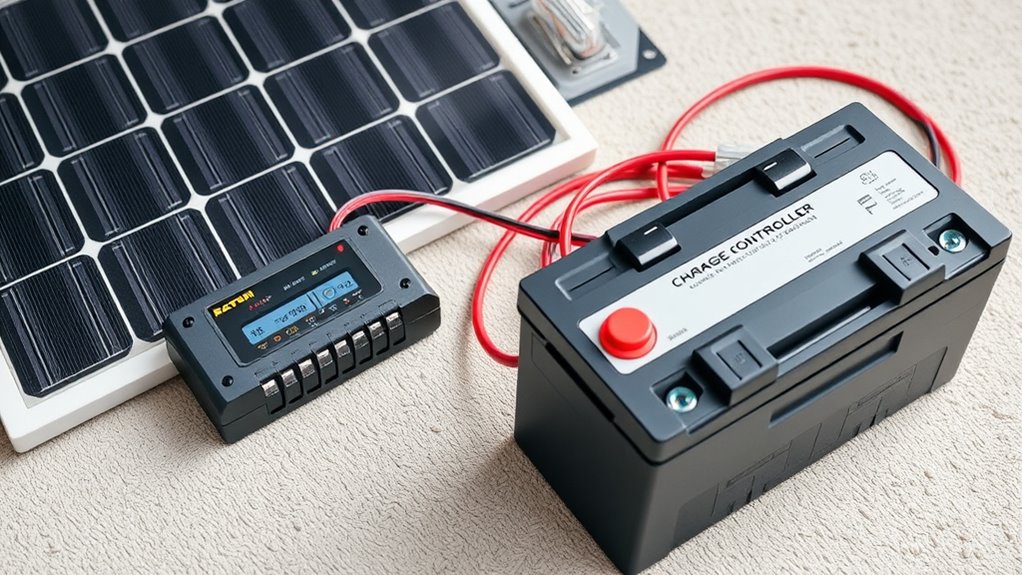
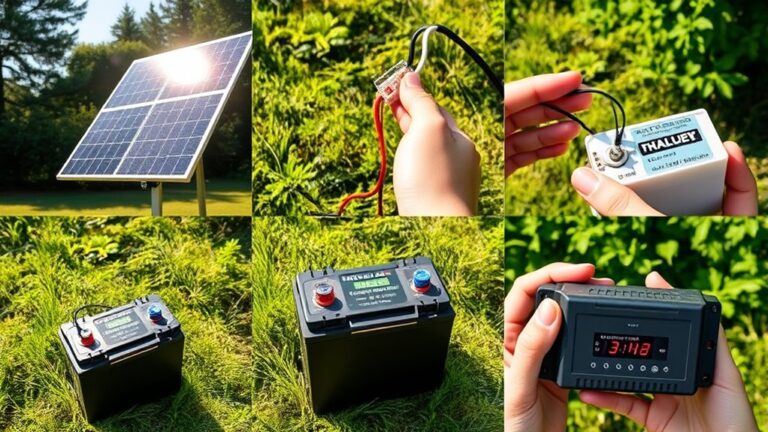
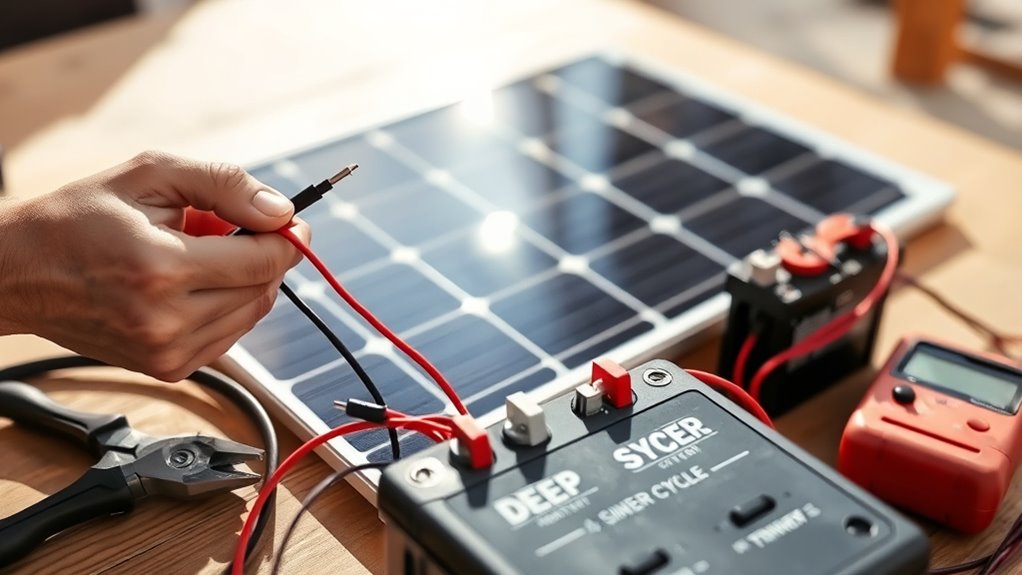
Before you start wiring your solar panel to a battery, you’ll need a few essential tools and components. First, get a solar panel compatible with your battery’s voltage. You’ll also need a deep-cycle battery designed for solar energy storage.
Don’t forget a set of insulated wire cutters and strippers to handle your wiring safely. A multimeter is vital to check voltage and current along the way. To secure connections, pick up ring terminals and suitable connectors.
While you won’t connect the charge controller just yet, having it nearby helps plan your setup. Finally, protective gear like gloves and safety glasses keeps you safe as you work. Gathering these tools and parts sets you up for a smooth, efficient wiring process.
How to Connect Your Solar Panel to the Charge Controller
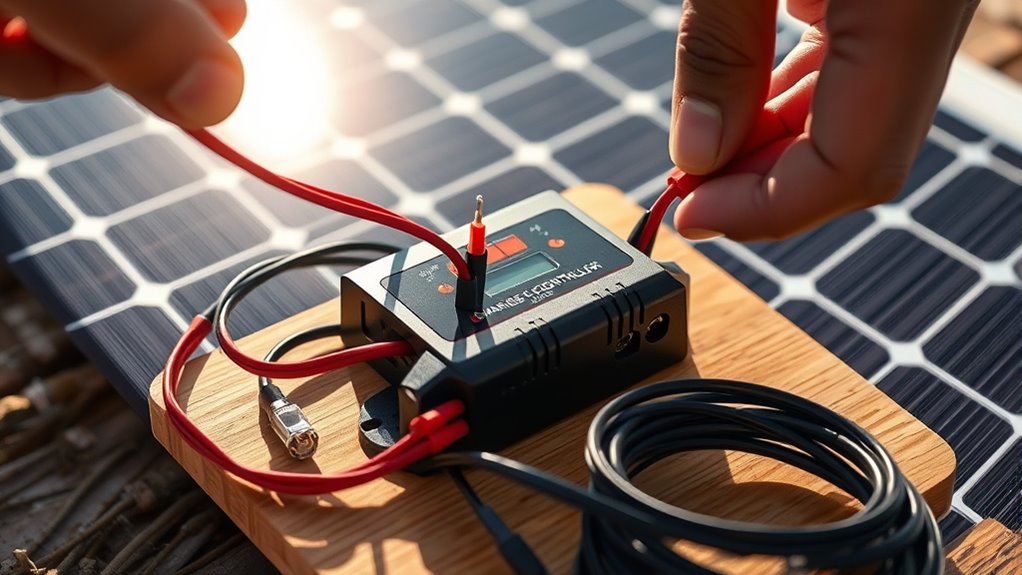
Once you have all your components ready, you’ll connect the solar panel to the charge controller to regulate the energy flowing into your battery. Start by identifying the positive and negative wires from your solar panel—usually marked with red and black or plus and minus signs.
Connect the positive wire from the solar panel to the positive solar input terminal on the charge controller. Then, attach the negative wire to the corresponding negative terminal. Make sure these connections are secure and tight to prevent any power loss or sparks.
Double-check that the charge controller is compatible with your solar panel’s voltage and current ratings. And remember, never connect the solar panel directly to the battery without the charge controller, as it can damage your battery and reduce its lifespan.
Wiring the Charge Controller to Your Battery Safely
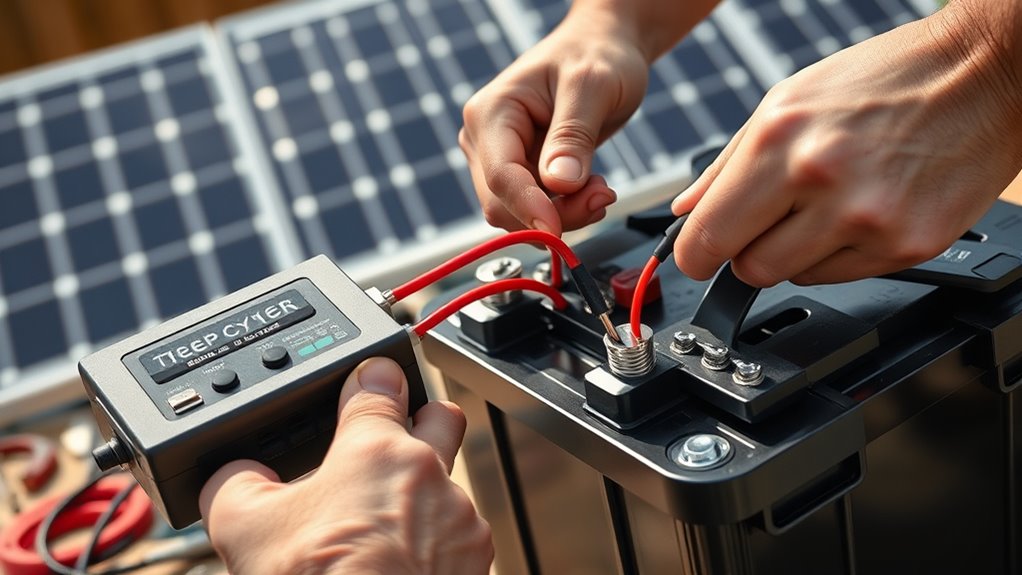
Although connecting the charge controller to your battery may seem straightforward, you need to follow specific steps to guarantee safety and proper function. First, always connect the battery to the charge controller before attaching the solar panel. This prevents damage from voltage spikes.
Use appropriately sized cables rated for your system’s current to avoid overheating. Make sure the battery terminals are clean and secure the connections tightly to prevent sparks or loose contacts.
Observe correct polarity—positive to positive, negative to negative—to avoid damaging your equipment. It’s also wise to install a fuse or circuit breaker close to the battery terminal for added protection.
Finally, double-check all connections before proceeding, ensuring everything is secure and properly aligned for safe operation. Taking these precautions really helps keep your system running smoothly and safely.
Testing Your Solar Panel and Battery Connections
After securely wiring your charge controller to the battery, you’ll want to verify that all connections work correctly. Start by checking the voltage at the battery terminals with a multimeter. It should read close to the battery’s rated voltage, indicating a solid connection.
Next, measure the voltage at the solar panel terminals under sunlight. It should be higher than the battery voltage, showing the panel is generating power. Then, check the charge controller’s input and output terminals to confirm proper voltage flow.
Make sure the polarity is correct to avoid any damage. Finally, observe the charge controller’s indicators or display for charging status. By following these steps, you’ll ensure your system is wired properly and ready to function efficiently.
Troubleshooting Common Wiring Issues in Solar Setups
If your solar setup isn’t working as expected, wiring issues are often the culprit. First, double-check all connections for tightness and correct polarity; reversed wires can prevent charging or damage components.
Look out for damaged cables or corrosion, which can interrupt current flow. Use a multimeter to verify voltage at each connection point to pinpoint where power drops.
Confirm your connectors match and fit securely—loose plugs cause intermittent problems. Also, verify that fuses or breakers aren’t blown or tripped.
If your solar panel’s output reads low despite proper wiring, test the panel separately to rule out faults. Taking these steps helps you quickly identify and fix wiring problems, keeping your solar system running efficiently and safely.
Frequently Asked Questions
How Do I Calculate the Battery Capacity for My Solar Setup?
You calculate battery capacity by estimating your daily energy use in watt-hours. Then, you divide that number by your battery voltage.
Next, multiply the result by the number of days you want your system to run without sun (that’s called autonomy days).
Finally, add a safety margin to make sure your battery can handle your solar setup’s needs. This way, you won’t run out of power unexpectedly!
What Type of Battery Is Best for Solar Energy Storage?
You’ll want to choose lithium-ion batteries for solar energy storage because they’re efficient, long-lasting, and require minimal maintenance. They outperform lead-acid batteries, saving you space and giving you more usable capacity over time.
Plus, lithium-ion batteries tend to have a better lifespan, so you won’t have to replace them as often. That means more savings and less hassle in the long run.
Can I Connect Multiple Solar Panels in Series or Parallel?
You can connect multiple solar panels in series to increase voltage, or in parallel to boost current. You choose series for higher voltage, parallel for more amps, depending on your battery and system needs.
It really depends on what your system requires. If you need more voltage, series is the way to go. But if you want more current, then parallel connections work better.
How Long Does It Take to Fully Charge a Battery With Solar Panels?
It usually takes several hours to days to fully charge a battery with solar panels, depending on the panel’s wattage, battery capacity, sunlight intensity, and charging efficiency. You should monitor these factors for accurate timing.
Keep in mind, the amount of sunlight can vary a lot throughout the day and across seasons. So, charging times might not always be consistent. It’s a good idea to check your setup regularly to get a better sense of how long it really takes.
What Maintenance Is Required for Solar Batteries?
“An ounce of prevention is worth a pound of cure,” so you should regularly check connections, clean terminals, and monitor charge levels.
Also, make sure your batteries stay cool and dry. This will help keep your solar batteries efficient and lasting longer.
Conclusion
Now that you know how to wire your solar panel to a battery in just five simple steps, you’re ready to harness clean energy efficiently.
Did you know that solar panels have become 80% cheaper over the last decade? This makes going solar more affordable than ever.
By following these steps, you’ll not only save money but also contribute to a greener planet. Keep experimenting, and soon you’ll master your solar setup with confidence!
Wiring a solar panel to a battery is a smart way to capture and store renewable energy for later use. With the cost of solar panels dropping, it’s easier and more budget-friendly to create your own solar power system. Whether you’re powering a small device or setting up an off-grid solution, knowing these simple wiring steps puts clean energy within your reach. So, keep learning and adjusting your solar setup — you’re helping the planet and gaining energy independence at the same time!