How to Hook Up Solar Panel to Battery in 5 Easy Steps
To hook up a solar panel to a battery in five easy steps, start by gathering all the necessary tools like insulated wires, connectors, and a multimeter. Having the right equipment makes the process smooth and safe. Connecting a solar panel to a battery is a great way to store energy and power your devices efficiently.
First, connect your solar panel’s positive and negative wires to the charge controller. This device helps regulate the flow of electricity to protect your battery.
Next, wire the controller to the battery terminals, making sure all connections are tight and clean to avoid any power loss or corrosion.
Once everything is hooked up, test the system by checking voltage and charge indicators during sunlight. This ensures your setup is working properly.
Finally, maintain your system by regularly cleaning the solar panel and inspecting connections for peak performance. Keep following along to explore more tips and troubleshooting advice!
Key Takeaways
– Gather necessary tools and materials including solar panel, battery, insulated wires, connectors, and a multimeter.
Make sure you have everything ready before you start. It’ll save you time and hassle later on.
– Connect the solar panel’s positive and negative leads securely to the charge controller terminals.
Double-check the connections so nothing comes loose. This step is important for safety and efficiency.
– Wire the charge controller to the battery by matching positive and negative terminals with proper gauge wires.
Use the right wire thickness to handle the current properly. It helps keep your system running smoothly.
– Test the system by checking the charge controller display and measuring voltage at the battery terminals under sunlight.
This lets you know if everything is working as it should. It’s a simple way to catch any problems early.
– Maintain the system by cleaning panels, tightening connections, monitoring battery voltage, and troubleshooting with a multimeter.
Regular upkeep keeps your solar setup efficient and extends the battery’s life. Don’t skip this part!
Gather Tools and Materials You’ll Need
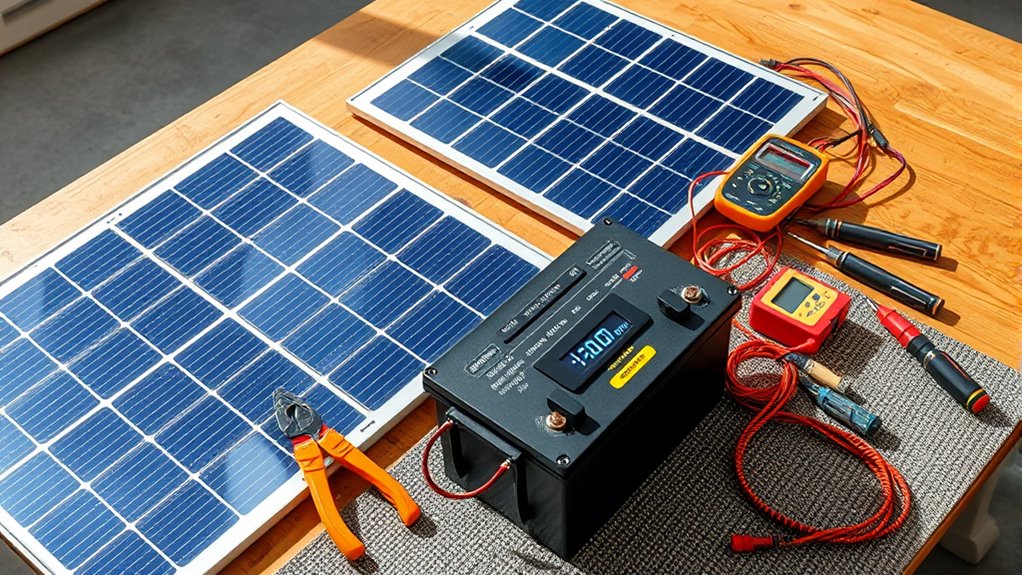
Before you begin connecting your solar panel to a battery, you’ll need to gather all the essential tools and materials. Start by getting your solar panel and a compatible battery suitable for your energy needs.
You’ll also need a set of insulated wires with the appropriate gauge to handle the current safely. Don’t forget a battery terminal connector to guarantee a secure and stable connection.
A multimeter is indispensable for checking voltage and continuity during setup. Additionally, have a screwdriver and wire strippers ready to prepare your wires.
Safety gear, like gloves and protective eyewear, is fundamental to avoid accidents. By assembling these items beforehand, you’ll make the installation process smoother and safer.
This way, you’re setting yourself up for a successful solar power system connection without any last-minute scrambles.
Connect Your Solar Panel to the Charge Controller
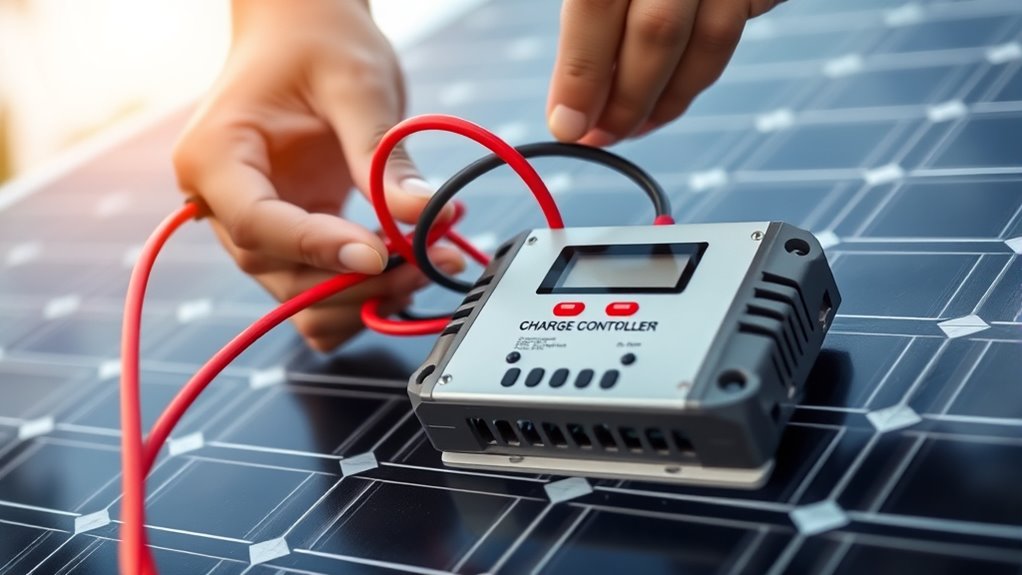
Once you have your solar panel and charge controller ready, connect the panel’s positive and negative wires to the corresponding terminals on the charge controller. Make sure to identify the positive (+) and negative (-) leads correctly to avoid damage.
Use insulated connectors or wire nuts to secure the connections firmly. Double-check that the terminals on the charge controller are clean and free of corrosion before attaching the wires.
Secure connections with insulated connectors and ensure terminals are clean and corrosion-free before wiring.
Tighten the screws or clamps to guarantee a solid connection but avoid over-tightening, which could damage the wires. Keep the wiring neat and organized to prevent accidental shorts or disconnections.
Finally, verify that the charge controller is compatible with your solar panel’s voltage and current ratings for efficient performance. This step guarantees safe and effective power flow from your panel.
Wire the Charge Controller to Your Battery
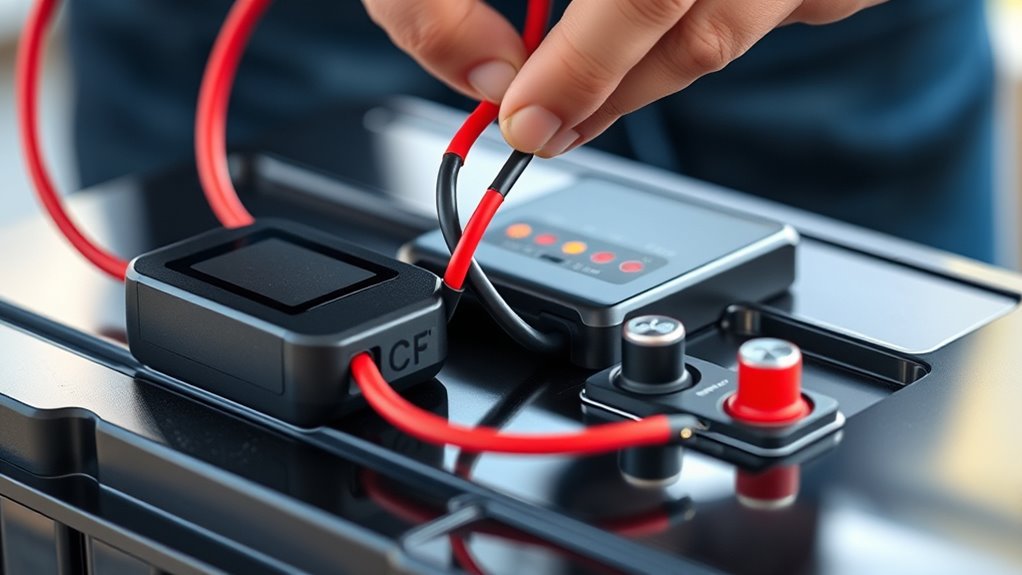
After connecting your solar panel to the charge controller, you’ll need to wire the charge controller to your battery to store the energy. First, identify the battery terminals on the charge controller, usually marked with a battery icon or “BATT.”
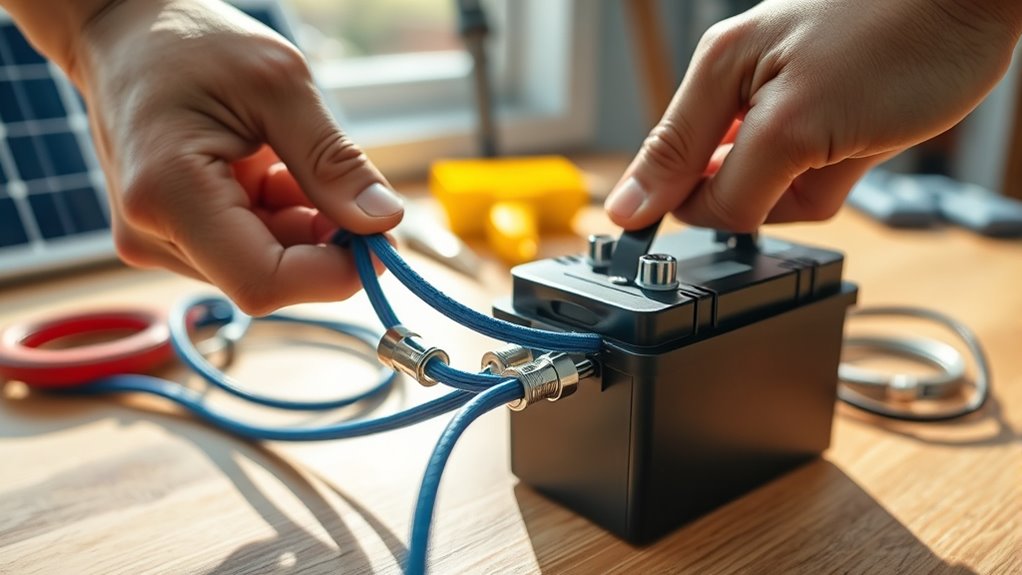
Use appropriate gauge wires to connect the positive terminal of the controller to the positive terminal of the battery and the negative terminal to the battery’s negative terminal. Make sure your connections are secure and tight to prevent voltage drops or sparks.
It’s important to connect the battery first before the solar panel to avoid damaging the controller. Also, check that your battery voltage matches the charge controller’s specifications.
Proper wiring guarantees efficient charging and prolongs your battery’s lifespan.
Test Your Solar Panel and Battery System
With your battery securely connected to the charge controller, you can now verify that your solar panel system is working properly. Start by checking the charge controller’s display or indicator lights; they should show that power is flowing from the solar panel to the battery.
Use a multimeter to measure the voltage at the battery terminals—during sunlight hours, it should be higher than the battery’s resting voltage, indicating charging is occurring. Next, inspect all connections to guarantee they’re tight and free of corrosion.
If the battery voltage doesn’t rise or the controller shows no input, recheck your wiring. This testing step confirms your setup is correctly transferring solar energy to your battery, guaranteeing a reliable power source for your needs.
Maintain and Troubleshoot Your Solar Power Setup
Although your solar power setup should operate smoothly, regular maintenance and prompt troubleshooting are essential to keep it running efficiently. Start by cleaning your solar panels monthly to remove dust and debris that block sunlight.
Check all connections for corrosion or loose wires and tighten them as needed. Monitor battery voltage regularly to ensure it stays within recommended levels, preventing overcharging or deep discharge.
If your system underperforms, inspect the charge controller and inverter for faults. Use a multimeter to test panel output and battery charge.
Replace any damaged components promptly to avoid further issues. Keep a log of maintenance activities and performance readings to spot trends early.
Staying proactive will help you maximize your solar setup’s lifespan and reliability. It’s really about catching problems before they become big headaches.
Frequently Asked Questions
What Types of Batteries Work Best With Solar Panels?
You’ll want deep cycle batteries, like lithium-ion or AGM, because they handle repeated charging and discharging better. They last longer and perform efficiently with solar panels.
This means your system stays reliable and powerful over time. So, investing in the right battery really pays off!
Can I Connect Multiple Solar Panels to One Battery?
Yes, you can connect multiple solar panels to one battery. Just make sure you wire them properly in series or parallel to match your battery’s voltage and capacity.
Also, use a charge controller to protect the battery from overcharging. It’s a simple step but super important for keeping your battery healthy.
How Do Temperature Changes Affect Battery Performance?
Temperature swings can turn your battery into a diva—cold slows it down, heat drains it fast.
You’ll notice less power and shorter life, so you’ve got to keep it comfy to perform at its best.
Are There Safety Risks When Installing Solar Panels?
Yes, you face safety risks like electric shock, fire hazards, and falls during installation. Always wear protective gear, turn off power sources, and follow instructions carefully.
It’s a good idea to consider hiring a professional, too. That way, you can keep yourself safe and avoid accidents.
What Is the Average Lifespan of a Solar Battery?
Like a trusty pocket watch, a solar battery typically lasts 5 to 15 years. You’ll want to replace it sooner if capacity drops or performance falters.
But the good news? Proper care can extend its lifespan considerably. So, keeping an eye on it really pays off.
Conclusion
Congrats, you’ve just become a solar power wizard—no cape needed! Hooking up your panel to a battery isn’t rocket science, despite what your tangled wires might say.
Now you can bask in the glory of clean energy, impress your friends, and maybe even save a buck or two. Just remember, if your system starts acting like a diva, don’t panic—maintenance and troubleshooting are your new best friends.
Staying on top of battery care and panel connections ensures your solar setup runs smoothly and efficiently. With a little attention, your solar power system will keep providing reliable, eco-friendly energy for years to come.
So shine on, solar hero! You’re not just saving money—you’re making a positive impact on the planet. Keep those batteries charged and those panels connected for the best solar experience.