How to Connect Solar Panels in Parallel in 5 Easy Steps
To connect your solar panels in parallel, start by gathering outdoor-rated cables, waterproof connectors, and tools like a wire stripper and multimeter. These are essential for a safe and efficient setup.
Next, identify each panel’s positive and negative terminals, making sure to confirm the polarity carefully.
Once you’ve got that down, join all the positive terminals together using insulated wires. Do the same for all the negative terminals, keeping the wire gauge consistent throughout.
This parallel connection boosts the current output while keeping the voltage the same.
Be sure to secure all connections with weatherproof fittings and proper insulation. Organize the cables neatly to avoid any tangles or damage.
Follow these steps, and you’ll have a reliable solar panel system that’s both safe and efficient. Keep reading for more tips on maintaining your setup!
Key Takeaways
- Identify and confirm positive (+) and negative (–) terminals on all solar panels using markings or a multimeter.
- Use insulated wires of equal gauge and length to connect all positive terminals together and all negative terminals together.
- Make sure to double-check the polarity. It’s super important to keep your wiring consistent throughout the system.
- Use waterproof connectors like MC4. Then, apply heat shrink tubing or electrical tape to insulate and protect those connections.
- Finally, secure cables with zip ties and organize the wiring neatly. Enclose junction points in weatherproof boxes to keep everything durable and safe.
Understand Why and How to Connect Solar Panels in Parallel
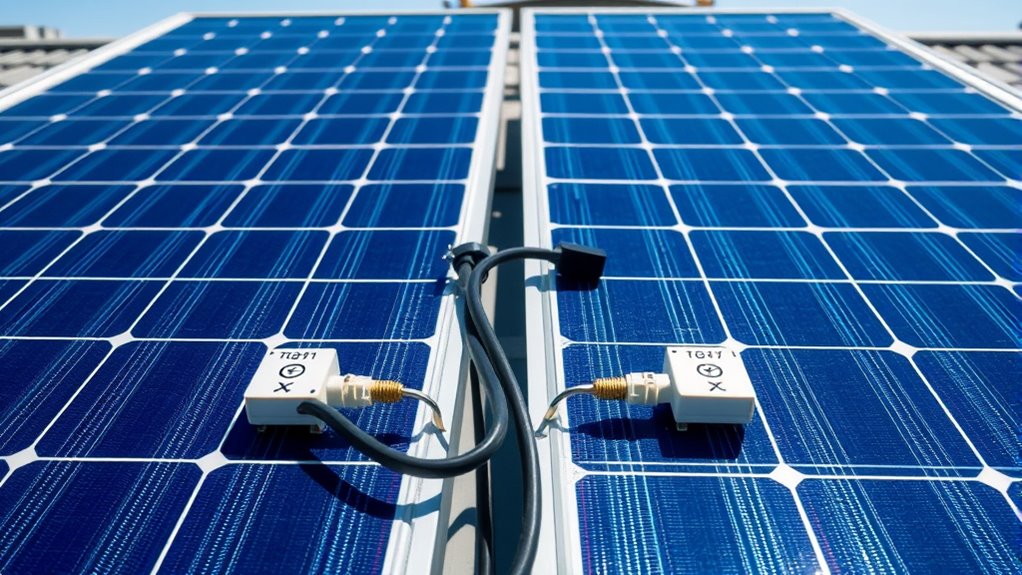
Although connecting solar panels in series is common, you’ll often find that wiring them in parallel better suits your needs. When you connect panels in parallel, you keep the voltage the same while increasing the total current.
This setup is especially useful if your system requires a specific voltage but needs more amperage to power your devices efficiently. Parallel wiring also offers more flexibility; if one panel underperforms due to shading or damage, the others continue working at full voltage.
To connect panels in parallel, you link all the positive terminals together and all the negative terminals together. This way, the combined output feeds your charge controller or battery bank at the system’s voltage but with added current capacity, boosting overall performance.
Gather Materials and Tools for Parallel Wiring
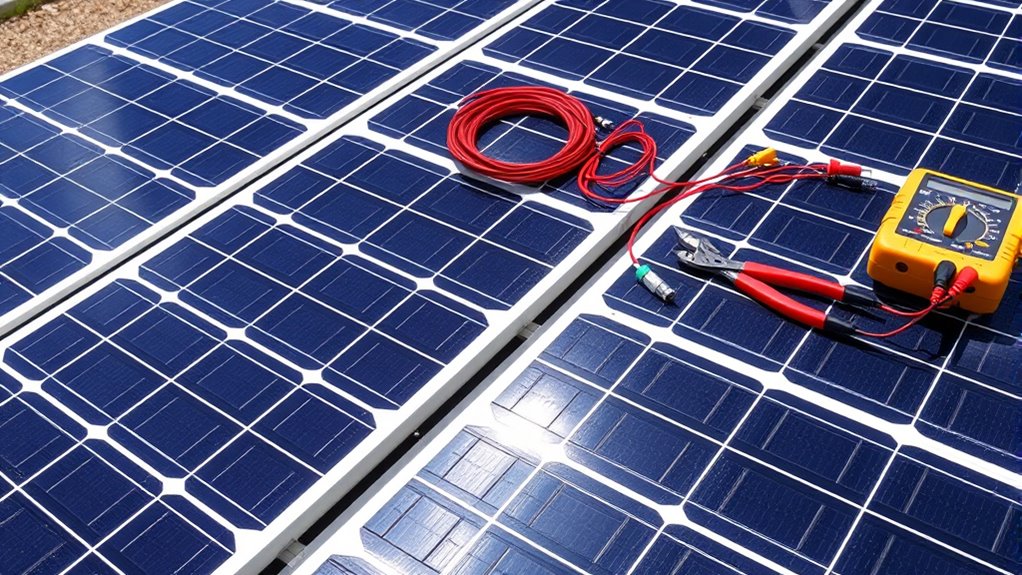
Now that you understand how parallel connections maintain voltage while increasing current, it’s time to gather the right materials and tools to make the wiring process smooth and safe.
Understanding parallel connections is key before gathering tools for a smooth, safe solar panel wiring experience
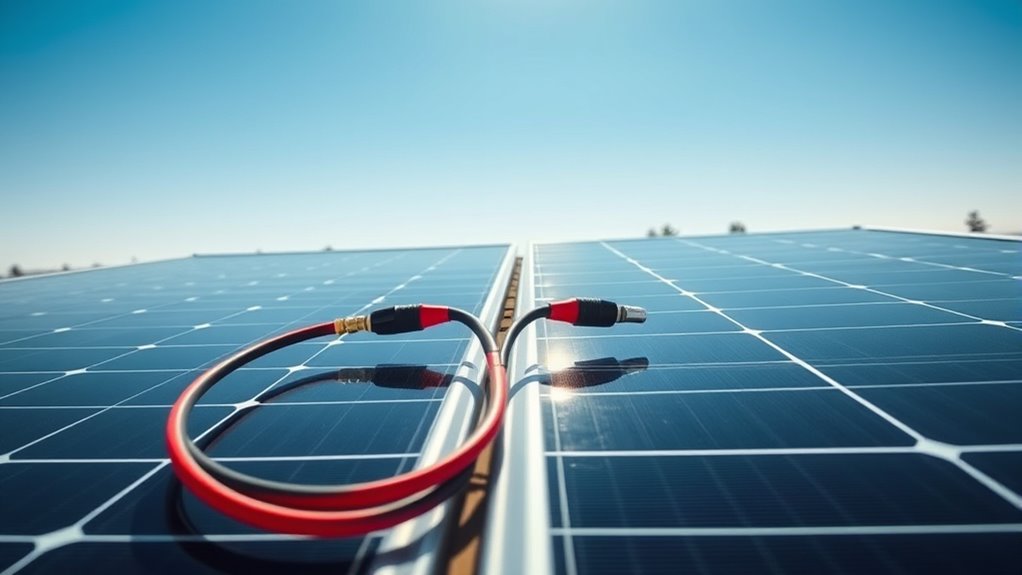
You’ll need solar panel cables rated for outdoor use, preferably with UV-resistant insulation. Get MC4 connectors or compatible waterproof connectors to guarantee secure, weatherproof connections.
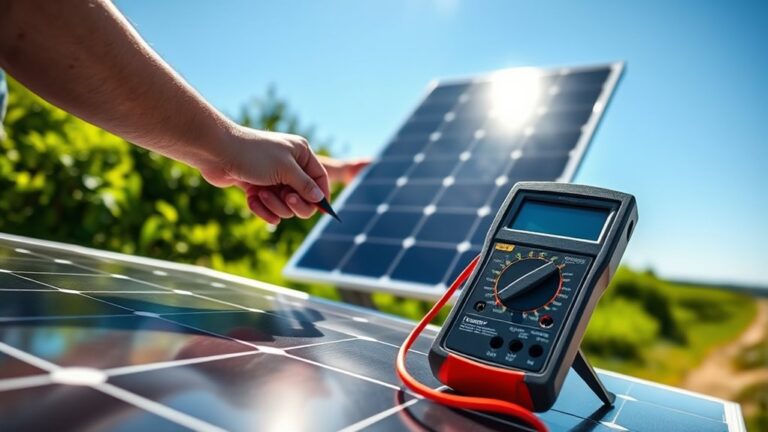
A wire stripper and crimper are essential for preparing and attaching connectors properly. Don’t forget a multimeter to check voltage and continuity during setup.
You’ll also want electrical tape and cable ties to keep wires organized and protected. Finally, have a pair of insulated gloves handy to protect yourself while handling the wiring.
Having these materials and tools ready will help you install your parallel solar panel wiring confidently and efficiently.
Identify Solar Panel Terminals
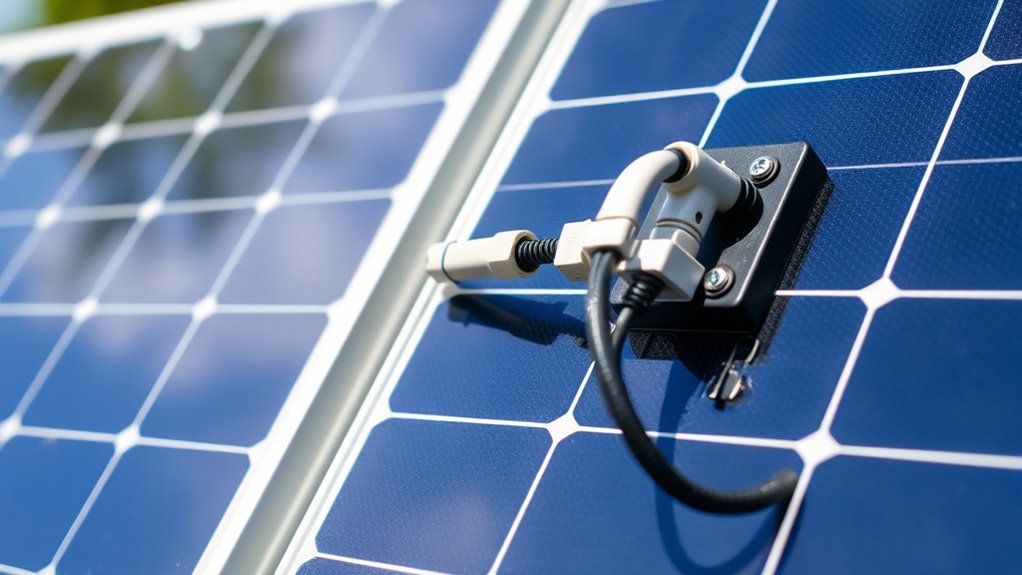
Before you start connecting your solar panels, you need to identify the positive and negative terminals on each panel clearly. Look for markings on the back of the panel or near the junction box; manufacturers usually label terminals with a plus (+) for positive and a minus (–) for negative.
If labels aren’t visible, check the color of the wires—red typically indicates positive, and black or blue indicates negative. Use a multimeter to verify polarity if you’re unsure. Ensuring you correctly identify these terminals prevents wiring mistakes that could damage your system or reduce efficiency.
Keep in mind that consistent identification across all panels is essential when wiring in parallel. Take your time with this step to avoid complications later on. It’s worth the extra caution!
Connect Positive and Negative Leads Together
When you connect solar panels in parallel, you’ll join all the positive terminals together and all the negative terminals together. This way, you maintain the voltage while increasing the current.
Here’s how to connect the positive and negative leads:
- Identify the positive (+) and negative (-) terminals on each panel.
- Use insulated wires to link all positive terminals together in a single line.
- Repeat the same for the negative terminals, connecting them in parallel.
- Make sure the wires are the same gauge and length to keep the current flow balanced.
It’s pretty straightforward once you get the hang of it! Just take your time and double-check your connections.
Keep Your Connections Safe and Secure
After connecting all the positive and negative leads, you’ll want to focus on keeping those connections safe and secure. Start by inspecting each joint to guarantee they’re tight and properly seated. Loose connections can cause voltage drops or sparks, and nobody wants that.
Use quality connectors designed for outdoor use to prevent corrosion and wear. Next, apply heat shrink tubing or electrical tape around exposed wiring to insulate and protect from moisture.
Organize your cables neatly and use zip ties or clamps to avoid strain on the connections. Finally, place your junctions inside a weatherproof box or enclosure to shield them from rain, dust, and pests.
Taking these steps ensures your parallel solar panel setup remains reliable and efficient over time. It’s a bit of extra effort upfront that pays off in the long run!
Frequently Asked Questions
Can I Mix Different Wattage Solar Panels in Parallel?
Yes, you can mix different wattage solar panels in parallel, but be aware it may reduce overall system efficiency.
Make certain their voltages match closely to avoid damage and ensure your charge controller can handle the combined current safely.
It’s a good idea to double-check your setup before connecting everything. That way, you keep your system running smoothly without any hiccups.
How Does Temperature Affect Parallel Solar Panel Output?
You’ll see that higher temperatures lower each panel’s voltage, reducing overall output in parallel setups.
But because current adds up, the total current stays stable. So temperature mainly affects voltage, not current in parallel connections.
What Is the Impact of Shading on Parallel-Connected Panels?
Shading on parallel panels is like a weak link in a chain—it reduces the current output of the shaded panel but won’t stop others from working.
You’ll still lose power, though, so minimize shading carefully. It’s important to keep those panels as clear as possible to get the best performance.
Can I Convert a Parallel Setup to Series Later?
Yes, you can convert a parallel setup to series later, but you’ll need to adjust wiring and guarantee voltage compatibility.
Make certain your inverter and charge controller support the new configuration to avoid damage or inefficiency.
It’s not just about switching wires—you want to double-check everything to keep your system running smoothly.
How Do Parallel Connections Affect Solar Charge Controllers?
Think of your charge controller as a traffic cop managing cars at an intersection. Parallel connections keep voltage steady but increase current.
Conclusion
Now that you know how to connect solar panels in parallel, you’re set to save and sustain smartly. By securely joining positive and negative leads, you’ll boost your battery’s brightness and balance.
Remember, careful connections create consistent current, cutting clutter and confusion. Gather your gear, get going, and guard your grid with great gusto.
Stay safe, stay savvy, and soak up the sun’s sparkling strength for a sustainable setup! Connecting solar panels in parallel is a smart way to increase current while keeping voltage steady, perfect for powering your battery bank efficiently. With the right steps and attention to detail, you’ll maximize your solar energy system’s performance and longevity. So, take your time, follow the process, and enjoy the benefits of clean, renewable energy right at home.