Do It Yourself Solar Screens in 5 Easy Steps to Install
You can easily install durable solar screens yourself in five simple steps. These DIY solar screens are great for reducing heat, blocking UV rays, and protecting your home from insects. First, pick quality solar screen fabric and aluminum frames that will last through the seasons.
Measure your windows accurately and prepare the frames carefully. It’s important to get these measurements right to ensure a snug fit.
Next, cut frame pieces precisely and assemble them securely using corner connectors. Make sure everything fits tightly before moving on.
Then, stretch the fabric tightly over the frame and lock it in place with spline and a roller. This keeps the screen taut and looking professional.
Finally, install the screens using mounting clips or screws. Keep going to discover helpful tips for a perfect fit and lasting protection. You’ll be glad you took the time to do it right!
Key Takeaways
- Measure your window’s width and height accurately. This step is key to making sure your solar screen fits snugly inside the frame.
- Next, cut the aluminum frame pieces at 45-degree angles. Then, assemble them securely using corner connectors and clamps.
- Now, stretch the durable solar screen fabric tightly over the frame. Secure it in place with spline and a spline roller.
- Trim any excess fabric neatly for a clean finish around the edges of the frame. This makes everything look sharp.
- Finally, install your completed solar screen into the window opening. Use mounting clips or screws to keep it firmly in place.
Why Install Solar Screens on Your Windows
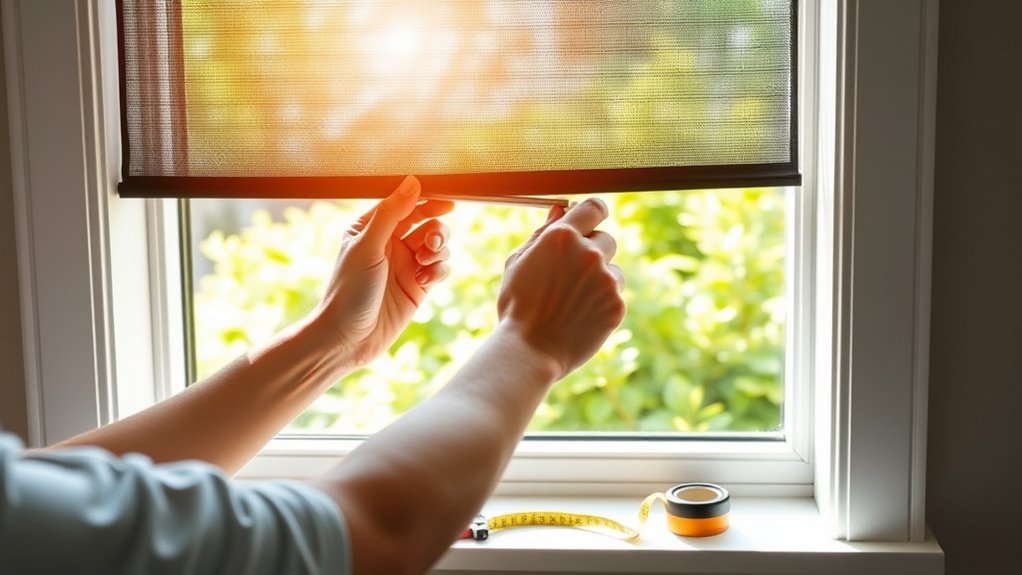
Why should you install solar screens on your windows? Solar screens block up to 90% of the sun’s heat before it enters your home, helping you stay cooler without cranking the AC.
They reduce glare, so you can enjoy natural light without squinting or dealing with harsh reflections on your TV or computer screens. By cutting UV rays, solar screens protect your furniture, carpets, and curtains from fading prematurely.
Plus, they improve your home’s energy efficiency, lowering your utility bills in the long run. Installing solar screens also adds a layer of privacy during the day, preventing outsiders from easily seeing inside.
Choose the Right Materials and Tools for Solar Screens
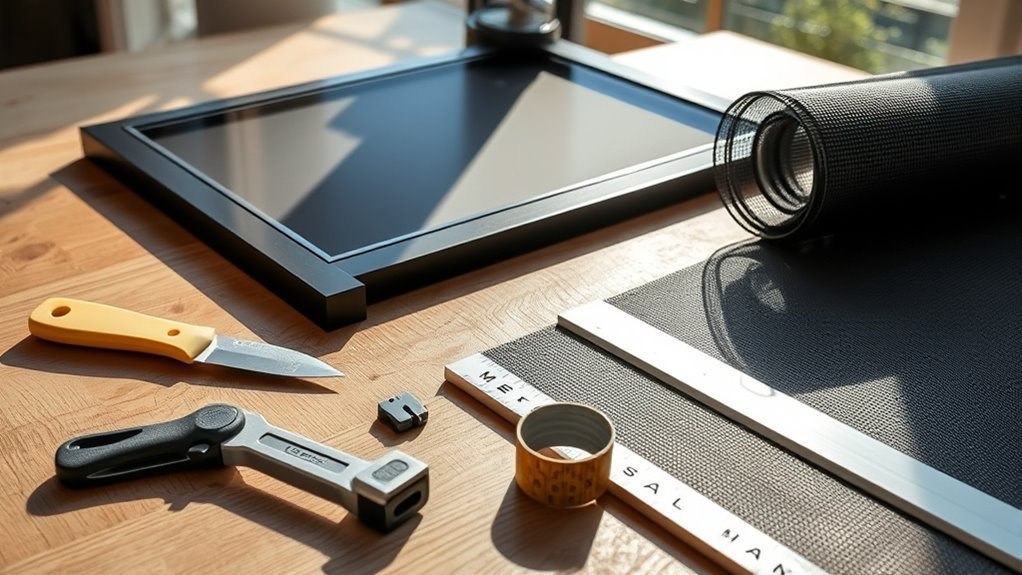
Now that you understand the benefits solar screens bring to your home, it’s time to focus on selecting the right materials and tools to make your installation successful.
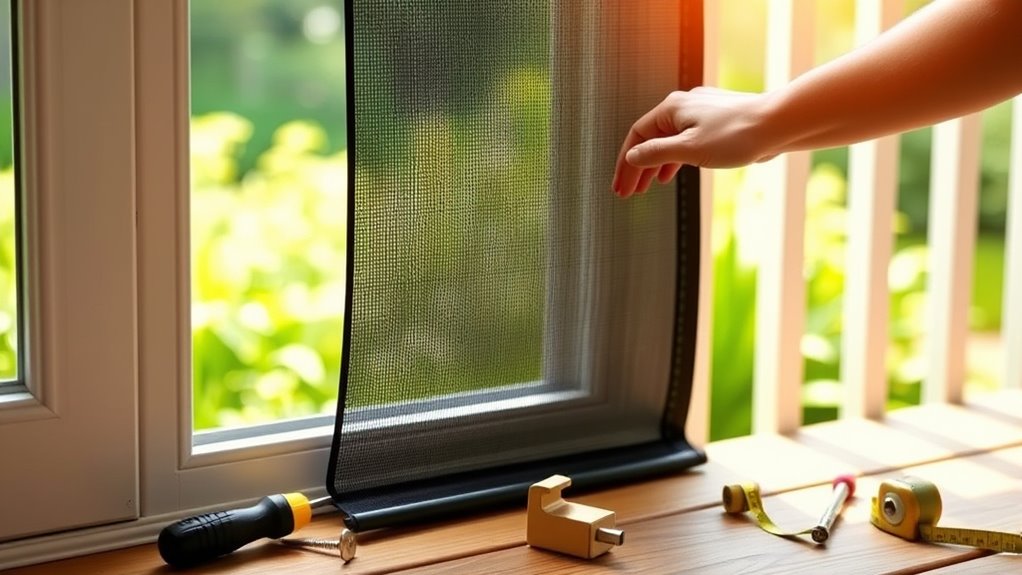
You’ll need durable screen fabric, sturdy frame material, and essential tools like a spline roller and measuring tape.
| Material/Tool | Purpose |
|---|---|
| Solar Screen Fabric | Blocks sunlight, allows airflow |
| Aluminum Frame | Provides lightweight, rust-proof support |
| Spline Roller | Secures fabric into frame groove |
Choosing high-quality materials guarantees your solar screens last. Aluminum frames resist weather damage, while screen fabric with a tight weave maximizes heat reduction.
The spline roller, along with sharp scissors and a measuring tape, helps you fit screens neatly and securely. With these, you’re set for a smooth installation.
Measure and Prepare Your Windows for Solar Screens
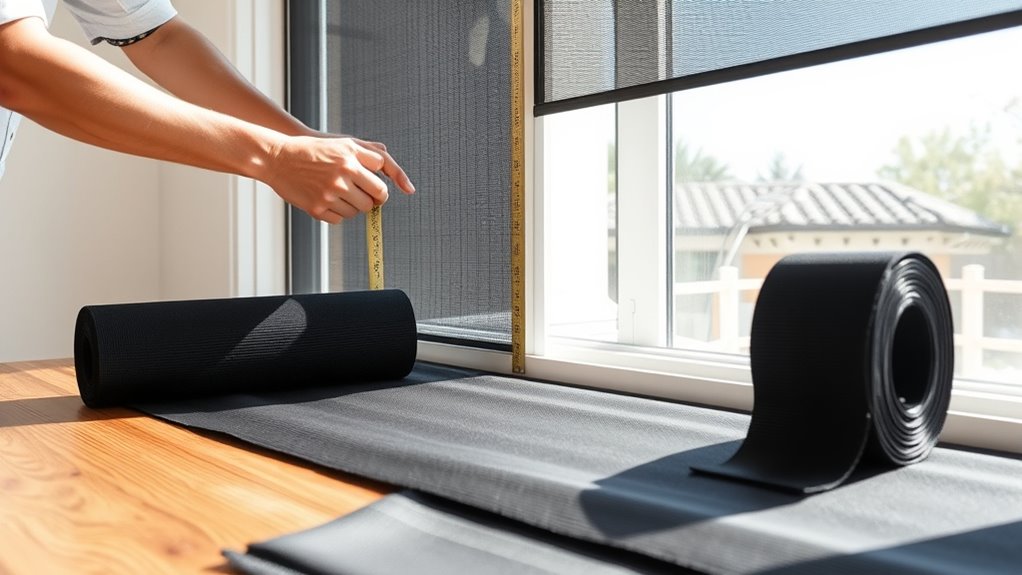
Before installing your solar screens, you’ll need to measure each window accurately to guarantee a proper fit. Use a steel tape measure for precision. Measure the width and height of the window frame from edge to edge, taking note of any trim or molding that may affect the screen size.
Record the smallest measurements to assure the screen fits snugly inside the frame without gaps. Double-check each measurement before moving on.
Also, inspect your windows for any damage or dirt that could interfere with installation. Clean the frames thoroughly and repair any cracks or loose parts.
Preparing your windows properly now will make the installation process smoother and help your solar screens perform effectively. It’s worth taking the time!
Cut and Assemble Solar Screen Frames
Once you have your measurements, you’ll cut the frame pieces to size using a miter saw or a fine-toothed handsaw. Cut four pieces for each screen—two for the top and bottom, two for the sides. Make sure the corners are cut at 45-degree angles to fit together snugly.
Next, assemble the frame by joining the corners with corner connectors or brackets designed for solar screens. Apply a small amount of wood glue or silicone to reinforce the joints for added durability. Use clamps or a frame jig to hold everything square while the glue sets.
Double-check that all corners align perfectly, ensuring your frame is square and sturdy before moving on to attaching the screen material. This careful assembly helps your solar screen fit well and last longer.
Stretch, Secure, and Install Your Solar Screens
After assembling your frames, you’ll want to stretch the solar screen fabric tightly over each frame to guarantee a smooth, wrinkle-free surface. Lay the fabric flat, place the frame on top, and pull the fabric taut.
Use spline and a spline roller to secure the fabric inside the frame groove. Then, trim any excess fabric for a clean edge.
Finally, install your completed solar screens by placing them into your window openings and securing them with mounting clips or screws. It’s pretty straightforward once you get the hang of it!
| Step | Action |
|---|---|
| 1. Stretch | Pull fabric tight over frame |
| 2. Secure | Press spline into groove |
| 3. Install | Mount screen in window |
Frequently Asked Questions
How Do Solar Screens Impact Indoor Temperature Year-Round?
Solar screens help you keep indoor temperatures cooler in summer by blocking heat and warmer in winter by providing insulation. They reduce glare and UV rays, so you’ll enjoy a more comfortable home year-round.
It’s like giving your windows a smart shield that works all year long. Plus, who doesn’t want a cozier space without cranking up the AC or heater?
Can Solar Screens Reduce Energy Bills Significantly?
Yes, solar screens can markedly reduce your energy bills by blocking heat during summer and retaining warmth in winter.
You’ll use less air conditioning and heating, which lowers your overall energy consumption and saves money year-round. It’s a smart way to keep your home comfortable without cranking up the thermostat.
Are Solar Screens Effective Against UV Rays?
Solar screens act like a shield, blocking up to 90% of harmful UV rays. You’ll protect your skin and furniture from fading, while still enjoying natural light without the harsh glare or damage inside your home.
It’s a simple way to keep things cooler and safer. Plus, you get to soak in the sunshine without worrying about the UV exposure. Pretty neat, right?
How Do I Maintain and Clean Solar Screens?
You should regularly dust or vacuum your solar screens to remove debris. It’s a simple way to keep them looking good and working well.
For deeper cleaning, gently wash them with mild soap and water. Then rinse and let them air dry. This helps keep them effective and looking great.
Are Solar Screens Safe for Pets and Children?
Yes, solar screens are safe for pets and children. They protect and shield your home by blocking harmful UV rays while still allowing airflow.
You won’t have to worry about heat or glare anymore. This keeps your loved ones comfortable and secure indoors.
Conclusion
Now that you’ve mastered these five simple steps, your windows will wear their new solar screens like a shield of sunlight armor. You’re not just blocking glare—you’re inviting cool comfort and energy savings into your home.
With a little effort and the right touch, you’ve turned a DIY project into a breeze. It’s amazing how these solar screens make your space brighter and cooler all at once.
So go ahead, bask in the shade you created and enjoy the glow of your handiwork! Installing DIY solar screens is an easy, cost-effective way to improve home comfort and reduce energy bills. You’ve taken control of your environment and added value to your home with a simple, practical upgrade. Here’s to enjoying the benefits of your new solar screens for seasons to come!