
How Much Sunlight Does an Outdoor Solar Security Camera Need?
You’ll need to provide your outdoor solar security camera with at least 4 to 6 hours of direct sunlight daily to keep it charged and working reliably. This amount of sunlight is crucial for the solar panel to generate enough energy, especially if you want consistent security coverage without interruptions.
Make sure it’s placed where the sun hits it during peak hours, avoiding shade from trees or buildings. Even a little shade can reduce its efficiency and cause the battery to drain faster.
Keep the panels clean and angled correctly to maximize energy. Dirt, dust, or a wrong angle can block sunlight and lower the power your camera collects.
Weather and seasons can affect how much power it collects. Cloudy days or shorter winter daylight hours might mean less energy, so keep that in mind.
If you want to optimize its performance, there are simple steps you can take. Adjusting the position with the changing seasons and regular maintenance can make a big difference.
Key Takeaways
- Outdoor solar security cameras typically require 4 to 6 hours of direct sunlight daily for effective charging.
- It’s best to position cameras where they can soak up the sun during peak daylight hours. This helps keep their energy intake consistent.
- Keep in mind, indirect or shaded sunlight just won’t cut it. It reduces how well the camera charges.
- For the best sunlight capture, solar panels should face south if you’re in the northern hemisphere. Also, tilt them to match your latitude.
- Don’t forget to clean and maintain the panels regularly. This keeps them absorbing sunlight efficiently and ensures your camera works reliably.
How Much Direct Sunlight Does a Solar Security Camera Need Daily?
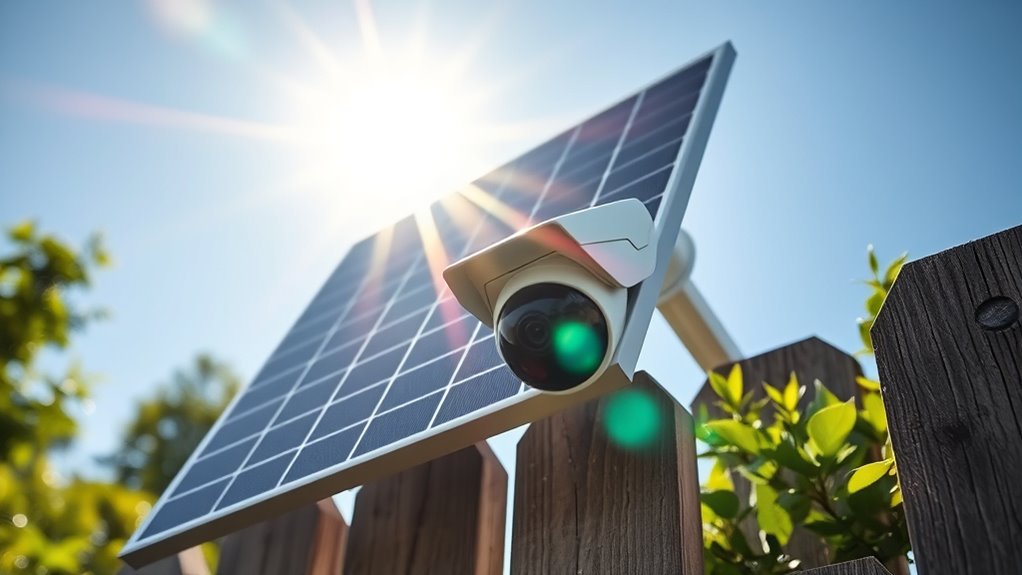
Although the exact amount varies by model, most outdoor solar security cameras need at least 4 to 6 hours of direct sunlight daily to charge effectively. You’ll want to position your camera where it can soak up sunlight without obstruction during peak daylight hours.
Keep in mind, indirect or shaded sunlight won’t provide enough energy for efficient charging. If your camera doesn’t get enough sun, its battery won’t fully recharge, limiting recording time and performance.
You can check your camera’s specifications for the exact sunlight requirements since some models might demand more or less. By ensuring consistent exposure to direct sunlight, you’ll keep your security camera running reliably, so you won’t miss any important footage when you need it most.
Which Outdoor Factors Affect Your Solar Camera’s Charging?
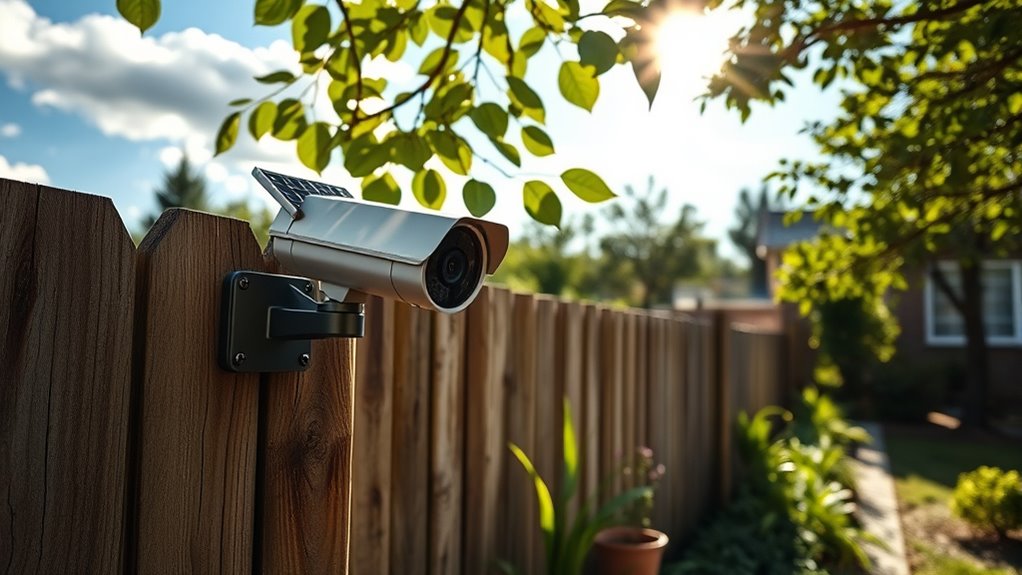
Getting enough direct sunlight is just one part of keeping your solar security camera charged. Several outdoor factors can affect its ability to absorb and store energy.
For instance, the angle and placement of the solar panel really matter—you want it facing the sun’s path to maximize exposure. Nearby trees or buildings can cast shadows that reduce sunlight, so try to avoid shaded spots.
Dirt, dust, and debris can build up on the panel and block sunlight, so regular cleaning is super important. Also, the quality and length of the cable connecting the panel to the camera can influence charging efficiency.
How Weather and Seasons Impact Your Solar Security Camera’s Performance
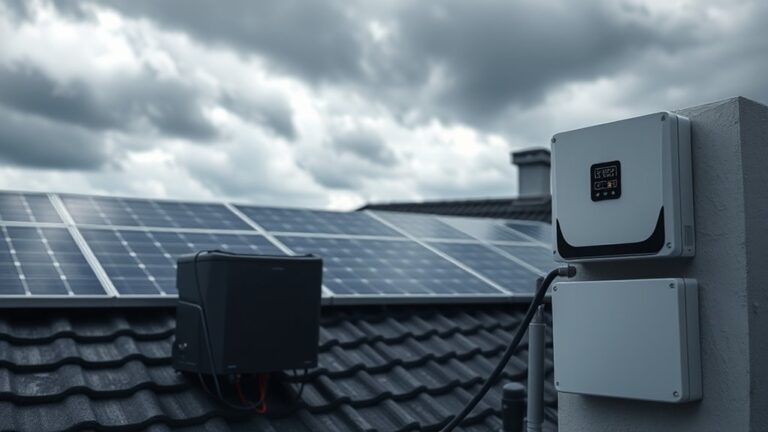
Because weather and seasonal changes directly influence sunlight availability, they play a crucial role in your solar security camera’s performance. Cloudy or rainy days reduce the solar panel’s energy intake, while snow can block sunlight entirely.
Plus, shorter daylight hours in winter mean less charging time, which might affect your camera’s battery life.
Here’s a quick overview of how different conditions impact performance:
| Condition | Effect on Sunlight | Impact on Camera Performance |
|---|---|---|
| Cloudy/Rainy | Reduced sunlight | Lower charging efficiency |
| Snow | Blocked sunlight | Battery drain, interrupted usage |
| Winter Season | Shorter daylight | Reduced daily charging time |
Knowing these factors can help you anticipate and manage your camera’s energy needs more effectively. It’s all about keeping your security system running smoothly, no matter the weather!
How to Choose the Best Location for Your Solar Security Camera
Where you place your solar security camera makes a huge difference in how well it performs. Choose a spot that receives direct sunlight for most of the day, ideally facing south if you’re in the northern hemisphere.
Avoid areas shaded by trees, buildings, or other structures, as these reduce solar charging efficiency. Make sure the camera has a clear view of the area you want to monitor without obstructions.
Also, consider the angle of the solar panel; it should be tilted to capture maximum sunlight based on your location’s latitude. Finally, position the camera high enough to deter tampering but accessible enough for occasional maintenance.
Simple Ways to Fix Common Solar Charging Problems
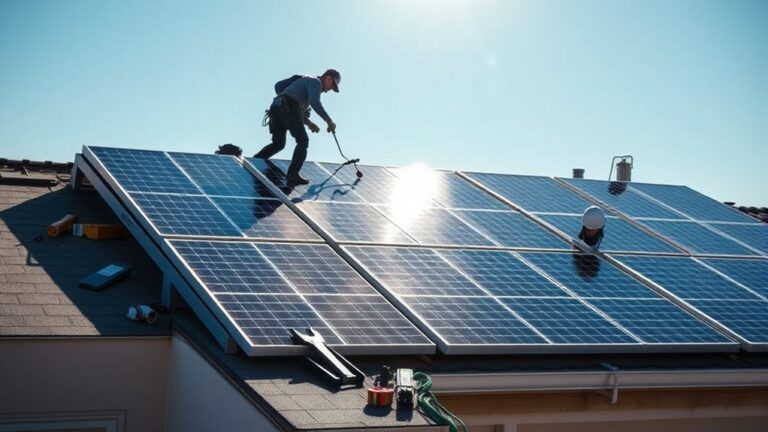
If your solar security camera isn’t charging properly, don’t worry—you can usually fix the problem with a few simple adjustments. First, clean the solar panel regularly to remove dust, dirt, or debris that block sunlight.
Next, check for any shading caused by nearby trees or structures. You might need to trim the branches or reposition the camera if something is casting a shadow.
Make sure the panel faces direct sunlight during peak hours, ideally south-facing in the northern hemisphere. This helps maximize the amount of sun it gets.
Also, inspect the wiring and connections to ensure they’re secure and undamaged. Loose or broken wires can stop the charging process.
If your camera has a removable battery, try reinserting it or replacing it if necessary. Sometimes the battery itself can be the issue.
Finally, verify the settings and firmware are up to date. Some models optimize charging through software updates, so keeping them current really helps.
These quick fixes often restore proper solar charging without any hassle. Give them a try before calling for professional help!
What to Do If Your Solar Security Camera Isn’t Charging Enough
After trying common fixes for solar charging issues, you might still notice your camera isn’t getting enough power. First, check the battery’s health; a worn-out battery won’t hold a charge well. Replace it if necessary.
Next, reposition the solar panel to maximize direct sunlight, avoiding shaded areas or obstructions. Clean the panel regularly to remove dirt or debris that block sunlight.
If your location has limited sun exposure, consider adding an external solar panel or supplementing with a wired power source. Also, review your camera’s settings—lowering motion detection frequency or video resolution can reduce power consumption.
Finally, verify your firmware is up to date, as updates can improve energy efficiency. Taking these steps helps keep your solar security camera charged and reliable.
Frequently Asked Questions
Can Solar Security Cameras Work in Shaded Areas?
Yes, solar security cameras can work in shaded areas, but they might not charge as efficiently.
You’ll want to place them where they get some indirect sunlight or supplement with battery power to keep them running reliably.
That way, you can make sure they don’t run out of juice when you need them most.
How Long Do Solar Security Cameras Typically Last?
Solar security cameras typically last about 3 to 5 years before needing replacement. You’ll want to maintain them regularly, especially the solar panels, to guarantee they keep charging efficiently and providing reliable surveillance.
Keeping an eye on the panels is key. If they get dirty or shaded, the camera might not get enough power. So, a little upkeep goes a long way in making sure your system works well over time.
Are Solar Security Cameras Waterproof?
Yes, solar security cameras are waterproof. They’re designed to withstand rain, snow, and other harsh weather conditions, so you don’t have to worry about damage.
Just make sure to check the IP rating before buying one. That way, you’ll know exactly how well it can handle the elements.
Can Solar Security Cameras Store Footage Without Wi-Fi?
You don’t need Wi-Fi to keep your memories safe; many solar security cameras store footage locally on SD cards or internal storage.
They act like silent sentinels, recording even when the internet takes a nap.
Do Solar Security Cameras Require Professional Installation?
You don’t usually need professional installation for solar security cameras. They’re designed for easy setup, so you can mount them yourself with basic tools.
However, if you’re unsure, hiring a pro guarantees ideal placement and security. It’s really up to how comfortable you feel doing it yourself.
Conclusion
To keep your outdoor solar security camera charged, aim for at least 4 to 6 hours of direct sunlight daily. This ensures your camera has enough energy to operate smoothly throughout the day.
Did you know that even a small 20% drop in sunlight can reduce your camera’s performance considerably? It’s true! So, picking the right spot where sunlight isn’t blocked by trees or buildings really matters.
Also, weather plays a big role. Cloudy or rainy days can affect charging, but don’t worry — most cameras are designed to handle this with built-in batteries.
If you ever notice charging issues, simple tweaks like adjusting the panel angle or trimming nearby branches can get your system back on track quickly.
In short, outdoor solar security cameras need consistent sunlight to stay powered and reliable. By choosing a sunny location and understanding weather impacts, you can maximize your camera’s performance and keep your home safe without worrying about dead batteries.

One Comment