How to Use 435W Solar Panels on My RV
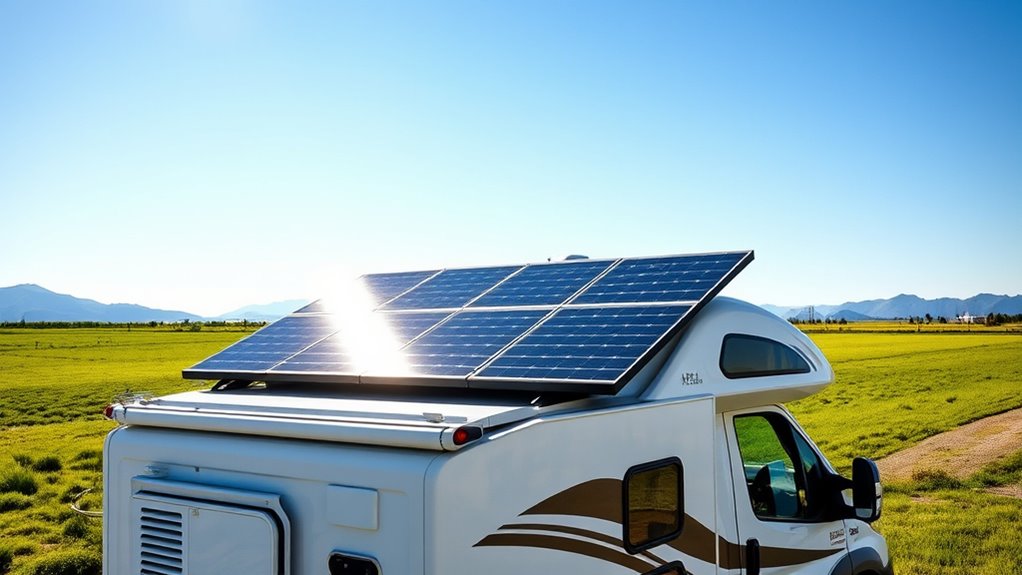
You can use 435W solar panels on your RV to maximize power without taking extra roof space. These high-efficiency panels are perfect for RV owners who want reliable off-grid power without sacrificing valuable rooftop area.
Start by selecting panels that fit your roof and work well with your existing batteries and controllers.
Gather essential tools like a cordless drill, multimeter, and safety gear before mounting the panels securely with brackets and waterproof connectors.
Angle them toward the sun and keep them clean to boost output.
Follow along to explore installation tips and troubleshooting advice for smooth off-grid power.
It’s easier than you might think, and your RV’s energy independence will thank you!
Key Takeaways
- Choose 435W panels that fit your RV roof size and match your battery and charge controller specs. It’s important to get the right size so everything works smoothly together.
- Mount panels securely using corrosion-resistant brackets, ensuring proper angle toward the sun for maximum output. You want them steady and positioned just right to soak up as much sun as possible.
- Connect panels to the charge controller with MC4 connectors, verifying correct polarity for safe, efficient power flow. This step helps keep your system running safely without any hiccups.
- Use the charge controller to regulate voltage, protecting your RV batteries from overcharging. It’s like a guard making sure your batteries stay healthy and last longer.
- Maintain panels by cleaning regularly, avoiding shading, and troubleshooting wiring or output issues promptly. A little upkeep goes a long way in keeping your solar setup working great!
Why Choose 435W Solar Panels for Your RV?
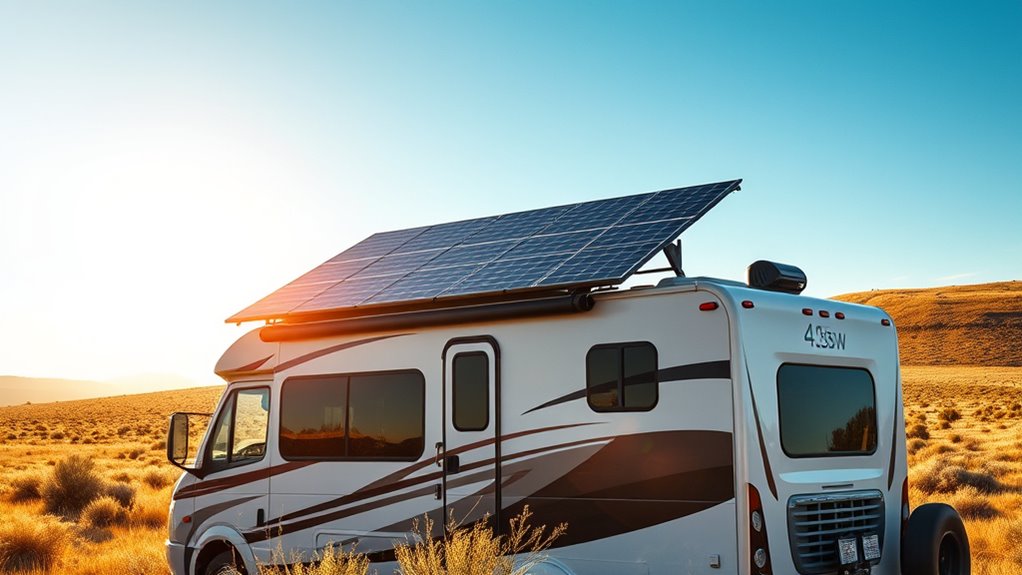
When you’re outfitting your RV with solar panels, choosing 435W panels offers a powerful balance of efficiency and space-saving design. These panels deliver high wattage, meaning you generate more power without needing extra roof space.
That’s essential when every inch counts on your RV. They’re also built with advanced technology, so you get better performance in varying sunlight conditions, including cloudy days.
Maximize every inch of your RV with advanced solar tech that performs well even on cloudy days.
Plus, 435W panels typically have a sleek, lightweight design, reducing the load on your RV’s roof and making installation easier. By opting for these panels, you maximize your energy output, allowing you to run more appliances or extend your off-grid adventures longer.
It’s a smart choice that combines power, efficiency, and practicality for your mobile lifestyle.
How to Pick the Right 435W Solar Panel for Your Needs
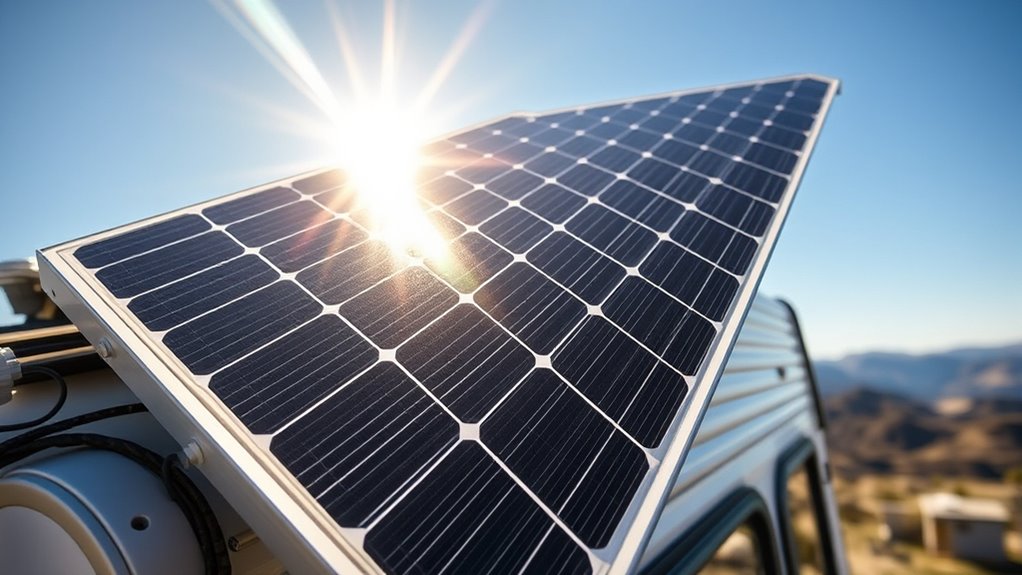
Choosing 435W solar panels gives you a solid foundation, but selecting the right one for your RV depends on more than just wattage. You’ll want to evaluate size, efficiency, durability, and compatibility with your existing system.
Here’s how to narrow it down:
- Size and Weight – Make sure the panel fits your roof space and doesn’t add excessive weight.
- Efficiency – Higher efficiency panels generate more power in less space, essential for limited RV roofs.
- Durability – Look for panels with strong frames and tempered glass to withstand travel conditions.
- Compatibility – Check that the panel’s voltage and connectors work seamlessly with your charge controller and battery setup.
Tools and Gear You’ll Need to Install Your 435W Panels
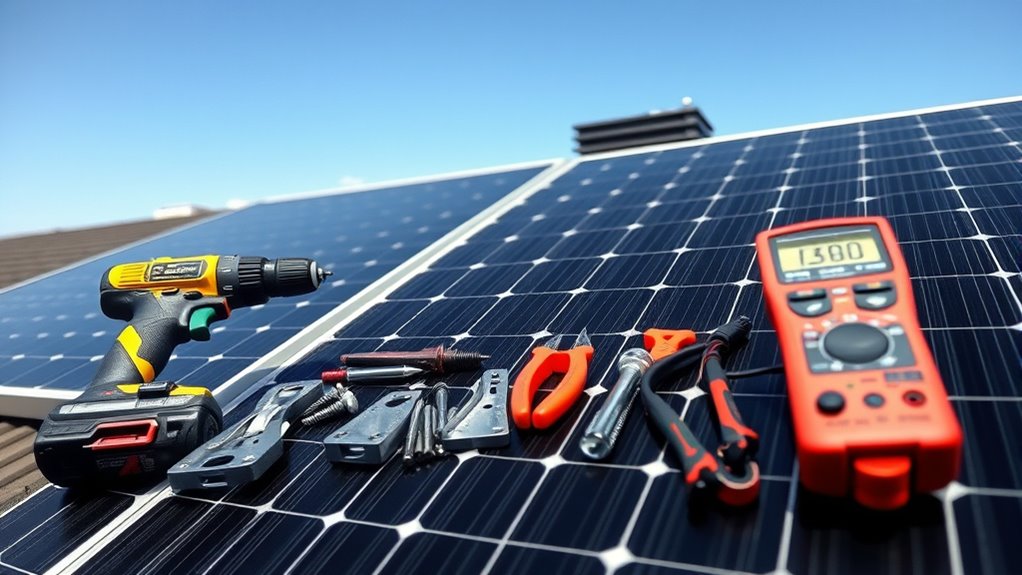
To install your 435W solar panels on your RV, you’ll need a few essential tools like a drill, wire strippers, and a multimeter. These will help you get the job done efficiently.
Don’t forget to gear up with safety equipment such as gloves and eye protection to keep yourself safe during the process. Safety first, always!
Finally, you’ll want the right mounting brackets and hardware to secure your panels firmly in place. That way, your panels stay put no matter where the road takes you.
Essential Installation Tools
Although installing 435W solar panels on your RV might seem intimidating, having the right tools makes the process much smoother. You’ll want to gather everything before you start to avoid interruptions.
Here are the essential installation tools you’ll need:
- Cordless drill with drill bits – for mounting brackets and creating holes.
- Multimeter – to check electrical connections and panel output.
- Wire strippers and crimpers – to prepare and secure wiring properly.
- Caulking gun with sealant – to waterproof any drilled holes and prevent leaks.
With these tools ready, you can install your solar panels efficiently and securely. They help you avoid common mistakes and guarantee your setup functions at its best on the road.
Recommended Safety Gear
Having the right tools on hand is just one part of a smooth solar panel installation. You also need proper safety gear to protect yourself throughout the process.
Start with a sturdy pair of work gloves to shield your hands from sharp edges and electrical contacts. Wear safety goggles to prevent debris or dust from irritating your eyes, especially when drilling or cutting.
Slip-resistant shoes or boots will keep you steady on your RV roof, reducing the risk of slips or falls. If you’re working at height, consider a safety harness for extra security.
Finally, a hard hat can protect your head from unexpected bumps. Prioritizing safety gear helps you avoid injuries and makes your installation experience safer and more efficient.
Panel Mounting Equipment
When you’re ready to mount your 435W solar panels, gathering the right equipment will make the job much smoother and safer. Having the proper tools helps guarantee a secure installation and protects your RV’s roof.
Here’s what you’ll need:
- Mounting brackets and rails – These hold your panels firmly in place.
- Drill and drill bits – For creating holes without damaging the roof.
- Screws and bolts – Choose corrosion-resistant ones for durability.
- Sealant – To waterproof the mounting points and prevent leaks.
Make sure your mounting system matches your RV’s roof type, whether flat or curved. Using these tools correctly will save time and keep your panels stable during travel.
It’s all about making sure everything stays put while you’re on the road!
Install and Connect Your 435W Solar Panels Step-by-Step
Before you start installing your 435W solar panels on your RV, make sure you have all the necessary tools and materials ready.
Begin by securely mounting the panels using the brackets and screws.
Next, connect the panel wires to your charge controller, verifying correct polarity to avoid damage. Use MC4 connectors for a waterproof connection.
Finally, link the charge controller to your RV’s battery bank to manage power safely.
| Step | Action |
|---|---|
| 1. Mount Panels | Attach panels with mounting gear |
| 2. Connect Wires | Link panels to charge controller |
| 3. Battery Hookup | Connect controller to battery |
Follow these steps carefully to ensure a safe, efficient solar setup on your RV.
How to Maximize Power Output From Your 435W Solar Panels
Although installing your 435W solar panels correctly is essential, you can boost their efficiency even further by optimizing their positioning and maintenance.
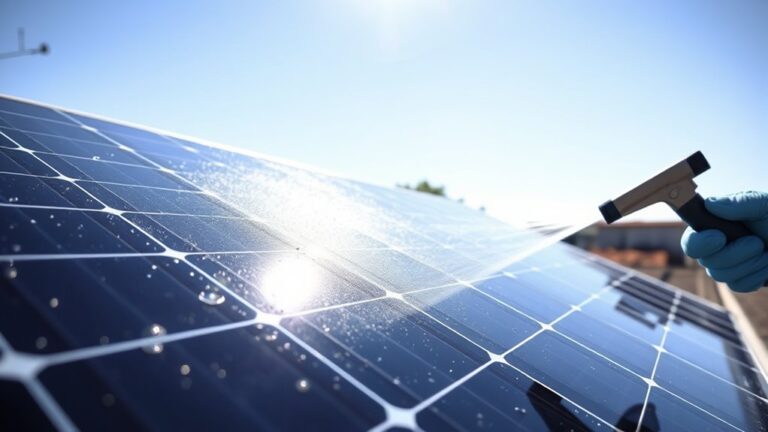
First, angle your panels toward the sun based on your latitude to capture maximum sunlight throughout the day. Second, keep the panels clean—dirt and debris reduce their output considerably.
Third, avoid shading from trees or RV accessories, as even partial shade can cause a big drop in power. Fourth, use a solar charge controller to regulate voltage and protect your batteries, ensuring consistent power delivery.
Troubleshooting Common Issues With 435W Solar Panels on RVS
If your 435W solar panels aren’t delivering the power you expect, you’ll want to identify and fix common issues quickly to keep your RV running smoothly. Start by checking for dirt, debris, or shading on the panels, as these can drastically reduce output.
If your 435W solar panels underperform, promptly check for dirt, debris, or shading to maintain optimal power.
Next, inspect all wiring connections for corrosion, loose contacts, or damage. Make sure your charge controller is functioning properly and set for your battery type.
Also, test your batteries to ensure they’re holding charge well, since faulty batteries can mimic panel problems. If your panels still underperform, verify the panel’s voltage and current output with a multimeter.
Addressing these points helps you troubleshoot effectively, guaranteeing your solar setup keeps powering your RV reliably wherever you roam.
Frequently Asked Questions
Can 435W Solar Panels Charge My RV Battery While Driving?
Yes, 435W solar panels can charge your RV battery while driving if they’re exposed to sunlight.
Just make sure they’re properly mounted and connected to a charge controller. This helps regulate the power and protects your battery from overcharging.
How Do Weather Conditions Affect 435W Solar Panel Efficiency?
You’ll see reduced efficiency in cloudy or rainy weather because less sunlight reaches your 435W panels. Extreme heat can also lower output.
For best results, keep panels clean and angled toward the sun whenever possible. That way, you’re making the most of whatever sunlight you get.
Are 435W Solar Panels Compatible With All RV Charge Controllers?
No, 435W solar panels aren’t compatible with all RV charge controllers. You’ll need to check your controller’s voltage and current limits to make certain it can handle the panel’s output safely and efficiently before connecting them.
It’s always a good idea to double-check this because using the wrong controller can cause problems. So, take a moment to review your system specs before hooking everything up.
Can I Connect Multiple 435W Panels in Series or Parallel?
You can connect multiple 435W panels in series or parallel, but you’ll need to check your charge controller’s voltage and current limits.
Series connections increase voltage, while parallel connections boost current. So, choose based on your system’s specs and wiring capacity.
It really depends on what your setup can handle and what you need from your solar array. Just make sure everything is compatible to avoid any issues.
What Maintenance Is Required for 435W Solar Panels on an RV?
You’ll want to clean your panels monthly since dust can reduce efficiency by up to 25%.
Check connections regularly and inspect for any damage. Also, make sure shading is minimal to keep your 435W solar panels performing at their best on your RV.
Conclusion
Now that you know how to choose, install, and optimize your 435W solar panels, are you ready to enjoy endless power on the road?
With the right setup and a bit of maintenance, your RV can harness the sun’s energy efficiently. This means keeping your batteries charged and your devices running wherever you go.
Don’t let power worries hold you back. Embrace solar energy and make every adventure a little greener and a lot more convenient.
Using 435W solar panels on your RV is a smart way to boost your off-grid capabilities. With reliable solar power, you’ll have the freedom to explore remote destinations without sacrificing comfort. So go ahead, tap into the power of the sun and enjoy a sustainable, hassle-free RV lifestyle.