How Long Does It Take to Install Solar Panels?
You can usually get your solar panels installed within one to three days. Most residential jobs wrap up quickly once the crew arrives.
The exact time depends on your roof type, system size, and how prepared you are with permits and inspections.
Complex roofs or larger systems might take longer, but proper planning helps keep things smooth.
If you want to understand what affects your installation timeline and how to speed it up, there’s useful info ahead.
Key Takeaways
- Solar panel installation typically takes between 1 to 3 days for most residential systems.
- Roof type and system size impact installation time, with complex roofs or larger systems requiring longer.
- Obtaining permits and scheduling inspections can add days or weeks before and after installation.
- Preparation, including site assessment and clearing the roof, helps ensure a smooth and timely installation day.
- Working with experienced installers and planning installation during off-peak times minimizes delays and disruptions.
How Long Does Solar Panel Installation Take?
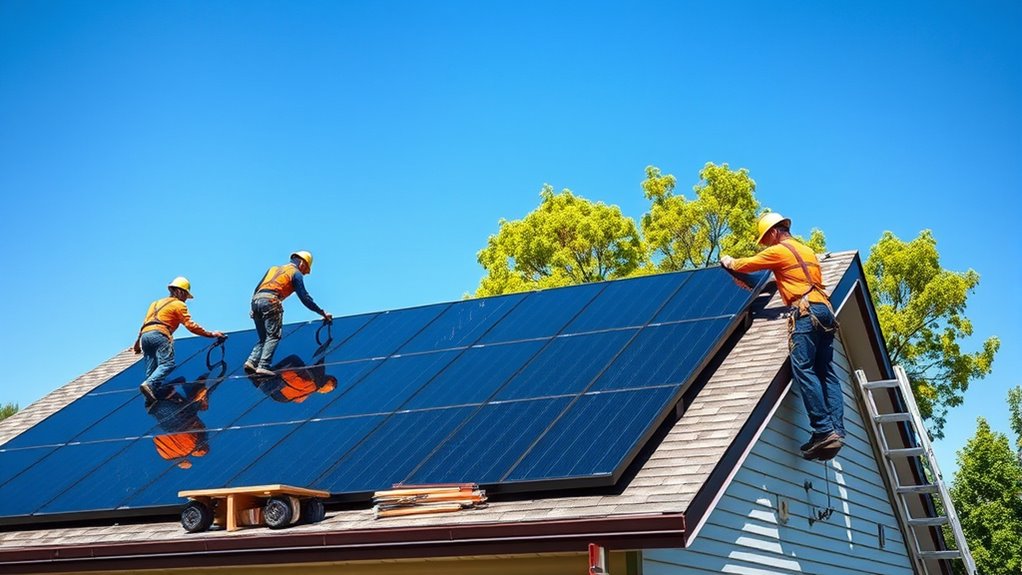
Although the exact time varies, installing solar panels typically takes one to three days. You’ll find that the process moves quickly once the crew arrives.
Installing solar panels usually takes one to three days, with the process moving quickly once the crew arrives.
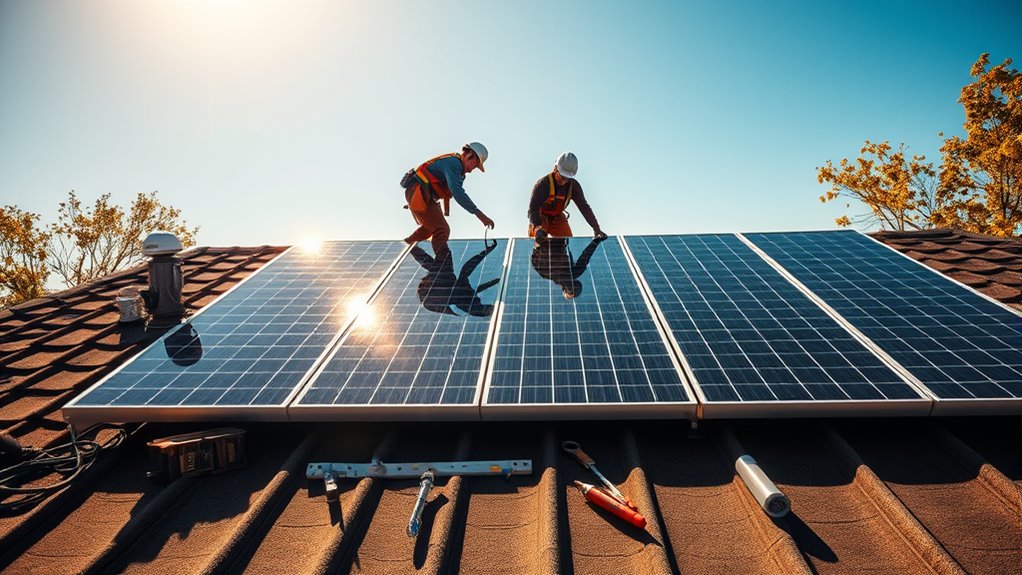
They’ll mount the panels on your roof, connect wiring, and set up the inverter, all while making sure everything meets safety standards. Complex systems or larger roofs might take a bit longer, but most residential installs finish within this timeframe.
Keep in mind, the actual physical installation is just one part of the overall timeline. Site assessment and permits happen beforehand, and final inspections come after.
Still, on installation day, you’ll see tangible progress as your home starts transforming into a clean energy source. You can expect minimal disruption while experts handle the setup efficiently.
Steps to Prepare for Solar Panel Installation
Before the installation begins, you’ll need to assess if your roof is suitable for solar panels and get the necessary permits.
Scheduling a site inspection is also vital to guarantee everything meets local regulations. Taking these steps will help your installation go smoothly and on time.
Assessing Roof Suitability
When preparing for solar panel installation, evaluating your roof’s suitability is an essential first step. You need to check your roof’s age, material, and structural integrity to verify it can support the panels. Most solar panels work best on roofs with a lifespan of at least 10 more years.
Asphalt shingles, metal, and tile roofs typically handle installations well. Next, assess the roof’s orientation and angle; south-facing roofs with a 30-45 degree pitch capture the most sunlight. Also, look for shading from trees or nearby buildings, as excessive shade can reduce efficiency.
Finally, measure your roof’s available space to confirm it can accommodate the number of panels you need. Getting this right helps avoid delays and maximizes your solar investment. It’s all about making sure your setup is just right from the start.
Obtaining Necessary Permits
Since installing solar panels involves electrical and structural changes, you’ll need to obtain the necessary permits from your local government. Start by checking with your city or county building department to find out which permits apply to your project.
Common permits include electrical, building, and sometimes zoning permits. Your solar installer often helps prepare and submit these documents, but you should verify all requirements early to avoid delays.
Gathering necessary paperwork, such as site plans and equipment specifications, is essential. Permit approval times vary by location, so factoring this into your timeline is vital.
Staying proactive during this step ensures you meet legal standards and keeps your installation on track. Once permits are approved, you’ll be ready to move forward with the next steps.
Scheduling Site Inspection
After securing your permits, the next step is to schedule a site inspection to guarantee your property meets all safety and regulatory standards. You’ll coordinate with local authorities or your solar provider to arrange a convenient date.
During the inspection, a certified inspector assesses your roof’s condition, structural integrity, and electrical setup to ensure everything complies with codes. It’s essential to be available or have someone on-site to answer any questions.
This step helps prevent delays by identifying potential issues early. Typically, scheduling and completing the inspection can take a few days to a couple of weeks, depending on local demand.
Once you pass, you’ll receive approval to move forward, keeping your solar installation timeline on track.
How Your Roof and System Size Affect Installation Time
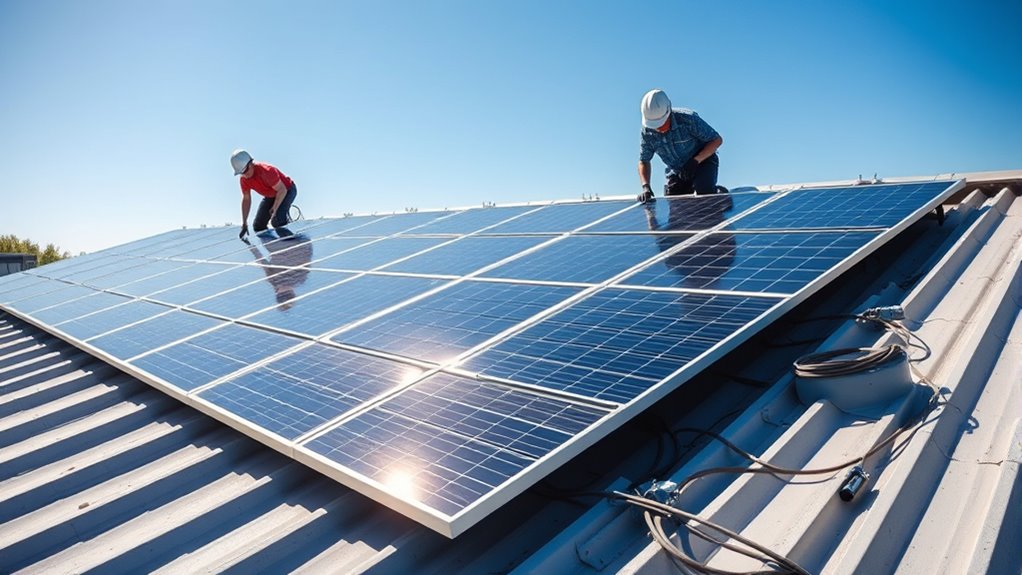
Your roof type plays a big role in how quickly solar panels get installed—some materials are easier to work with than others.
The size of your system also matters; larger setups naturally take more time to complete.
Understanding these factors can help you set realistic expectations for your installation timeline.
Roof Type Impact
How does the type of roof you have influence the time it takes to install solar panels? Different roofs require different approaches, which affects how quickly the installation goes.
For example, asphalt shingle roofs are the easiest and quickest to work on because the mounting hardware attaches directly to the shingles. Tile roofs, on the other hand, need extra care. You’ll spend more time removing and replacing tiles to avoid damage.
Metal roofs with standing seams allow for fast installation since clamps can attach without drilling. Flat roofs might need specialized racking systems, which adds some time.
Also, steep or complex roof designs tend to slow things down. Installers have to prioritize safety and work with precision.
System Size Influence
The type of roof you have sets the stage, but the size of your solar panel system plays a big role in how long installation takes. A smaller system with fewer panels usually means a quicker setup, often completed within a day or two.
However, if you’re opting for a larger system to cover more energy needs, expect the installation to stretch over several days. Larger systems require more mounting, wiring, and inspections, which naturally adds time.
Additionally, your roof’s available space influences the system size you can install, so a cramped roof might limit your options and speed up the process. Understanding how your roof and system size interact helps you anticipate the installation timeline more accurately.
How Permits and Inspections Can Delay Your Timeline
Because solar panel installations must meet local regulations, securing permits and passing inspections can extend your project timeline. You’ll need to submit permit applications to your city or county, which might take anywhere from a few days to several weeks for approval.
Delays often happen if paperwork is incomplete or if local authorities have a backlog. After installation, an inspector will verify that your system meets safety and code requirements before you can connect to the grid.
If the inspector finds issues, you’ll have to fix them and schedule a re-inspection, adding more time. Staying proactive by working with experienced installers who understand local rules can help you navigate permits and inspections smoothly, minimizing potential delays in your solar project.
What Happens During Solar Panel Installation Day
Once your permits are approved and inspections scheduled, your solar panel installation day finally arrives, bringing your project one big step closer to completion. The crew will first assess your roof, marking where panels and mounting hardware will go.
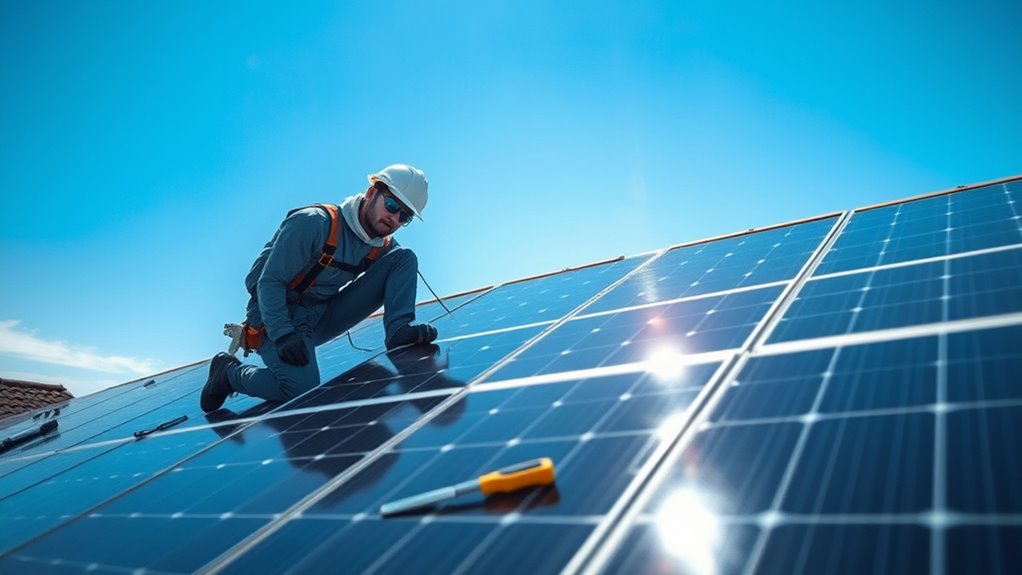
They’ll install the mounting brackets, ensuring they’re secure and aligned for maximum sunlight exposure. After that, the solar panels are carefully lifted and attached to the mounts.
Next, the electricians connect the panels to your home’s electrical system, wiring everything to the inverter. This device converts sunlight into usable electricity for your home.
Finally, the team checks all connections and performs a safety inspection. Once everything’s in place and working, you’ll be ready for the final inspection to activate your system and start generating solar power.
Tips to Get Your Solar Panels Installed Faster
If you want to speed up your solar panel installation, planning ahead can make a big difference. First, gather all necessary permits and paperwork early. Delays often happen due to missing or incomplete documentation.
Next, choose an experienced installer with a strong track record for timely projects. Clear your roof and surrounding area to provide easy access for the installation team.
Communicate openly with your installer about your schedule and availability to avoid misunderstandings. Also, guarantee your electrical system is up to code before installation day to prevent unexpected fixes.
Finally, consider scheduling during off-peak times when installers are less busy. By taking these steps, you’ll help your solar panel installation proceed smoothly and faster.
Frequently Asked Questions
How Much Do Solar Panels Cost on Average?
You’ll typically pay between $15,000 and $25,000 for solar panels on average, depending on system size and location.
Incentives and tax credits can lower your upfront costs considerably, making solar more affordable than you might think.
What Maintenance Do Solar Panels Require?
You don’t need much maintenance for solar panels. Just clean them occasionally, check for debris or shading, and guarantee connections are tight.
It’s a good idea to have annual professional inspections. They help keep your panels efficient and catch any issues early.
How Long Do Solar Panels Typically Last?
Solar panels typically last 25 to 30 years, but you’ll often get even more years of power generation.
With proper care, they can keep working efficiently, saving you money and reducing your carbon footprint long-term.
Are Solar Panels Effective in Cloudy Weather?
Think of solar panels like sunflowers—they still turn toward light even on cloudy days. You’ll find they’re effective in diffused sunlight, though they generate less energy than on bright, sunny days.
Don’t worry, they still work! So even when it’s overcast, your panels are doing their job and capturing whatever sunlight they can.
Can I Install Solar Panels Myself?
Yes, you can install solar panels yourself if you’re comfortable with electrical work and roofing. Just know it’s complex and requires permits. Mistakes can be costly, so be careful.
A lot of people prefer hiring professionals to guarantee safety and a proper setup. It takes some experience to get everything right, but if you’re up for the challenge, it’s definitely doable.
Conclusion
Installing solar panels doesn’t have to feel like watching paint dry. With the right prep and understanding of your roof, permits, and system size, you can keep the process smooth and speedy.
Remember, a little patience during inspections pays off in long-term savings and clean energy.
So, gear up, stay informed, and soon enough, you’ll be soaking up the sun’s power—turning your home into a green energy powerhouse in no time!
Getting solar panels installed efficiently means knowing what to expect. From initial assessment to final hookup, the timeline can vary, but with proper planning, the process can be completed in just a few weeks. Staying proactive about permits and inspections helps avoid delays.
In the end, installing solar panels is an investment in a cleaner future and can significantly reduce your electricity bills. Embrace the journey, and soon, your home will be harnessing renewable energy, making a positive impact on both the environment and your wallet.