7 Steps to Wire Solar Panels in Parallel Correctly
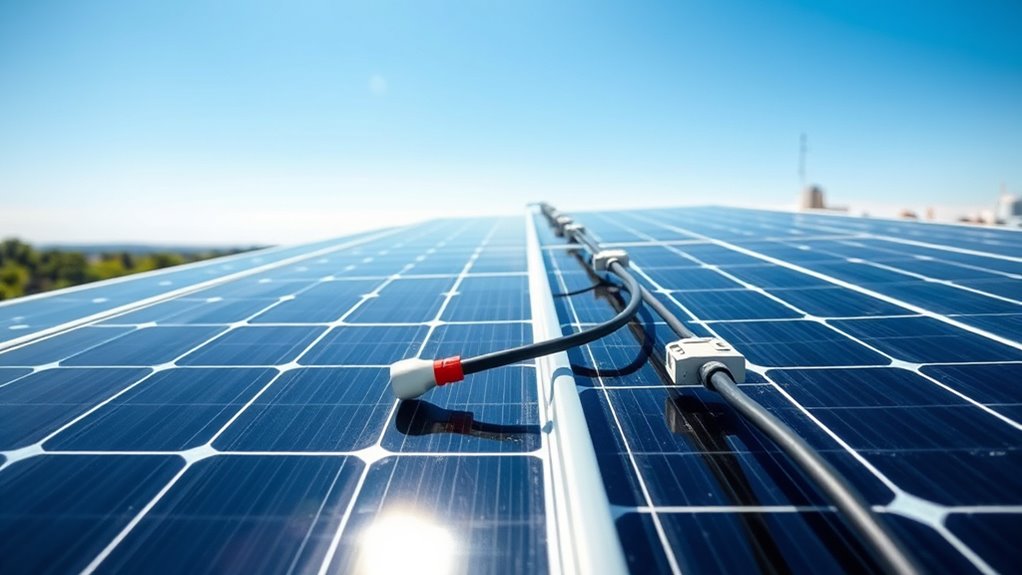
To wire solar panels in parallel correctly, you need to understand that this setup keeps the voltage steady while increasing the current. This is key for maximizing your system’s power output without changing the voltage.
Start by checking each panel’s voltage and current ratings to make sure they match. Using panels with similar specs helps avoid any issues down the line.
Next, gather all your insulated tools and safety gear before you begin. Safety first—it’s always better to be prepared.
Then, connect all the positive terminals together, and do the same with all the negative terminals using the right connectors. It’s important these connections are secure and properly insulated.
Before finalizing the installation, test for continuity to ensure everything is linked correctly.
Taking these steps sets you up for a reliable and efficient solar power system. Keep following along to uncover the full wiring process!
Key Takeaways
- Identify and connect all positive terminals together, and all negative terminals together. This ensures the voltage remains constant while the current increases.
- Make sure the solar panels have matching voltage and similar current ratings. This helps with compatibility and gets the best performance when wiring in parallel.
- Use wires that are the right gauge and connectors that fit well. Secure and insulate all the terminal connections to keep everything safe and prevent any hazards.
- Test continuity and measure the combined output voltage using a multimeter. This step confirms that the wiring is correct and there are no shorts before you install the system.
- Finally, do safety checks to make sure all connections are tight and well insulated. Also, check that everything is free from corrosion for reliable operation over time.
What Is Parallel Wiring and Why Use It?
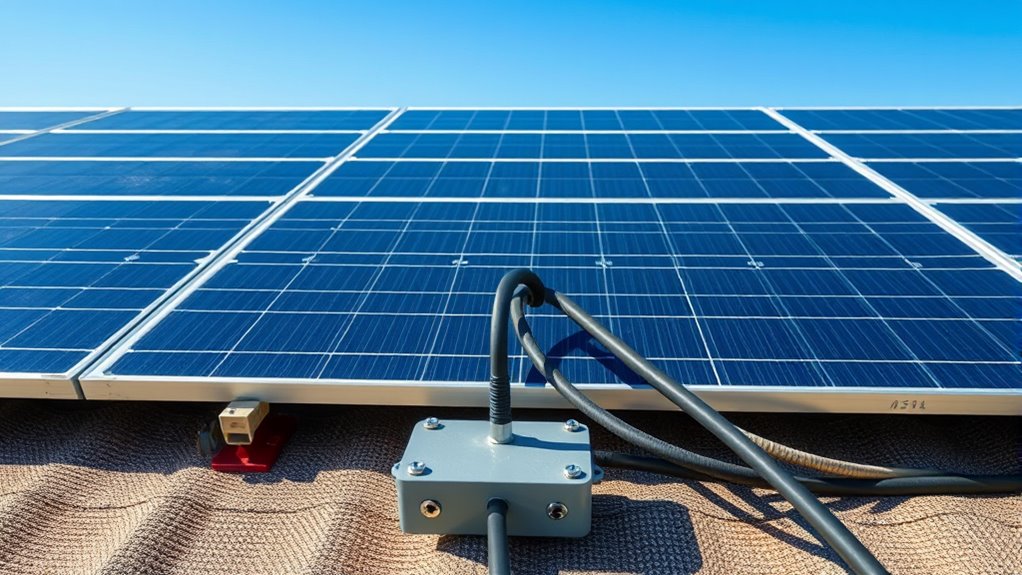
How does parallel wiring affect your solar panel system? When you wire your solar panels in parallel, you connect all the positive terminals together and all the negative terminals together. This setup keeps the voltage the same as a single panel but increases the total current.
You’ll want to use parallel wiring if you need to maintain a specific voltage level while boosting the current to meet higher power demands. It’s especially handy when your charge controller or inverter has voltage limits you can’t exceed.
Parallel wiring also helps if some panels get shaded or dirty, as it minimizes the impact on the overall system performance. This way, your solar setup stays efficient and flexible for various energy needs.
Check Your Solar Panels’ Voltage and Current Ratings
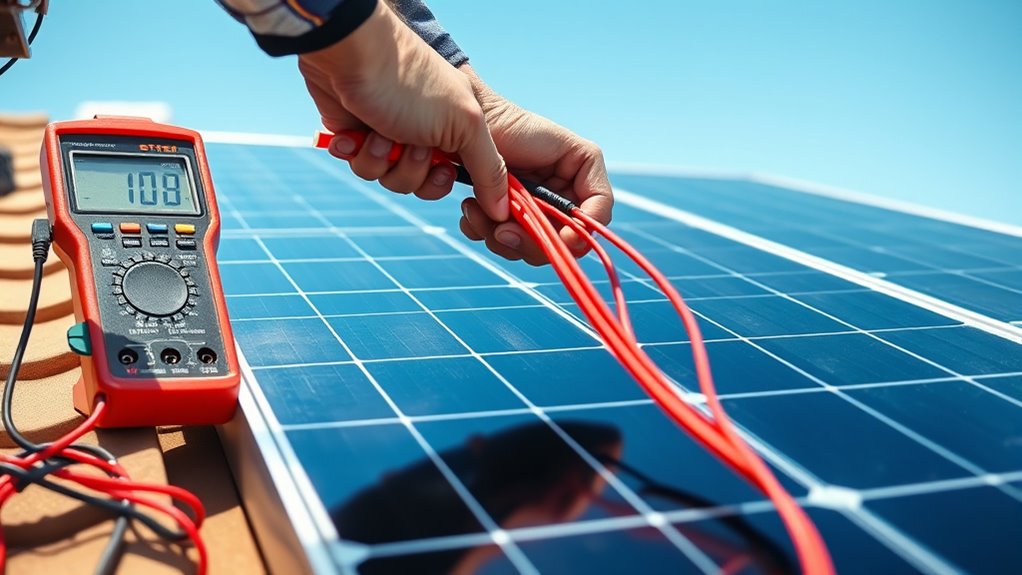
Before wiring your panels in parallel, you need to check their voltage specifications to guarantee compatibility. Make sure the voltage of each panel matches your system requirements.
Also, assess the current ratings to avoid overloading your connectors and wiring. It’s important to get this right to keep everything running safely and smoothly.
Understanding Voltage Specifications
Why does understanding your solar panels’ voltage and current ratings matter? Knowing the voltage specs helps you wire your panels correctly, ensuring your system runs safely and efficiently.
Each panel has a rated voltage—often the open-circuit voltage (Voc) and the maximum power voltage (Vmp). When wiring in parallel, the voltage stays the same across all panels, so you need to confirm their voltage ratings match closely.
Mismatched voltages can cause inefficiencies or damage your components. By understanding voltage ratings, you avoid overloading your charge controller or inverter.
Always check the panel’s label or datasheet for these numbers before wiring. This step sets the foundation for a reliable parallel solar setup, so don’t skip it.
Assessing Current Ratings
Once you’ve confirmed your solar panels’ voltage ratings align, the next step is to evaluate their current ratings. Each panel has a maximum current output, usually listed as “Imp” (maximum power current) on the specification sheet.
When wiring panels in parallel, these currents add up. So, if you connect two panels rated at 5 amps each, your combined current will be 10 amps. It’s vital to verify your wiring, connectors, and charge controller can handle this total current to prevent overheating or damage.
Double-check all components’ current ratings and include a safety margin. Gauging current ratings accurately helps you design a safe, efficient system that maximizes power without risking component failure. Don’t skip this step—it’s essential for a reliable parallel solar array.
Choose the Right Solar Panels for Parallel Wiring
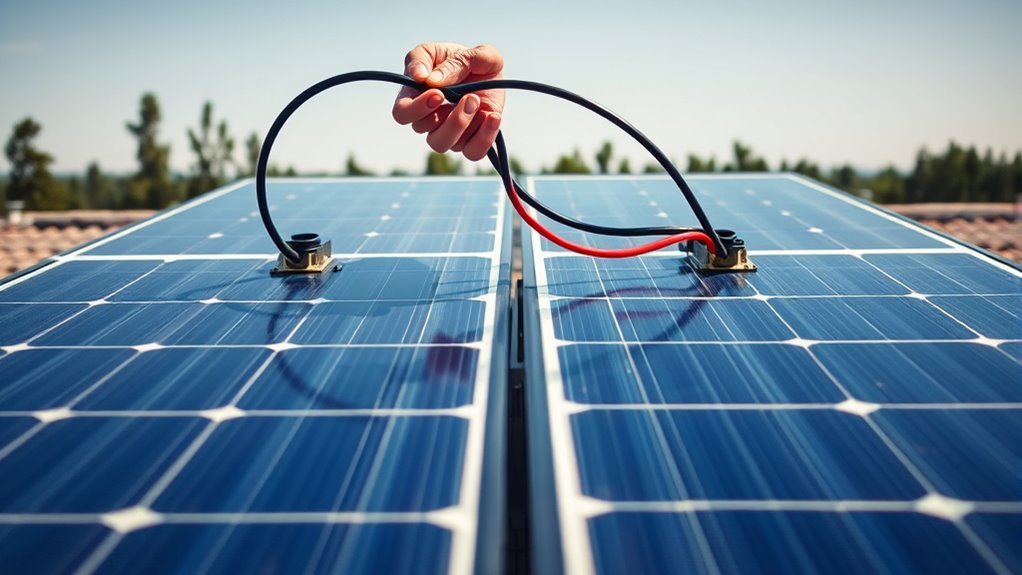
Selecting the right solar panels for parallel wiring is key to maximizing your system’s efficiency and safety. You want panels with the same voltage rating to guarantee they work well together.
Mixing different voltages can cause uneven charging or damage your batteries. It’s also important to match the current ratings closely; if one panel produces more current than another, it can cause imbalance and reduce overall performance.
Look for panels with similar wattage and brand specifications to keep things consistent. Choosing panels designed for parallel setups often includes features like bypass diodes to prevent power loss.
Get Your Tools and Safety Gear Ready
After choosing compatible solar panels, the next step is to gather the right tools and safety gear to guarantee a smooth and safe installation. Having everything ready before you start will help you avoid interruptions and keep the process efficient.
Gathering the right tools and safety gear ensures a smooth, safe, and efficient solar panel installation.
Make sure you have these essentials on hand:
- Insulated wire cutters and strippers for clean, safe connections
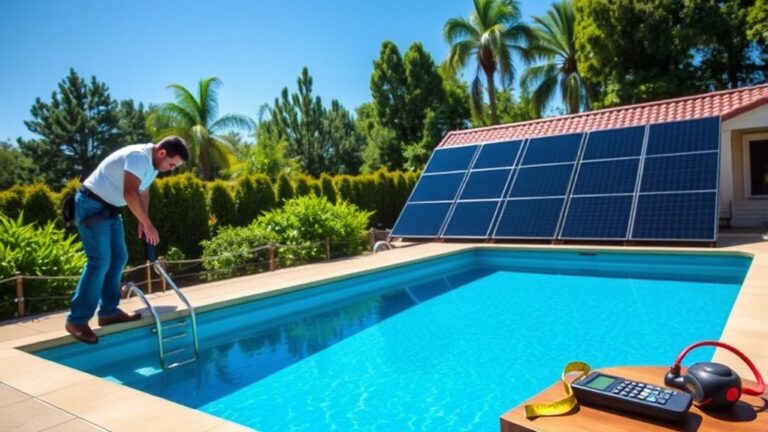
- A multimeter to check voltage and continuity
- Proper connectors like MC4 connectors for secure wiring
- Safety gloves and goggles to protect against electrical hazards and debris
Double-check that your tools are in good condition and rated for electrical work. Wearing safety gear isn’t optional—it’s essential to prevent injuries while handling live wires and mounting panels.
Preparing thoroughly sets you up for success in wiring your panels in parallel. So, get your gear ready and stay safe!
Connect Positive Solar Panel Terminals Safely
Start by clearly identifying the positive terminal markings on each solar panel to avoid confusion. Use the proper connector types designed for your panels to guarantee compatibility and safety.
Make certain every terminal connection is secure to prevent loose wires and potential hazards. It’s really important to double-check everything before moving on. This way, you keep things safe and working smoothly.
Identify Positive Terminal Markings
One of the most important steps when wiring solar panels in parallel is to clearly identify the positive terminal markings on each panel. This helps prevent incorrect connections that could damage your system or reduce efficiency.
Here’s how to spot them easily:
- Look for a “+” symbol near the terminal.
- Check the color coding; positive terminals are often red.
If you’re unsure, refer to the panel’s manual or datasheet for terminal identification. Also, inspect for labels or embossed markings on the panel frame.
Taking a little extra time here can save you a lot of trouble later!
Use Proper Connector Types
Once you’ve identified the positive terminals on your solar panels, the next step is choosing the right connectors to link them safely. Use connectors designed specifically for solar panels, such as MC4 connectors, which guarantee secure, weather-resistant connections.
These connectors snap together firmly, preventing accidental disconnections and exposure to moisture. Avoid generic or incompatible connectors that can cause poor contact or corrosion over time.
Also, make sure the connectors match in size and type across all panels to maintain consistency. Proper connectors not only protect your system but also simplify maintenance and future expansions.
Ensure Secure Terminal Connections
Although choosing the right connectors is crucial, you also need to make certain that every terminal connection is tight and secure to prevent power loss or hazards. Loose connections can cause resistance, overheating, or even sparks. And that can seriously jeopardize your system’s performance and safety.
When connecting the positive solar panel terminals, follow these steps to ensure a secure setup:
- Use a wrench or pliers to firmly tighten terminal screws without over-tightening.
- Inspect terminals for corrosion or debris before connecting.
- Apply dielectric grease to terminals to prevent moisture and corrosion.
- Double-check connections after installation and periodically during maintenance.
Taking these extra steps really helps keep everything running smoothly and safely. It’s worth the effort, trust me!
Link Negative Solar Panel Terminals in Parallel
Before connecting the negative terminals, make certain you’ve identified each panel’s correct polarity to avoid wiring mistakes. Once confirmed, link all negative terminals together using appropriate gauge wiring to handle the current.
Secure connections tightly to prevent voltage drops and corrosion. Keep wires organized and labeled for easy troubleshooting.
| Step | Action | Tip |
|---|---|---|
| 1 | Identify negative terminals | Look for “-” or black wire |
| 2 | Use matching gauge wire | Match wire size to current load |
| 3 | Connect terminals in parallel | Join all negatives together |
| 4 | Tighten and insulate connections | Prevent moisture and oxidation |
Properly linked negative terminals ensure your solar array functions safely and efficiently. It’s a simple step that makes a big difference!
Test Your Solar Panel Parallel Wiring Before Installation
To guarantee your solar panel parallel wiring works correctly, you’ll want to test the connections thoroughly before installation. Testing helps you catch wiring mistakes and assures your system operates safely and efficiently.
Start by checking for continuity between all positive terminals and then all negative terminals to confirm proper parallel connections. Next, measure the voltage across the combined output to verify it matches the panels’ rated voltage.
Finally, inspect all connections for secure fastening and absence of corrosion or damage.
Here’s a quick checklist for testing your wiring:
- Use a multimeter to check continuity on all connections
- Measure output voltage to ensure it aligns with panel specs
- Inspect terminals for firm, clean contacts
- Confirm no shorts exist between positive and negative wires
This preparation saves time and prevents costly errors later. It’s definitely worth taking a few extra minutes to double-check everything before you install.
Frequently Asked Questions
Can I Mix Different Brands of Solar Panels in Parallel?
Yes, you can mix different solar panel brands in parallel, but you should match their voltage ratings closely. Doing so guarantees your system works efficiently without damage or power loss.
Always check compatibility before connecting them. It’s a good idea to double-check all specs to avoid any issues down the line.
How Does Parallel Wiring Affect Battery Charging Time?
Parallel wiring charges your battery faster, like multiple rivers filling a lake simultaneously. It increases current while keeping voltage steady.
What Maintenance Is Required for Parallel-Wired Solar Panels?
You’ll need to regularly clean the panels and check connections for corrosion or looseness. Also, make sure fuses or breakers are intact.
Don’t forget to inspect wiring for any damage. Keeping an eye on the output helps catch issues early, which keeps your system efficient and safe.
Can Shading on One Panel Impact the Whole Parallel System?
Yes, shading on one panel can reduce its output, but it won’t drastically affect the whole parallel system.
You’ll still get power from the other panels, though overall efficiency might dip slightly. So, while one panel’s performance takes a hit, the rest keep working fine.
Is a Charge Controller Necessary for Parallel Solar Panel Setups?
Yes, you need a charge controller for parallel solar panel setups. It protects your battery from overcharging and regulates voltage.
This helps guarantee efficient power management, keeping your entire system safe and running smoothly.
Without it, you could risk damaging your battery or reducing the lifespan of your setup. So, it’s definitely worth having one in place.
Conclusion
Now that you’ve got the hang of wiring your solar panels in parallel, you’re just a few steps away from capturing enough sun power to light up an entire city! By following these simple steps carefully, you’ll guarantee your system runs safely and efficiently.
Remember, double-checking connections and testing everything before installation can save you from a headache bigger than the sun itself. Trust me, a little extra caution goes a long way.
Get ready to harness clean energy like a pro! Wiring solar panels in parallel correctly not only maximizes your power output but also ensures your system’s longevity and safety. With these tips, your solar setup will be efficient, reliable, and ready to power your home or business with sustainable energy. So go ahead, embrace the sun, and enjoy the benefits of clean, renewable solar power!