How Do You Connect Solar Panels in 10 Easy Steps
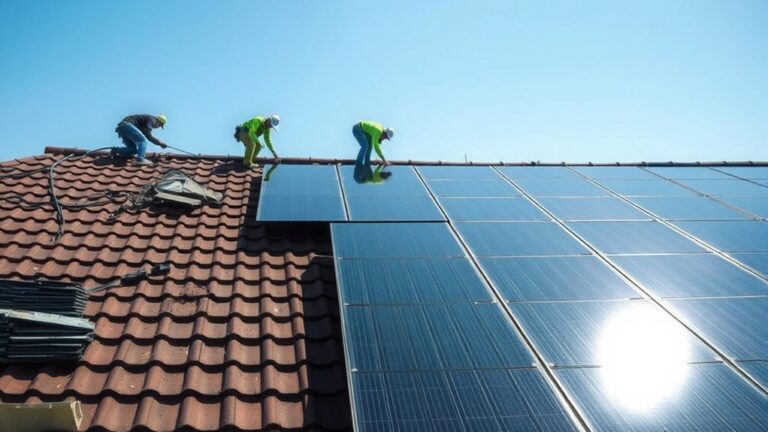
First, choose solar panels that fit your energy needs and available space. It’s important to pick the right size and type to get the most out of your system. Gather tools like a drill, wire cutters, and safety gear to make the installation smooth and safe.
Plan your panel layout carefully to maximize sun exposure. Mount the brackets securely on roof supports so everything stays in place. When attaching the panels, use corrosion-resistant bolts to ensure durability over time.
Next, wire the panels in series or parallel to your charge controller, depending on your setup. Connect the controller to your battery bank, then link the batteries to the inverter.
This setup helps convert and store the solar energy effectively.
Finally, test all connections thoroughly and monitor your system’s performance. This step guarantees efficiency and helps you catch any issues early on. Keep going to uncover detailed tips for each step!
Key Takeaways
- Mount solar panels securely on brackets, aligning holes and fastening with stainless steel bolts to prevent corrosion.
- Connect solar panels in series by linking positive to negative terminals to increase voltage, or in parallel by connecting all positives and negatives separately to increase current.
- Strip panel wires properly and connect to charge controller terminals, ensuring correct polarity and secure tightening.
- Connect the charge controller to the battery bank, positive first, then negative, using appropriately sized cables and verifying polarity.
- Link battery terminals to the inverter with correct gauge cables, ensure grounding, and double-check all connections before powering on.
Choose the Right Solar Panels for Your System
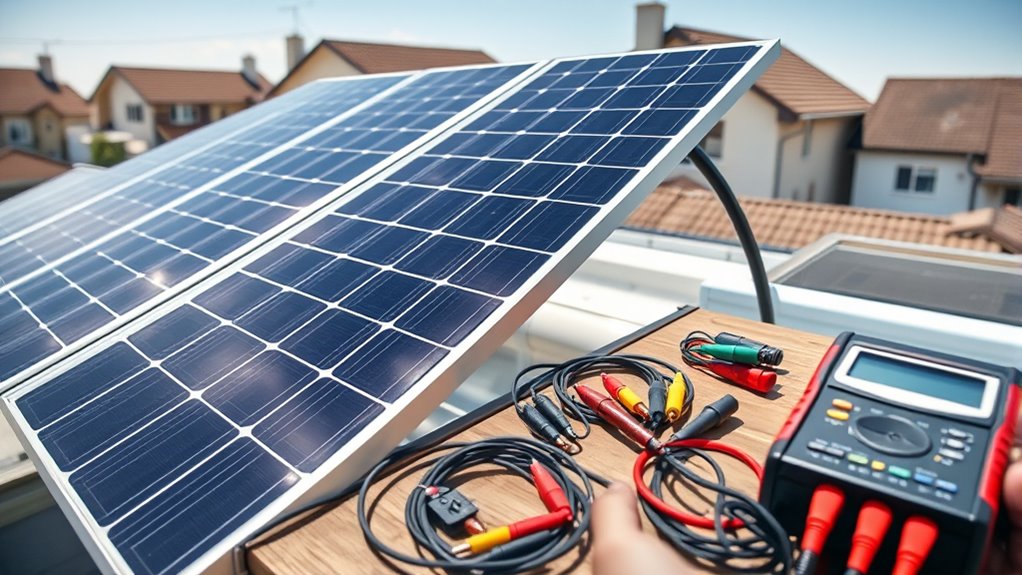
Before you begin installing your solar power system, you need to choose the right solar panels that fit your energy needs and budget. Start by calculating your average daily energy consumption to determine the panel capacity required.
Consider panel types: monocrystalline panels offer high efficiency and a sleek design but cost more, while polycrystalline panels are more affordable with slightly lower efficiency. Also, check the panel’s wattage rating and physical size to verify they suit your available installation space.
Don’t forget to review the warranty and durability, especially if you live in a harsh climate. Finally, balance quality and price to get the best value. Picking the right panels ensures your system performs reliably and meets your energy goals without overspending.
Gather Your Tools and Safety Gear
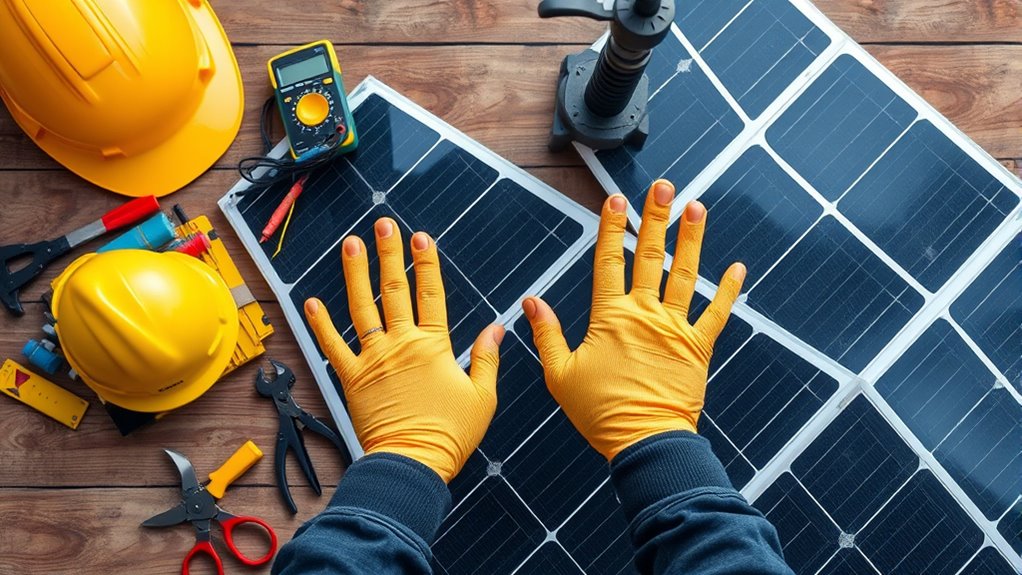
Since proper preparation is vital, you’ll want to gather all necessary tools and safety gear before starting your solar panel installation. Essential tools include a drill with bits, wire cutters, a multimeter for electrical testing, screwdrivers, a wrench set, and a ladder for roof access.
Make sure you have appropriate mounting hardware as well.
Don’t forget to gather all necessary mounting hardware for a secure and stable solar panel setup.
Safety gear is just as important. Always wear insulated gloves to protect against electrical shocks and safety glasses to shield your eyes from debris.
A hard hat can prevent head injuries, especially if you’re working on a rooftop. Non-slip shoes help maintain your footing, and a harness is essential if you’re working at heights.
Having all these ready ensures a safer, more efficient installation process.
Plan Your Solar Panel Layout and Mounting Locations
You’ll want to start by evaluating your roof space to find the best spots for your panels. Next, check which areas get the most sun throughout the day to maximize energy production.
Finally, decide on the mounting type that fits your roof and installation goals. It’s all about making sure everything works well together and gets you the most out of your solar setup.
Assess Roof Space
When planning your solar panel layout, start by measuring your roof’s usable space to determine how many panels you can fit. Identify clear, unobstructed areas free from vents, chimneys, or skylights, which can limit panel placement.
Check the roof’s shape and orientation, noting sections that are flat or angled, as these affect mounting options. Remember to leave space for maintenance access and comply with local building codes.
Take note of any roof obstructions or damage that might require repair before installation. If your roof has multiple surfaces or varying heights, map them out to visualize the best panel arrangement.
Evaluating your roof space carefully helps ensure an efficient layout, optimizing both the number of panels and ease of installation. It’s all about making the most of what you’ve got while keeping things practical.
Determine Sun Exposure
After sizing up your roof space, the next step is to determine how much sunlight each section receives throughout the day. Track sunlight exposure by observing your roof at different times, ideally from sunrise to sunset. Make sure to note any shading from trees, chimneys, or nearby buildings.
You can use a solar pathfinder or a smartphone app to get precise data on sun angles and potential obstructions. Focus on areas with the longest, most direct sunlight to maximize energy production.
Try to avoid spots shaded during peak sun hours, typically between 10 a.m. and 4 p.m. Even partial shading can considerably reduce panel efficiency. By carefully evaluating sun exposure, you’ll ensure your solar panels are positioned where they’ll catch the most sunlight.
This way, your solar setup will be more effective and reliable.
Identify Mounting Types
Although choosing the right mounting system depends on your roof type and panel layout, understanding the available options early on makes planning easier. You’ll typically encounter three main mounting types: flush mounts, pole mounts, and roof racks.
Flush mounts attach panels directly to your roof, which is ideal for sloped roofs with good sun exposure. Pole mounts elevate panels on a single pole, giving you flexibility in angle and location. This is perfect if roof space is limited.
Roof racks provide a sturdy frame that can support panels on flat roofs or uneven surfaces. When selecting mounts, consider your roof’s material, pitch, and structural strength.
Knowing these types helps you decide where and how to position your panels for the best performance while ensuring a secure installation. It really makes the whole process smoother!
Secure Your Mounting Brackets to the Roof
Now it’s time to secure your mounting brackets to the roof using durable materials that can withstand the elements. Make certain you align the brackets carefully with your planned layout to ensure stability.
Use proper fastening techniques to keep everything firmly in place and prevent future issues. This step is super important, so take your time and double-check your work.
Choose Durable Mounting Materials
Selecting the right mounting materials is essential to guarantee your solar panels stay securely attached to your roof for years to come. Opt for corrosion-resistant metals like stainless steel or aluminum, as they withstand weather extremes and prevent rust.
Avoid cheaper materials that might degrade quickly under sun, rain, or wind exposure. Use heavy-duty bolts and screws designed specifically for solar installations to ensure a firm hold.
Don’t forget to include weatherproof seals or flashing around the brackets to prevent water leaks and roof damage. Choosing high-quality, durable components reduces maintenance needs and maximizes your system’s lifespan.
Align Brackets With Roof
Before you secure your mounting brackets, make certain they’re properly aligned with your roof’s structure to guarantee maximum stability. Start by locating the rafters or trusses beneath the roofing material, using a stud finder or blueprints. Mark their positions clearly.
Align each bracket so it sits directly over these structural supports to prevent weak points. Proper alignment also ensures your solar panels withstand wind and weather efficiently.
| Bracket Position | Roof Structure Element |
|---|---|
| Front edge | Rafter 1 |
| Middle section | Rafter 2 |
| Rear edge | Rafter 3 |
| Left side | Truss A |
| Right side | Truss B |
This alignment lets you distribute the panel’s weight evenly and maintain long-term durability. It’s a simple step that really makes a big difference!
Use Proper Fastening Techniques
Once you’ve aligned the mounting brackets over the roof’s structural supports, you’ll need to secure them firmly using the proper fasteners and techniques. Use stainless steel lag bolts or screws designed for roofing to guarantee durability and prevent rust.
Drill pilot holes first to avoid splitting the wood beneath. Tighten each fastener snugly, but don’t overtighten, as this can damage the bracket or roof material.
Apply a high-quality roofing sealant around the fasteners to keep moisture out and prevent leaks. Double-check that all brackets are level and securely attached before moving on.
Proper fastening is essential—it keeps your solar panels stable during strong winds and weather changes, ensuring a long-lasting, safe installation. Take your time to get it right.
Attach Solar Panels to the Mounting Brackets
Although attaching solar panels to the mounting brackets may seem straightforward, doing it correctly guarantees your system stays secure and functions efficiently. Start by positioning each panel on the brackets, aligning the mounting holes with the bracket slots.
Use the appropriate stainless steel bolts and nuts specified by your mounting kit to avoid corrosion and ensure durability. Tighten the fasteners just enough to hold the panel firmly without over-tightening, which could damage the frame.
Double-check that each panel sits flush and is evenly spaced to allow for thermal expansion. Finally, inspect all connections and fasteners once installed to confirm everything is secure.
Taking these careful steps ensures your solar array remains stable through wind and weather, maximizing its lifespan and performance. It’s worth the extra attention!
How to Connect Solar Panels in Series or Parallel
When you start connecting your solar panels, choosing between series and parallel wiring is essential because each method affects your system’s voltage and current differently. Connecting panels in series means linking the positive terminal of one panel to the negative terminal of the next.
This increases the total voltage while the current remains the same as a single panel. It’s ideal if your system requires higher voltage.
On the other hand, wiring panels in parallel involves connecting all positive terminals together and all negative terminals together. This setup keeps the voltage the same as one panel but boosts the total current.
Parallel wiring suits systems needing more current without increasing voltage. Pick the wiring method based on your inverter and battery specifications to optimize performance and safety.
Wire Solar Panels to the Charge Controller
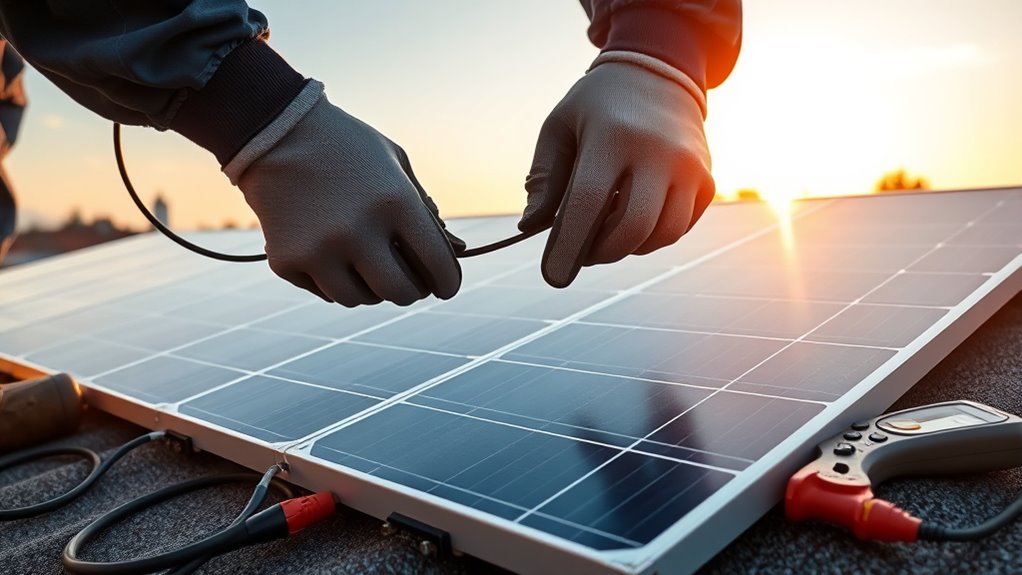
Before you connect your solar panels to the charge controller, make sure you’ve verified the wiring configuration matches your system’s voltage and current requirements. Start by stripping the panel wires to expose about half an inch of copper.
Connect the positive wire from your solar panel array to the positive terminal on the charge controller, then do the same with the negative wire to the negative terminal. Use a screwdriver to tighten the terminals securely, making sure there are no loose connections.
Double-check polarity to prevent damage. If your controller has multiple input ports, confirm you’re using the correct ones for solar panel input.
Once connected, keep the wires organized and insulated to avoid shorts or accidental disconnections. This step prepares your system to safely regulate the energy from your panels.
Connect the Charge Controller to the Battery Bank
After securing your solar panels to the charge controller, the next step is to connect the charge controller to your battery bank. Begin by identifying the positive (+) and negative (–) terminals on both the charge controller and the battery bank. Use appropriately sized cables to ensure safe current flow.
Always connect the positive terminal first, then the negative terminal. This helps avoid sparks or shorts. Make sure the connections are tight and secure to prevent power loss.
Double-check the polarity before finalizing your connections. Reversing them can damage your system, so it’s really important to get this right.
If your charge controller has a dedicated battery connection port, go ahead and use it. It simplifies the wiring process quite a bit.
Once connected, your charge controller will regulate the battery’s charging. It protects your battery from overcharge and deep discharge, which means longer battery life and better system efficiency overall.
Connect the Battery Bank to the Inverter System
Now that your battery bank is set up, it’s time to connect it to the inverter system. You’ll need to follow specific wiring steps to guarantee a secure and efficient connection.
Remember to take all necessary safety precautions to protect yourself and your equipment during this process. It’s important to be careful and double-check your work as you go.
Battery Bank Wiring
Wiring your battery bank to the inverter system involves three essential connections: positive, negative, and grounding. First, connect the positive terminal of your battery bank to the inverter’s positive input using appropriately rated cables. Make sure you use connectors that are secure and corrosion-resistant.
Next, attach the negative terminal of the battery bank to the inverter’s negative input, again ensuring a solid and safe connection. Finally, establish a grounding wire from the battery bank’s metal frame or designated grounding point to your system’s ground.
This step is vital for safety, helping prevent electrical faults and shocks. Double-check all connections for tightness and proper insulation to avoid shorts or voltage drops. With these connections solidly in place, your battery bank will efficiently supply power to the inverter system.
Inverter Connection Steps
Before you connect the battery bank to the inverter system, make sure all battery terminals are clean and securely fastened. Begin by choosing cables with the correct gauge to handle your system’s current.
Connect the positive terminal of the battery bank to the inverter’s positive input, then do the same with the negative terminals. Use ring terminals and tighten connections firmly to prevent loose contacts.
Double-check polarity to avoid damaging the inverter. Once connected, secure the cables to prevent strain or accidental disconnection.
Finally, ensure the inverter is switched off before making connections to protect both you and the equipment. After completing these steps, you’re ready to move on to powering your system and testing the inverter’s operation.
Safety Precautions Overview
Although connecting the battery bank to the inverter might seem straightforward, you need to follow strict safety precautions to protect yourself and your equipment. First, always wear insulated gloves and safety goggles to prevent electrical shocks and eye injuries.
Verify all power sources are turned off before making any connections. Double-check polarity—connecting positive to positive and negative to negative—to avoid damaging the inverter or batteries.
Use properly rated cables and secure all connections tightly to prevent sparks or overheating. Keep the work area dry and free from flammable materials.
Finally, follow the manufacturer’s guidelines and local electrical codes carefully. Taking these precautions will help you safely complete the connection and ensure your solar power system operates reliably.
Test and Monitor Your Solar Power Setup
Once your solar panels are connected, you’ll want to test and monitor your system to guarantee it’s working efficiently and safely. Begin by checking all electrical connections for tightness and proper insulation.
Use a multimeter to measure voltage and current output, ensuring they match expected values based on sunlight conditions. Next, inspect the inverter display or monitoring app for any error messages or performance issues.
Regularly track your system’s energy production to spot drops that could indicate shading, dirt buildup, or component faults. Set up alerts if your system supports them, so you’re promptly informed of any problems.
Frequently Asked Questions
How Do Solar Panels Affect My Home Insurance Policy?
Adding solar panels usually increases your home’s insured value, so you’ll need to update your policy. Some insurers might raise premiums, but others offer discounts for eco-friendly upgrades.
It’s always a good idea to check with your provider first. That way, you know exactly what to expect and can make the best decision for your home and budget.
What Maintenance Do Solar Panels Require Over Time?
You’ll need to clean your solar panels regularly, check for debris or damage, and inspect wiring connections. Also, monitor their performance annually to guarantee efficiency.
Scheduling professional inspections every few years helps keep everything running smoothly. It’s a good way to catch any issues early and ensure your system lasts a long time.
Can I Expand My Solar System Later?
You can absolutely expand your solar system later—it’s as easy as adding stars to the night sky!
Just make sure your inverter and wiring can handle the extra panels. It’s always a good idea to consult a professional to optimize your setup safely.
Are Solar Panels Effective in Cloudy Weather?
Yes, solar panels still work on cloudy days, but they’ll produce less electricity since they rely on sunlight.
You can expect around 10-25% of their usual output, so they’re less effective but still useful. It’s not ideal, but definitely better than nothing!
How Do Solar Panels Impact Property Value?
You’ll boost your property value by installing solar panels since buyers love energy savings and eco-friendly features. They make your home more appealing, often increasing resale value and attracting environmentally conscious buyers quickly.
Plus, many people are looking for homes that help them save on utility bills right away. So, having solar panels can really make your property stand out in the market.
Conclusion
Connecting solar panels might seem complex at first, but by following these steps, you turn confusion into clarity. What once felt overwhelming becomes empowering as you see your system come alive.
From mounting brackets to monitoring power, each task builds your confidence. Remember, the effort you put in now contrasts with the freedom you’ll enjoy later—clean, renewable energy at your fingertips.
You’re not just installing panels; you’re creating a brighter, independent future. By connecting solar panels yourself, you gain hands-on experience and take control of your energy needs. This process not only saves money but also helps reduce your carbon footprint. Embracing solar power means investing in sustainable living and energy independence. So, take these 10 easy steps to connect your solar panels and start enjoying the benefits of clean energy today!