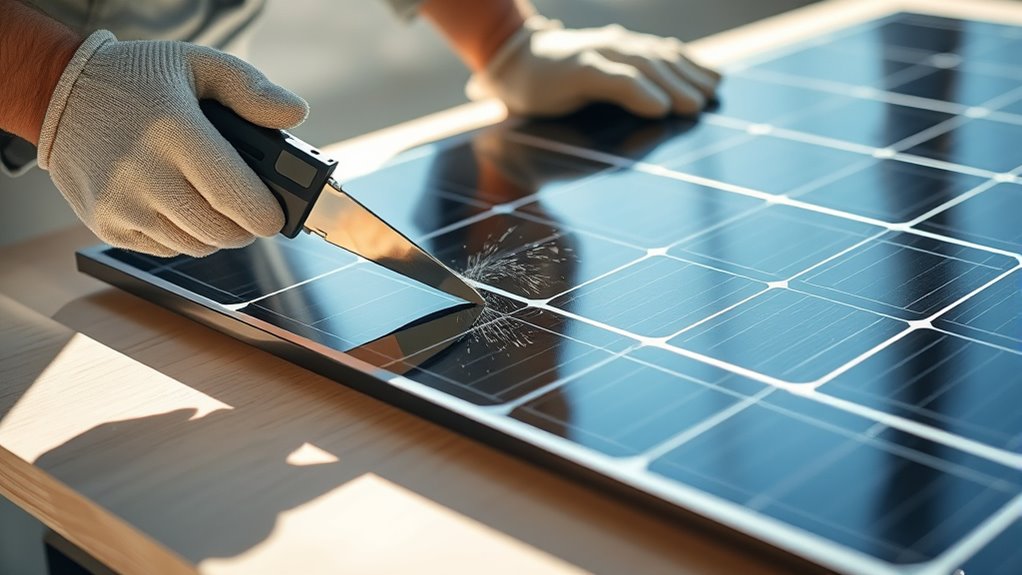
How to Safely Cut Your Solar Panel in Half
To safely cut your solar panel in half, start by disconnecting it from any power source. Make sure you wear safety gear like goggles and gloves to protect yourself. Setting up a clean, well-lit workspace is essential for accuracy and safety.
Next, mark your cut line clearly on the back of the panel. Use a fine-toothed saw or glass cutter to carefully follow the line. Be gentle — fragile cells and wiring need to be protected with tape and careful handling to avoid damage.
After you’ve made the cut, seal the edges with UV-resistant silicone to keep everything secure and weatherproof. Don’t forget to test all connections before using the panel again.
Following these steps will help keep your solar panel functional and efficient. And hey, there’s still more to learn about protecting and reconnecting your panel after cutting!
Key Takeaways
- Disconnect the panel from power and wear safety goggles and gloves before starting any cutting work.
- Mark the cut line clearly on the back using a ruler and permanent marker for precise guidance.
- Use a fine-toothed saw or glass cutter to cut steadily along the marked line while supporting the panel evenly.
- Cool the blade regularly during cutting by pausing or wiping with a damp cloth to prevent overheating.
- Seal exposed edges with UV-resistant silicone, let it cure fully, then carefully reconnect wiring and test output.
It’s important to take your time with each step to avoid damaging the panel. Safety first, always!
When and Why You Might Need to Cut a Solar Panel
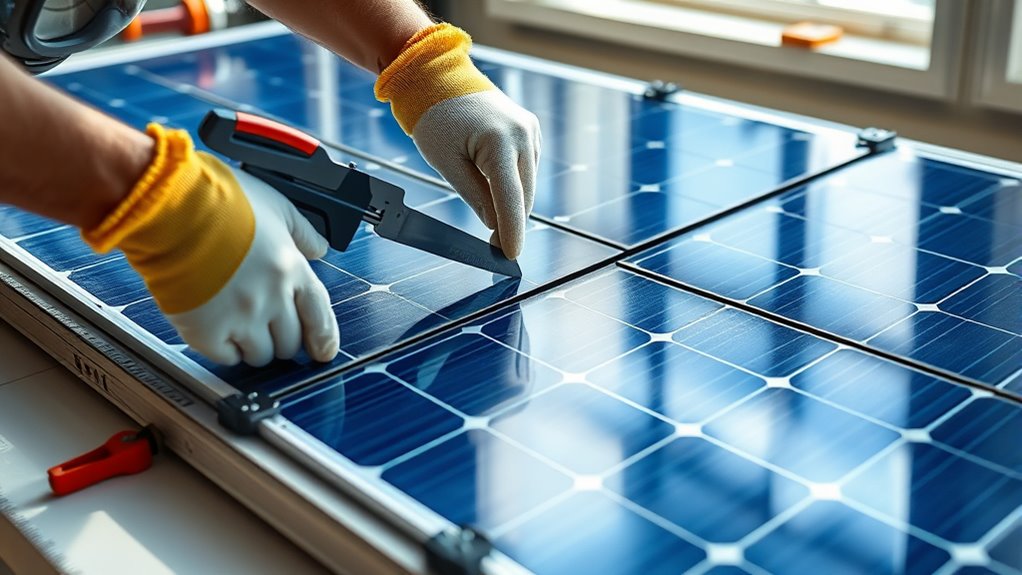
Why would you need to cut a solar panel in the first place? You might want to resize it to fit a specific space on your roof or vehicle where a full panel simply won’t fit. Cutting can also help you customize the panel’s output to match your energy needs by reducing its wattage.
Sometimes, damaged sections of a panel need removal to maintain overall functionality. Additionally, modifying panels can be necessary for unique DIY projects or off-grid setups where standard sizes don’t work.
Keep in mind that cutting a solar panel isn’t always ideal and should be done thoughtfully since it can affect the panel’s efficiency and warranty. Understanding when and why to cut helps you make an informed decision before proceeding.
Choosing and Preparing Tools and Workspace for Cutting Solar Panels
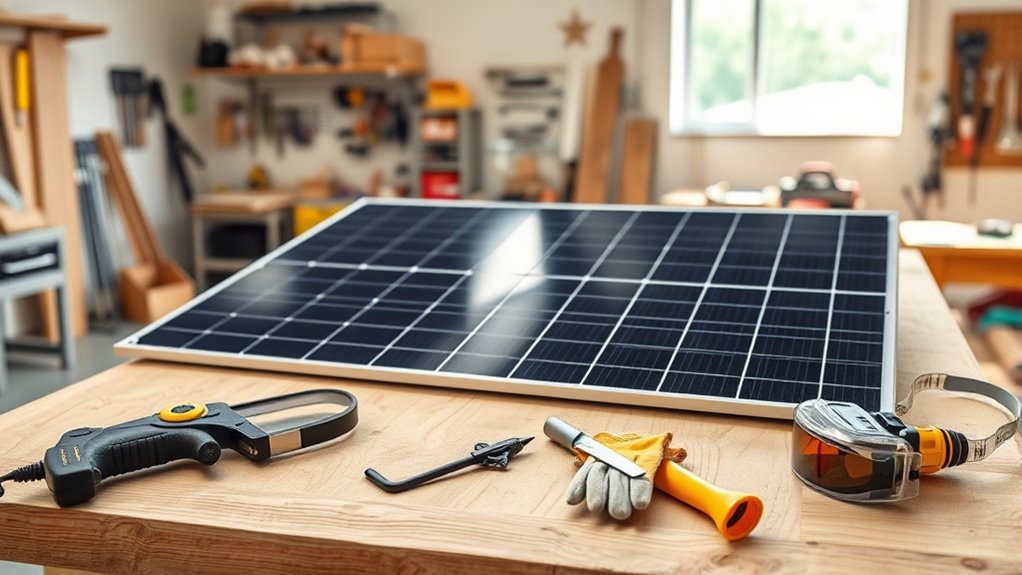
Before you start cutting your solar panel, you’ll need to gather the right tools and set up a safe, organized workspace. Choose a clean, flat surface with plenty of room to maneuver.
Make sure you have a glass cutter or a fine-toothed saw, safety goggles, gloves, and a utility knife. Keep everything within reach to avoid distractions.
Proper lighting helps you see precise cut lines.
| Tool/Setup | Why It Matters |
|---|---|
| Glass Cutter | Clean cuts, less damage |
| Safety Goggles | Protect your eyes |
| Gloves | Prevent cuts |
| Organized Space | Focus and safety |
Taking these steps helps you work confidently and avoid accidents during your solar panel modification.
Keep Your Solar Cells and Wiring Safe While Cutting
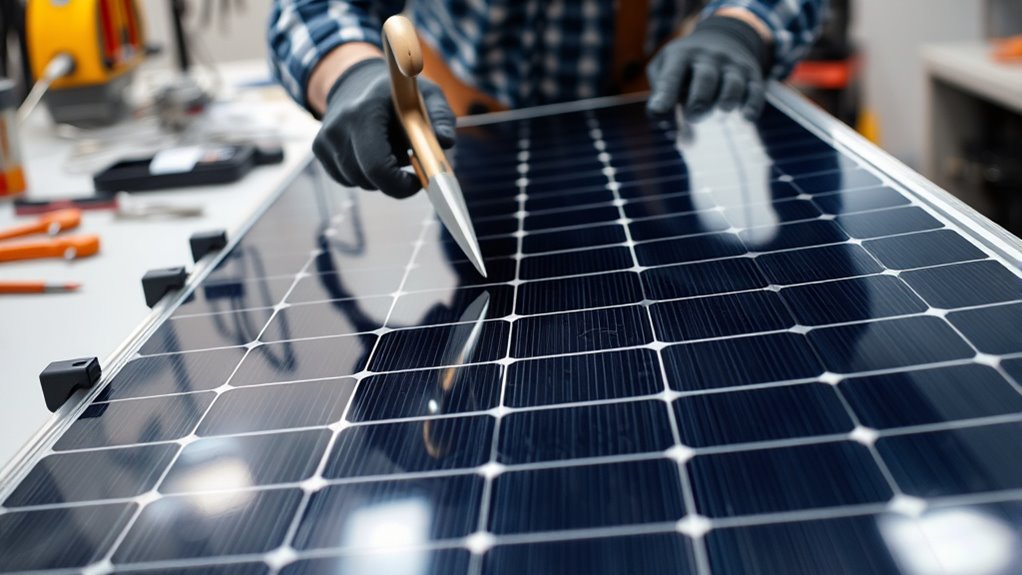
While cutting your solar panel, you’ll need to carefully protect the solar cells and wiring to prevent damage that could reduce efficiency or cause failure. Start by identifying the exact location of the cells and wiring within the panel.
Avoid applying pressure directly on the cells, as they’re fragile and can crack easily. Use insulating tape to cover exposed wiring to prevent short circuits.
When handling the panel, support it evenly to avoid bending or flexing that could stress the internal connections. Keep sharp tools away from wiring paths and work slowly to avoid accidental cuts.
Maintaining the integrity of the cells and wiring guarantees your modified panel will still perform well and last longer after the cut. So, take your time and handle everything gently.
Step-by-Step Guide to Cutting Your Solar Panel Safely
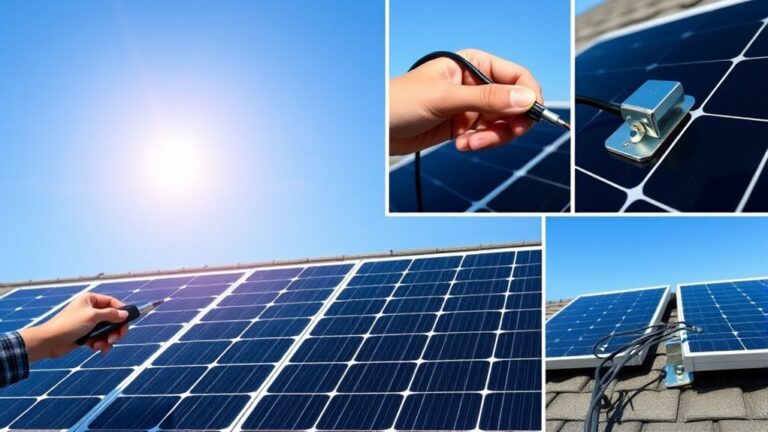
As you prepare to cut your solar panel, follow each step carefully to guarantee a clean, safe cut without damaging the cells or wiring. First, disconnect the panel from any power source and wear protective gloves and goggles.
Next, mark your cutting line clearly on the back of the panel using a ruler and a marker. Place the panel on a stable, flat surface.
Using a fine-toothed saw or a rotary tool with a cutting wheel, slowly and steadily cut along the marked line, applying gentle pressure to avoid cracking the cells. Keep the blade cool by pausing regularly or using a damp cloth.
Once cut, inspect the edges for any sharp or uneven spots, and smooth them with fine sandpaper. Easy, right? Just take your time, and you’ll be good to go!
Seal, Test, and Reconnect Your Solar Panel
Once you’ve cut your solar panel, you’ll need to seal the edges properly to protect it from moisture and debris. This step is super important to keep your panel safe and working well.
Next, test the electrical connections carefully to guarantee everything works as expected. Take your time here to make sure there are no issues.
Finally, reconnect your panel to your system, making sure all connections are secure and safe. Double-check everything so your setup runs smoothly.
Proper Sealing Techniques
Several key steps guarantee your solar panel stays protected after cutting it in half, starting with proper sealing. First, clean the cut edges thoroughly to remove debris and dust.
Then, apply a high-quality, UV-resistant silicone sealant specifically designed for outdoor use. Be sure to cover all exposed areas to prevent moisture from entering, which can damage the cells and connections.
Use painter’s tape along the edges to create clean lines and avoid excess sealant spreading. After applying the sealant, let it cure fully as per the manufacturer’s instructions—this usually takes 24 to 48 hours.
Proper sealing assures durability and weather resistance, keeping your panel functional and safe. Once sealed, you can move on to reconnecting your panel confidently.
Electrical Testing Procedures
How do you guarantee your solar panel functions correctly after sealing it? First, double-check your seal to ensure it’s watertight and secure. Next, reconnect the panel’s wiring carefully, matching polarity to avoid damage.
Use a multimeter to measure the voltage and current output—compare these readings with the panel’s specifications. If values align, your panel is working properly. If not, inspect your connections for loose wires or shorts.
Always perform these tests in a shaded area to prevent inaccurate readings from direct sunlight. Finally, seal any exposed wires with heat shrink or electrical tape to protect against moisture and corrosion.
Troubleshoot Common Issues After Cutting Your Solar Panel
If you encounter performance drops or unexpected behavior after cutting your solar panel, don’t panic. Troubleshooting is key to restoring functionality.
Start by checking your electrical connections to guarantee they’re secure and properly insulated. Inspect the cut edges for any visible damage or exposed wiring that might cause shorts.
Begin by ensuring electrical connections are secure and inspecting cut edges for damage or exposed wiring.
Use a multimeter to verify voltage and current output against expected values. Also, confirm that the panel’s bypass diodes weren’t damaged during cutting, as this can affect performance.
Finally, assess the mounting and orientation to make sure nothing shifted during the modification.
Here’s a quick checklist to guide you:
- Verify all electrical connections
- Inspect cut edges for damage
- Test voltage and current output
- Check bypass diodes for faults
- Confirm panel mounting and orientation
Frequently Asked Questions
Can Cutting a Solar Panel Affect Its Warranty?
Yes, cutting your solar panel usually voids its warranty since it damages the original structure. Manufacturers expect panels to remain intact, so altering them can lead to denied claims or loss of support.
Basically, they want the panels to be used as designed. So, if you go ahead and cut them, don’t be surprised if your warranty is no longer valid. It’s always best to check with the manufacturer before making any changes.
What Are the Environmental Impacts of Cutting Solar Panels?
Cutting solar panels can release hazardous materials like lead or cadmium, harming the environment. You’ll also reduce their efficiency, causing more waste.
How Do Different Solar Panel Types Respond to Cutting?
Imagine fragile glass shards: monocrystalline panels crack easily when cut, while thin-film panels, like flexible sheets, handle cuts better but lose efficiency.
You’ll need precision and care to maintain function regardless of panel type. It’s all about being gentle and exact.
Cutting solar panels isn’t something to take lightly!
Are There Professional Services for Cutting Solar Panels?
Yes, you can find professional services that specialize in cutting solar panels. They’ll use precise tools and techniques to avoid damage, ensuring your panel remains functional and safe.
Don’t try cutting them yourself without expertise. It’s better to leave it to the pros who know what they’re doing.
Can Cut Solar Panels Be Recycled Effectively?
Yes, you can recycle cut solar panels effectively, but you’ll need to take them to specialized recycling centers. They know how to handle these panels safely and recover valuable materials like silicon, glass, and metals.
This process helps minimize environmental impact while maximizing the reuse of important resources. So, it’s definitely worth bringing your cut panels to the right place for recycling.
Conclusion
Cutting your solar panel might seem risky, but with the right steps, you can do it safely and effectively. Did you know that over 30% of solar panel damage comes from improper handling?
By preparing your workspace, protecting your cells, and following each step carefully, you’ll avoid common pitfalls and keep your system running smoothly.
Remember, patience and precision make all the difference when modifying your solar setup. Stay safe and power on!
When it comes to safely cutting your solar panel in half, taking the right precautions is key. Using the proper tools and handling the panel gently will help protect those delicate solar cells from damage. Always work in a clean, well-lit area and wear protective gear to avoid accidents.
By following these tips, you can modify your solar panel without compromising its performance. So take your time, be precise, and you’ll enjoy a safe and effective solar setup that keeps your power flowing strong!