
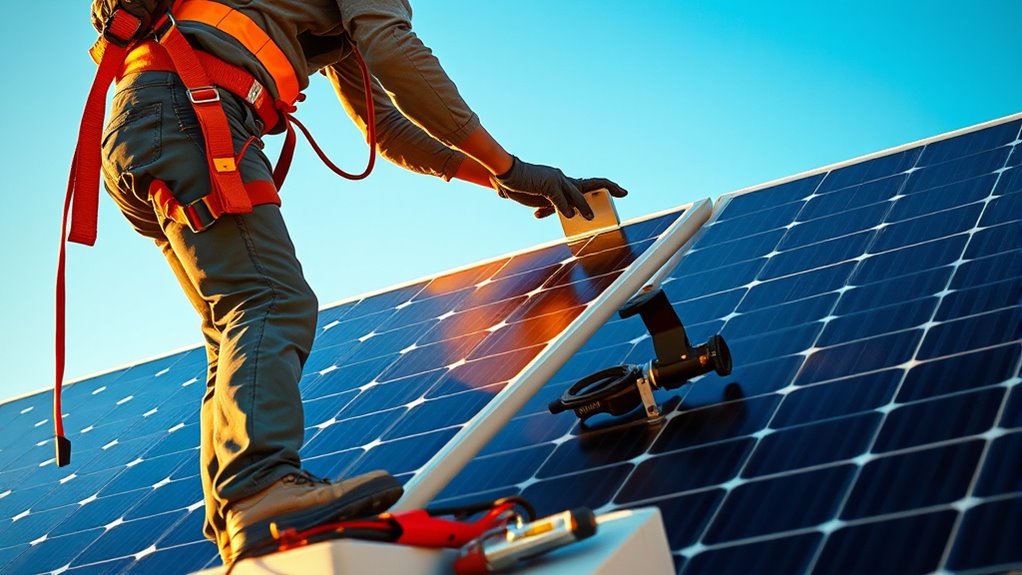
How Do You Add Solar Panels to an Existing System?
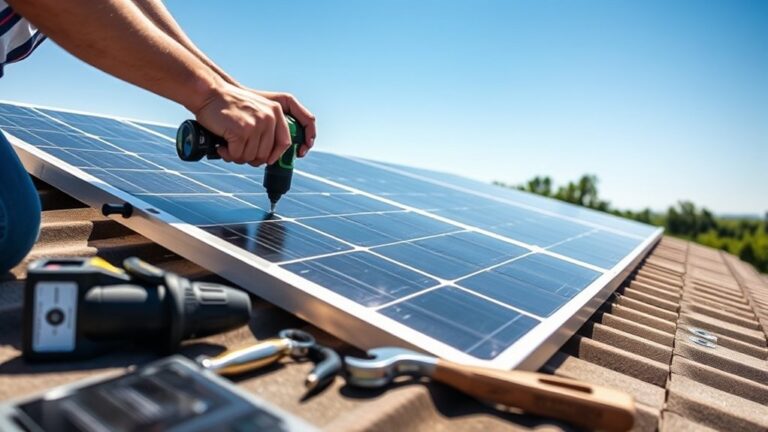
To add solar panels to your existing system, start by checking your inverter’s capacity and available space. This step guarantees it can handle more panels without any issues.
You’ll also want to choose panels that match your current system’s voltage and wattage to ensure everything works smoothly together.
Next, consider upgrading your wiring and electrical components if needed.
Don’t forget to secure any necessary permits before you begin installation.
Once you’ve got everything set, connect the new panels correctly and test the system to make sure it’s functioning properly.
After installation, keep an eye on your system’s performance.
Adjust settings as needed to optimize the output and get the most from your expanded solar setup.
Stick with us to uncover detailed steps that make your solar panel expansion process smooth and hassle-free!
Key Takeaways
– Assess your current inverter capacity and available space to make sure it can support additional solar panels.
You don’t want to add panels that your system can’t handle, right? So, check this first.
– Select compatible panels that match voltage, wattage, and type for seamless integration with your existing setup.
It’s important to keep everything working smoothly together.
– Upgrade wiring, breakers, and possibly the electrical panel to handle the increased load safely and efficiently.
Safety first! You want to avoid any electrical issues down the line.
– Obtain necessary permits, submit detailed plans, and schedule inspections to comply with local regulations.
Don’t skip this step — it keeps everything above board and legal.
– Test the expanded system, monitor performance, and schedule regular maintenance for optimal operation.
Keep an eye on things so your system runs at its best.
How to Check Your Solar System Capacity
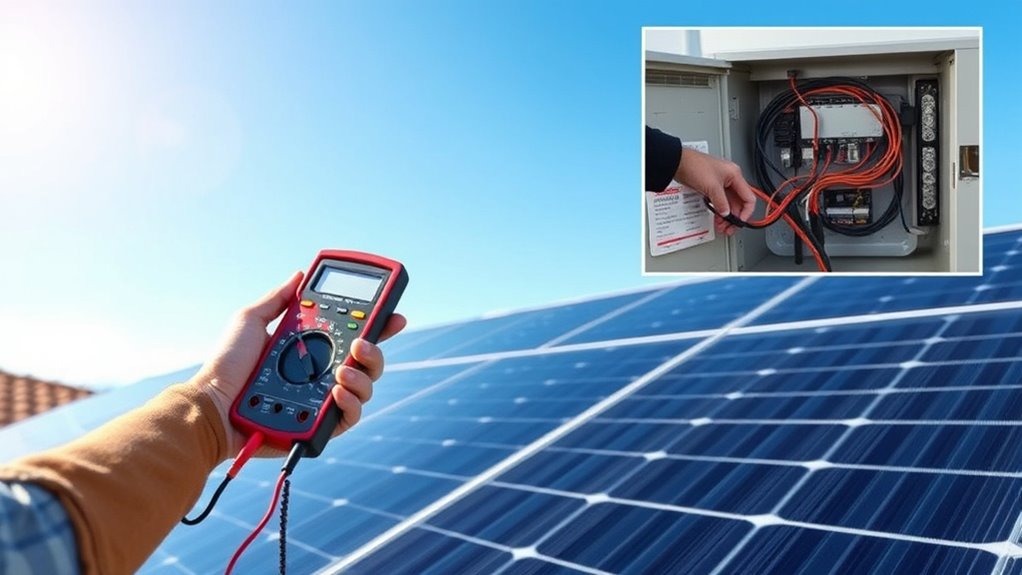
Before adding more solar panels, you’ll need to check your current system’s capacity to assure it can handle the extra load. Start by reviewing your inverter’s maximum wattage—this device controls how much energy your system can process.
Ensure your inverter can handle additional solar panels by checking its maximum wattage capacity first.
If your panels produce more power than the inverter can handle, you’ll face inefficiencies or potential damage. Next, examine your existing solar panel array’s wattage and compare it with your energy needs.
Check your utility meter and solar monitoring system for production data to understand your current output and usage patterns. Also, verify your system’s electrical components, like wiring and breakers, to confirm they meet the demands.
This initial capacity check helps you avoid costly mistakes and sets a solid foundation for adding panels successfully. It’s a smart step that makes the whole upgrade process smoother and safer.
How to Upgrade Your Electrical System for Expansion
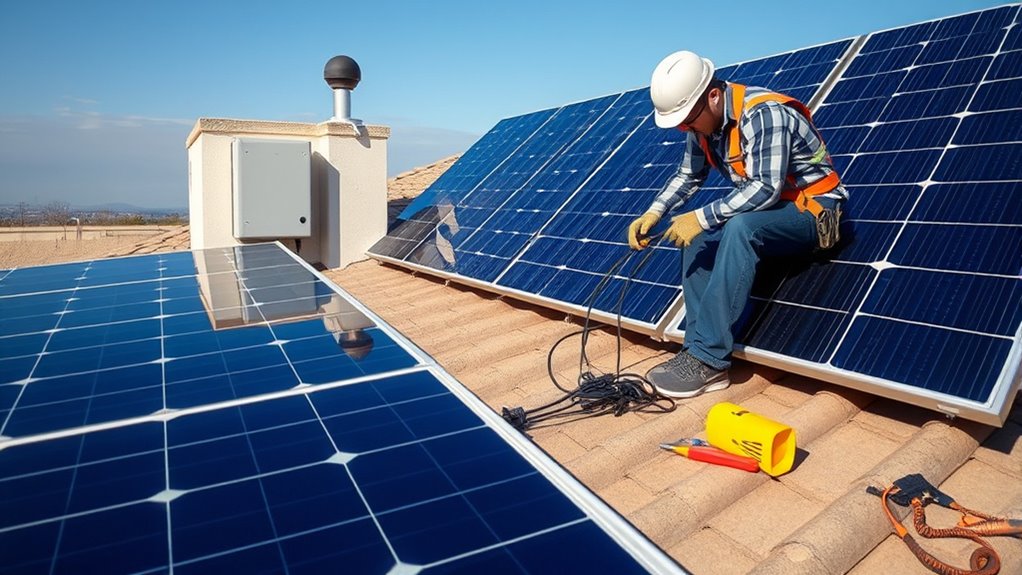
Once you’ve confirmed your system can handle more panels, it’s time to prepare your electrical setup for the upgrade. Start by inspecting your inverter’s capacity; if it’s too small, you’ll need a larger one or an additional inverter to manage the extra power.
Next, check your wiring and breakers—upgrading to thicker gauge wires and higher-rated breakers ensures safety and efficiency. Don’t forget to evaluate your electrical panel’s space and capacity; you might need to install a subpanel or upgrade the main panel to accommodate new connections.
Finally, consult a licensed electrician to verify that all upgrades meet local codes and standards. This step is really important. Properly enhancing your electrical system will maximize performance and keep your expanded solar array running smoothly.
How to Choose Compatible Solar Panels
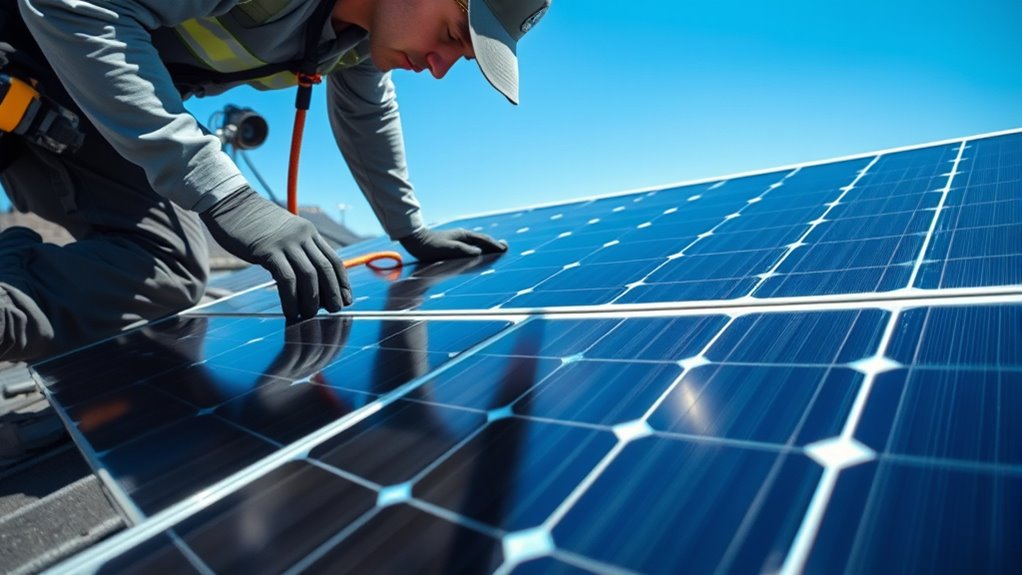
Choosing compatible solar panels is essential to guarantee your expanded system operates efficiently and safely. First, match the voltage and current ratings of your new panels with your existing ones to avoid imbalances that could reduce performance or damage components.
Next, consider the panel type—monocrystalline, polycrystalline, or thin-film—to ensure consistency in efficiency and aesthetics. Also, check the physical size and mounting options, so the new panels fit seamlessly with your current setup.
Pay attention to the power output; select panels with similar wattage to maintain system balance. Finally, verify that the new panels comply with your inverter’s specifications. Incompatible panels can cause inverter issues or reduce overall system efficiency.
How to Connect New Panels to Your Existing Setup
Before you connect new panels, make certain their wiring matches your existing setup to avoid compatibility issues.
You’ll also want to contemplate the best integration techniques to ensure everything works smoothly together.
Let’s go over how to check wiring compatibility and connect your new panels properly.
Wiring Compatibility Check
How do you guarantee your new solar panels work seamlessly with your existing system? Start by checking the wiring compatibility. You’ll want to confirm that the voltage and current ratings of the new panels match those of your current setup to avoid overloading or underperforming.
Next, inspect the type and gauge of wiring used; mixing incompatible wire sizes or insulation types can cause inefficiencies or safety hazards. Also, make sure the connectors on the new panels are compatible with your existing wiring or plan to use appropriate adapters.
Finally, verify that your charge controller and inverter can handle the increased input from the added panels. Double-checking these factors prevents electrical issues and keeps your solar system running smoothly.
Panel Integration Techniques
Where do you start when it’s time to connect new solar panels to your existing system? First, match the new panels’ voltage and current ratings with your current setup to guarantee compatibility.
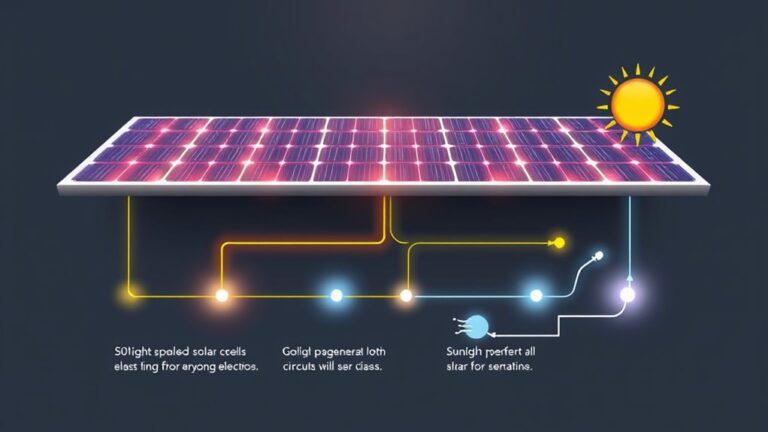
You’ll typically wire panels in series or parallel, depending on your system’s design. For series connections, add panels to increase voltage; for parallel, increase current.
Use appropriate connectors and cables rated for your system’s amperage to maintain safety and efficiency. Next, integrate the new panels into your combiner box or charge controller input, following manufacturer guidelines.
Don’t forget to check for proper grounding and use blocking diodes if necessary to prevent backflow. Finally, test the system thoroughly after integration to confirm everything operates smoothly and safely.
How to Get Solar Permits and Pass Inspections
Before adding new panels, you’ll need to understand your local permit requirements to avoid delays. Make sure you know exactly what paperwork is needed and gather everything in advance.
Confirm your paperwork is complete and accurate to get approval quickly. Double-check all the details so nothing holds up the process.
Then, prepare thoroughly for the final inspection to ensure your system meets all safety and code standards. It’s a good idea to review the checklist beforehand, so you’re not caught off guard.
Understanding Permit Requirements
Handling the permit process can feel overwhelming, but knowing what’s required will make it much easier. When adding solar panels to your existing system, you’ll need to secure permits from your local building or electrical authority. These permits ensure your installation meets safety and code standards.
Start by contacting your city or county’s permitting office to learn their specific requirements. You’ll typically need to submit updated system plans showing the new panels and electrical changes. The permitting process may also require an application fee and utility approval if you’re modifying grid interconnection.
Staying organized and providing accurate, detailed documentation helps expedite approval. Remember, skipping permits can lead to fines or forced removal. So, do this right from the start to keep your project compliant and hassle-free.
Preparing For Final Inspection
How do you guarantee your solar panel addition passes the final inspection smoothly? First, double-check that all work complies with local codes and the permit specifications.
Keep your documentation organized, including permits, inspection checklists, and product certifications. That way, you’ll have everything ready to present when the inspector arrives.
Clear any debris and ensure easy access to the panels and electrical components. It makes the inspection process much easier and faster.
Also, communicate with your installer to confirm everything is up to standards before the inspection date. Being proactive here can save you last-minute headaches.
| Step | Tip |
|---|---|
| Documentation | Keep permits and manuals ready |
| Site Preparation | Clear debris and ensure access |
| Compliance Check | Verify code and permit adherence |
How to Optimize and Monitor Your Expanded System
Once you’ve added solar panels to your existing system, you’ll want to guarantee it runs efficiently and reliably. Start by updating your monitoring software or app to include the new panels, so you can track their output in real time.
Regularly check the system’s performance data to spot any irregularities or drops in energy production. Cleaning the panels periodically is also key—dust and debris can really reduce their efficiency.
Don’t forget to inspect wiring and connections to make sure everything is secure after the expansion. It might also be a good idea to consult a professional for a system audit. They can help optimize inverter settings and balance loads.
Frequently Asked Questions
How Long Does It Take to Install Additional Solar Panels?
It usually takes a few hours to a full day to install additional solar panels, depending on your system’s complexity.
You’ll want a professional to handle wiring and mounting to guarantee everything works safely and efficiently.
Will Adding Panels Increase My Home’s Property Value?
“Don’t put all your eggs in one basket.” Adding panels usually boosts your home’s property value by lowering energy costs and increasing appeal.
You’ll attract eco-conscious buyers who appreciate long-term savings and sustainability benefits. It’s a smart move that pays off in more ways than one.
Can I Add Solar Panels Myself or Hire a Professional?
You can add solar panels yourself if you have electrical skills. But it’s safer and more efficient to hire a professional.
They’ll guarantee proper installation, meet regulations, and optimize your system’s performance. Plus, you avoid risking damage or injury.
What Maintenance Is Required After Expanding My Solar System?
Your expanded solar system is like a garden—you’ll need to regularly clean the panels and check for shading or damage.
Also, keep an eye on performance and make sure all the connections stay tight.
Doing this helps keep your energy flowing smoothly and efficiently.
Are There Any Tax Credits for Adding More Solar Panels?
Yes, you can usually claim tax credits like the Federal Investment Tax Credit (ITC) when adding solar panels.
Make sure to check current local and state incentives, as they often offer additional savings alongside federal credits.
It’s a good idea to look into these options before you start, so you don’t miss out on any benefits.
Conclusion
Now that you know how to seamlessly supplement your solar setup, stepping smartly and safely is simple. Start by sizing your system sensibly, select suitable solar panels, and secure the necessary permits promptly.
Then, connect carefully and check your circuits to guarantee everything syncs smoothly. By monitoring and maintaining your expanded energy ecosystem, you’ll maximize your system’s success and savings.
Stay savvy, stay sustainable, and shine on with your solar system! Adding solar panels to an existing system is a great way to boost your energy production and reduce your electricity bills. Just remember to plan carefully, follow safety guidelines, and keep an eye on your system’s performance for the best results.



4 Comments