How to Hook Up Solar Panels in 3 Easy Steps
To hook up your solar panels in three easy steps, first gather all the materials you’ll need and pick a sunny, stable spot to mount your panels safely. Choosing the right location is key to getting the most sunlight and maximizing your solar energy system’s efficiency.
Next, wire your panels to the charge controller and battery. Make sure to match the polarity correctly and secure all connections tightly to avoid shorts or power loss. This step is crucial for keeping your system safe and running smoothly.
Finally, connect the solar system to your home’s electrical panel by installing a compatible breaker. Always follow safety guidelines to protect your home and ensure everything works as it should. Keep going to discover detailed tips for a smooth, efficient setup.
Key Takeaways
– Choose a sunny, stable location and gather all necessary tools and materials before starting installation.
It’s important to pick the right spot so your panels get plenty of sun.
– Securely mount solar panels and connect positive and negative wires to the charge controller.
Make sure those connections are tight and correct to avoid any issues later.
– Connect the charge controller to the battery bank, ensuring proper polarity and insulated connections.
This step keeps your batteries safe and your system running smoothly.
– Turn off the main breaker, install a compatible solar breaker, and connect the system to the home electrical panel.
Safety first—always cut the power before working on your electrical panel.
– Perform final checks, restore power, and test the system for correct operation and safety.
Double-check everything, then switch it back on and enjoy your new solar setup!
Prepare Your Solar Installation Materials and Site
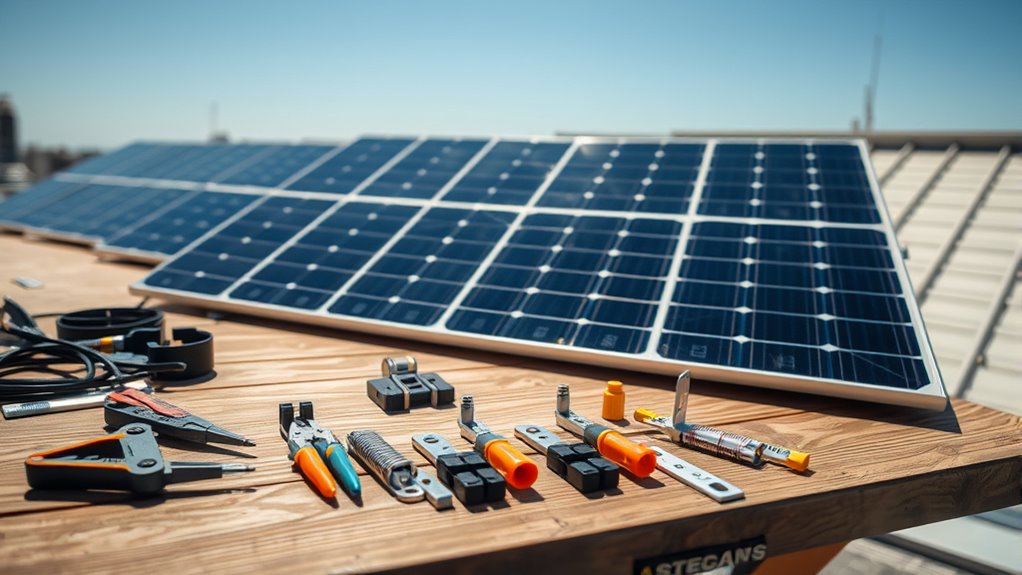
Before you begin installing your solar panels, gather all necessary materials and clear the site where you’ll be working. Make certain you have your solar panels, mounting brackets, screws, a drill, a wrench, and safety gear like gloves and goggles.
Choose a location that gets plenty of sunlight throughout the day, avoiding shade from trees or buildings. Clear any debris, dirt, or obstacles to guarantee a safe and stable workspace.
Double-check that the surface is sturdy enough to support the panels and that you have easy access to the roof or ground mount. Organizing everything beforehand saves time and prevents interruptions.
With your materials ready and the area prepped, you’ll have a smoother, more efficient installation process. It just makes everything go a lot easier!
Wire Your Solar Panels to the Charge Controller and Battery
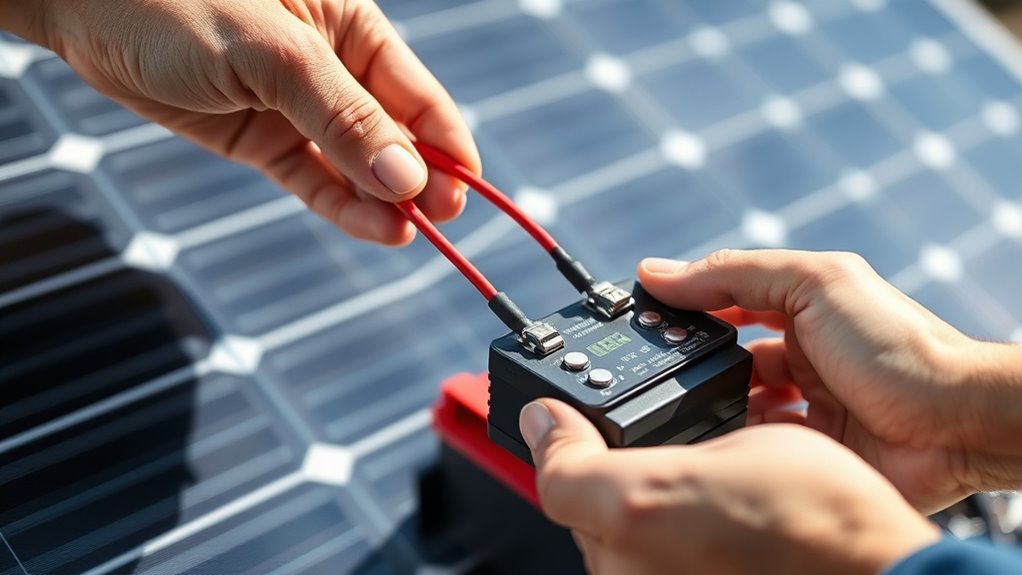
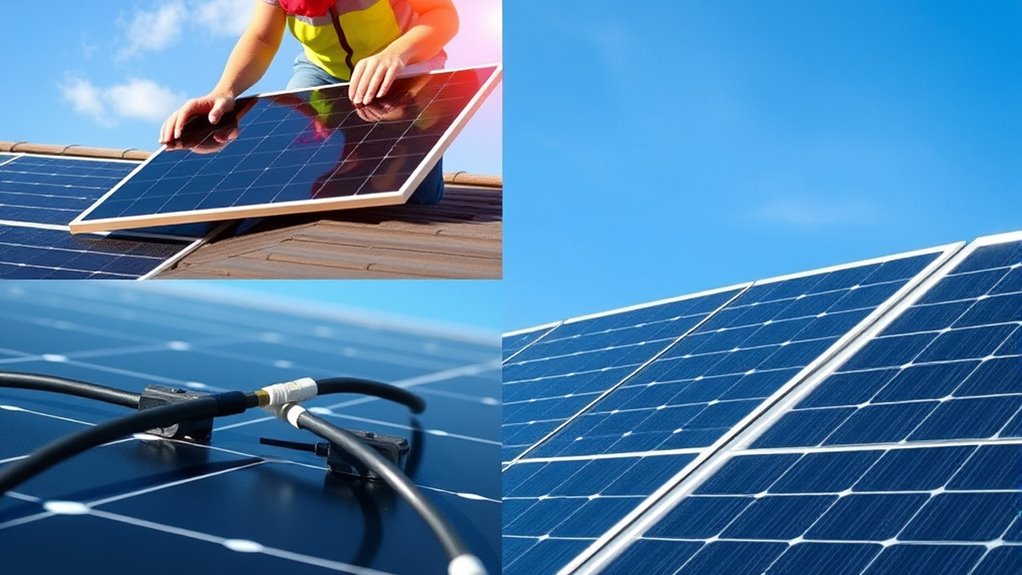
Once you’ve securely mounted your solar panels, you’ll need to connect them to the charge controller and battery to start harnessing solar energy effectively. First, use appropriate gauge wiring to link the positive and negative terminals of your solar panels to the charge controller’s input terminals. Make sure the polarity matches to avoid damage.
Next, connect the charge controller’s battery terminals to your battery bank, again matching positive to positive and negative to negative. Use insulated connectors and tighten all connections firmly.
Before finalizing, double-check for correct wiring and secure connections to prevent shorts. This setup allows the charge controller to regulate the power from your panels, protecting your battery from overcharging and ensuring efficient energy storage.
Safely Connect Your Solar System to Your Home’s Electrical Panel
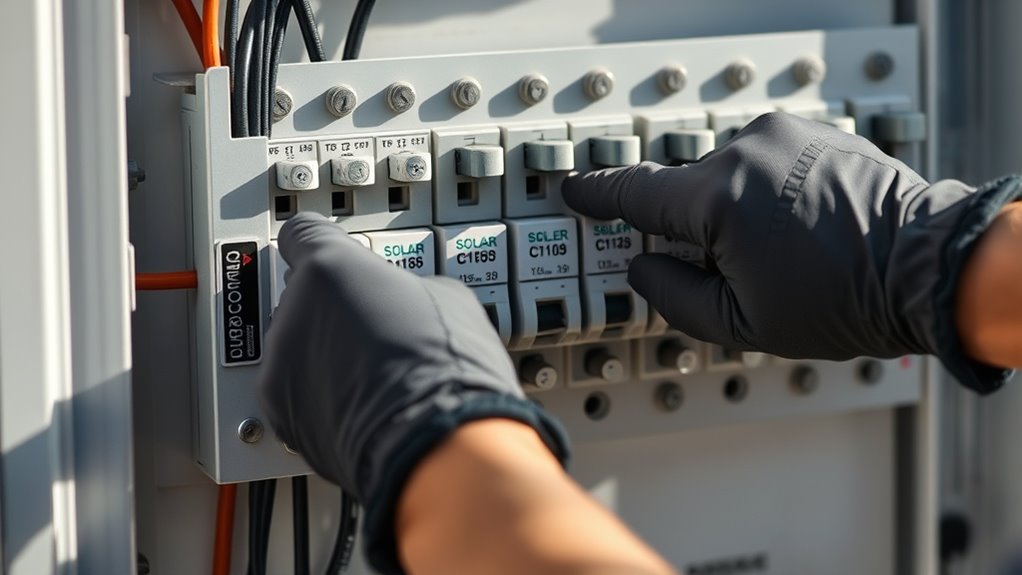
How do you safely connect your solar system to your home’s electrical panel without risking damage or injury? First, turn off the main breaker to cut power to your panel.
Then, install a dedicated solar breaker compatible with your panel’s amperage. Use properly rated wiring and connect the solar system’s output to this breaker.
Make sure your inverter’s output is compatible with your panel’s voltage and frequency. Always follow your local electrical codes and manufacturer instructions.
After wiring, double-check all connections for tightness and proper polarity. Finally, turn the main breaker back on and test your system to ensure it’s feeding power correctly.
If you’re unsure at any step, consult a licensed electrician to avoid hazards and guarantee a safe, code-compliant installation. It’s better to be safe than sorry!
Frequently Asked Questions
What Tools Are Essential for Installing Solar Panels?
You’ll need a drill, wire cutters, a multimeter, a wrench set, and a screwdriver. Don’t forget safety gear like gloves and goggles.
These tools help you secure panels, connect wiring, and test your solar system efficiently. It’s not too complicated once you have the right stuff!
How Do I Calculate the Number of Solar Panels Needed?
You might think you can guess, but to calculate solar panels needed, you’ll assess your energy usage, panel wattage, and sunlight hours.
Divide your daily kWh by panel output times sun hours to get the right count. It’s not as tricky as it sounds once you break it down step-by-step.
Can Solar Panels Work During Cloudy or Rainy Days?
Yes, your solar panels can still work on cloudy or rainy days, but they’ll produce less electricity since they rely on sunlight.
They’ll generate some power, just not as much as on bright, sunny days.
What Maintenance Is Required for Solar Panels?
You’ll need to clean your solar panels regularly and check for debris or shading. It’s also important to inspect wiring and connections to make sure everything is secure.
Don’t forget to monitor their performance too. Doing all this helps guarantee they work efficiently and last longer without unexpected issues or drops in power output.
How Long Do Solar Panels Typically Last?
Solar panels typically last 25 to 30 years, but many continue producing electricity beyond that.
You’ll notice a slight efficiency drop over time, but with proper care, they can keep powering your home for decades. It’s pretty impressive when you think about it!
Conclusion
Now that you’ve prepared your materials and site, wired your panels to the charge controller and battery, and connected your system to your home’s electrical panel, you’re ready to enjoy clean, renewable energy.
You’ll save money, reduce your carbon footprint, and increase your energy independence. It’s pretty exciting to think about all the benefits solar power brings right to your doorstep.
By following these simple steps, you’re not just hooking up solar panels—you’re powering your future, protecting the planet, and taking control of your energy needs.
Switching to solar energy means you’re investing in a sustainable lifestyle that benefits both your wallet and the environment. Plus, it gives you the freedom to generate your own electricity, making you less reliant on traditional power sources. So, go ahead and embrace the power of solar panels—your clean energy journey starts now!