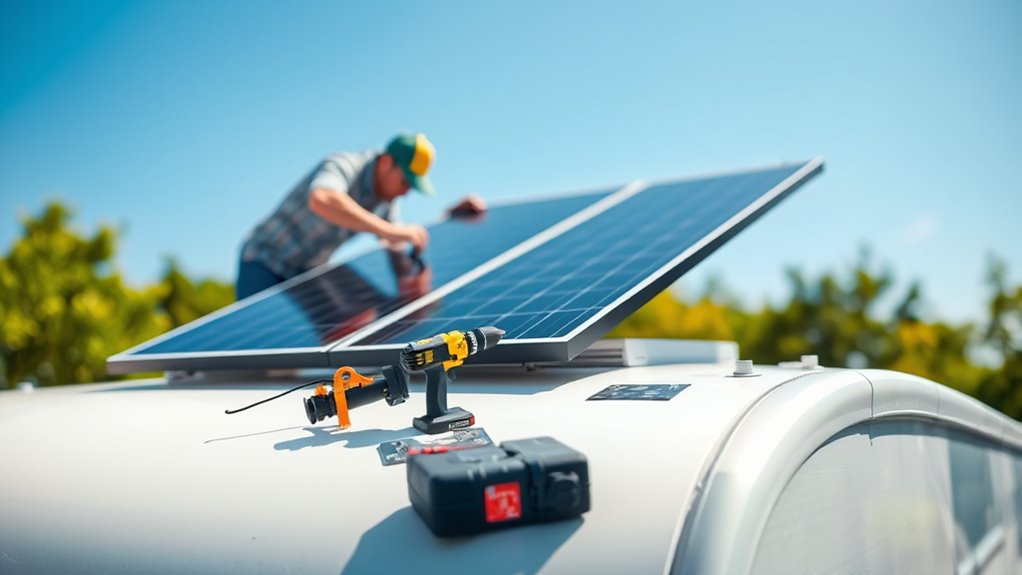
How to Install Solar Panels on Your RV in 7 Easy Steps
To install solar panels on your RV in 7 easy steps, start by gathering all the necessary tools and choosing efficient solar panels that fit your budget. Picking the right panels is key because they’ll power your RV and keep your trips eco-friendly and cost-effective.
Next, find a sun-exposed spot on your RV roof that’s free of shade or obstructions. This ensures your panels get maximum sunlight for the best energy output.
Securely mount the panels using brackets or rails that suit your roof type. It’s important they’re mounted firmly so they don’t shift while you’re on the road.
Wire everything safely using the correct connectors and fuses. Then, connect the charge controller to your battery bank to manage the power flow efficiently.
Finally, test the entire system to make sure it’s working properly. Troubleshoot any issues you find, and you’ll be set for your solar-powered adventures.
Keep reading for detailed tips to make your installation a success!
Key Takeaways
– Select high-efficiency solar panels and a suitable roof location with maximum sun exposure and minimal shading on your RV.
This will help you get the most out of your solar setup.
– Securely mount panels using appropriate brackets or adhesive methods compatible with your RV roof material.
Make sure everything is tight and won’t come loose while you’re on the road.
– Connect panels with weatherproof MC4 connectors and use the correct gauge wiring, including an inline fuse for safety.
This keeps your system safe and reliable during use.
– Install a charge controller and connect a deep cycle battery with a breaker close to the positive terminal.
This setup helps manage power flow efficiently and protects your battery.
– Test voltage output with a multimeter and regularly inspect connections for tightness, corrosion, and proper charge controller function.
Regular checks ensure everything runs smoothly and extends the life of your solar system.
Gather Tools and Materials You’ll Need
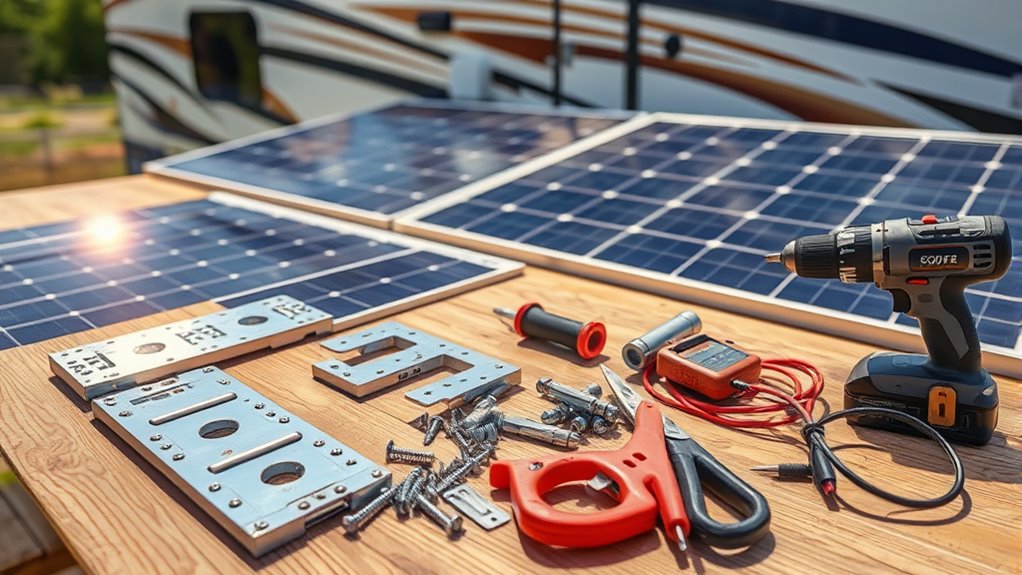
Before you begin installing solar panels on your RV, you’ll need to gather all the necessary tools and materials to guarantee a smooth process. First, you’ll want solar panel mounting brackets and a charge controller to manage power flow.
Don’t forget wiring kits, including MC4 connectors, to securely connect your system. A deep cycle battery is essential for storing energy, alongside a fuse box for safety.
You’ll also need a drill with various bits, a screwdriver set, wire strippers, and a multimeter to test electrical connections. Sealant or silicone prevents water leaks where you mount panels.
Make sure you have cable ties and electrical tape to keep wires tidy. Gathering these items before starting saves time and prevents interruptions during installation.
Choose the Right Solar Panels for Your RV
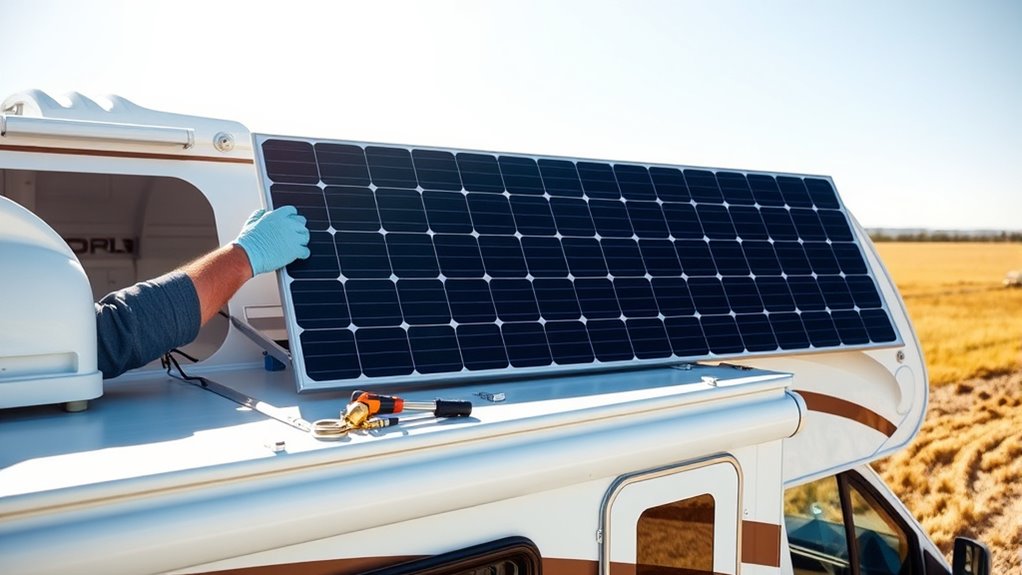
When selecting solar panels for your RV, you’ll want to balance efficiency, size, and budget to fit your specific needs. Start by deciding how much power you’ll need daily, considering your appliances and devices.
Monocrystalline panels offer higher efficiency and are more compact, making them ideal if roof space is limited. Polycrystalline panels are usually less expensive but slightly less efficient.
Flexible panels are lightweight and can conform to curved surfaces, though they might cost more and have a shorter lifespan. Think about durability too—choose panels built to withstand outdoor conditions like wind, rain, and UV exposure.
Also, don’t forget to check the warranty and customer reviews to ensure reliability. Picking the right panels upfront saves you headaches and maximizes your RV’s solar power potential.
Pick the Best Roof Location for Your Solar Panels
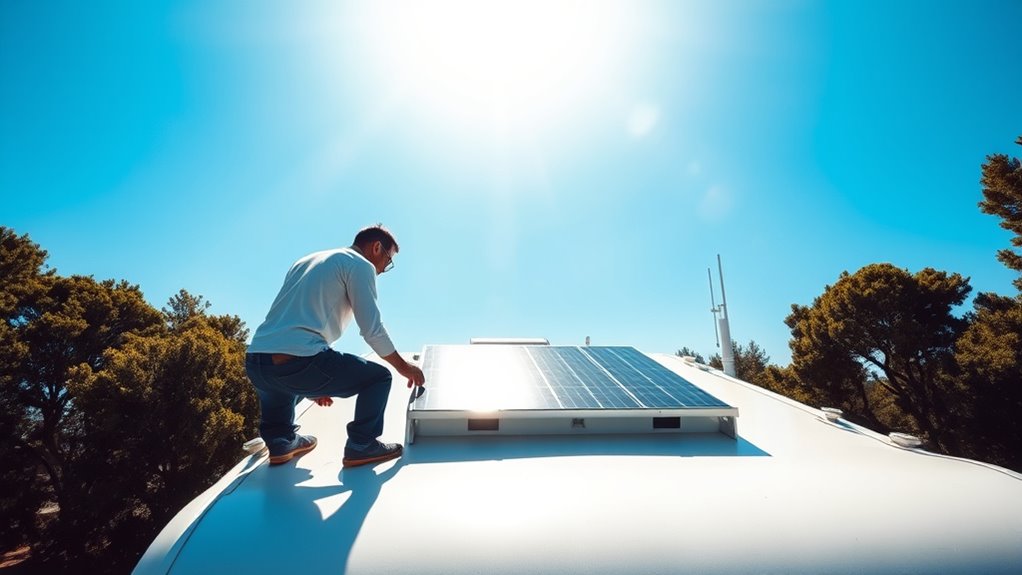
You’ll want to find a spot on your RV roof that gets the most sun throughout the day to maximize energy production. Take a close look at your roof space to make certain the panels fit without blocking vents or antennas.
Choosing the right location sets the foundation for efficient solar power on the road. It might seem simple, but a little planning goes a long way!
Optimal Sun Exposure
Although your RV roof offers several spots for solar panels, choosing the one with the most consistent sun exposure is essential for maximizing energy output. To get the best results, you want to avoid shaded areas caused by vents, antennas, or nearby trees.
Also, consider the panel’s angle relative to the sun’s path throughout the day. It really makes a difference in how much power you can generate.
Here are four tips to help you select the ideal location:
- Place panels where they receive direct sunlight between 9 a.m. and 3 p.m., when the sun is strongest.
- Avoid spots shaded during any part of the day, even partial shadows reduce output considerably.
- Choose a flat, unobstructed area for easier installation and cleaning.
- Position panels away from rooftop equipment that casts shadows or blocks sunlight.
Following these steps will help you get the most out of your solar setup. It’s all about catching those rays!
Roof Space Assessment
Since your RV roof has limited space, evaluating its size and layout is essential before installing solar panels. Start by measuring the total usable area, avoiding obstacles like vents, antennas, or air conditioners that could block sunlight or complicate installation.
Choose a flat, unobstructed section facing the sun’s path for maximum efficiency. Keep in mind that you’ll need room for wiring and mounting hardware, so don’t plan to cover every inch.
Also, consider shading from nearby trees or roof accessories during different times of the day. By carefully examining your roof space, you’ll pick the best spot that balances panel size and solar exposure.
This way, your system performs ideally without interfering with your RV’s other rooftop functions.
Install Solar Panels Securely on Your RV Roof
Before securing your solar panels, you need to choose the right mounting method that matches your RV roof type and materials. This guarantees a strong hold and prevents leaks.
Once you select your method, gather all necessary tools and materials for a smooth installation. It’s good to have everything ready before you start.
Here are four common mounting methods to contemplate:
- Adhesive Mounting: Uses strong, weatherproof adhesive to bond panels directly to the roof. It’s a simple option if you want to avoid drilling.
- Z-Brackets: Metal brackets screwed into the roof with sealant to prevent water intrusion. This method is pretty secure and reliable.
- Rails System: Aluminum rails attached to the roof for adjustable panel placement. Perfect if you want to move or reposition your panels later.
- Pole Mounts: Allows angled positioning, ideal for maximizing sun exposure on flat roofs. Great for getting the best sun angle no matter where you park.
Choose the method that fits your RV and panel type for a secure, long-lasting setup. That way, your panels will stay put and work efficiently for years.
Wire Solar Panels Safely to Your RV’s Electrical System
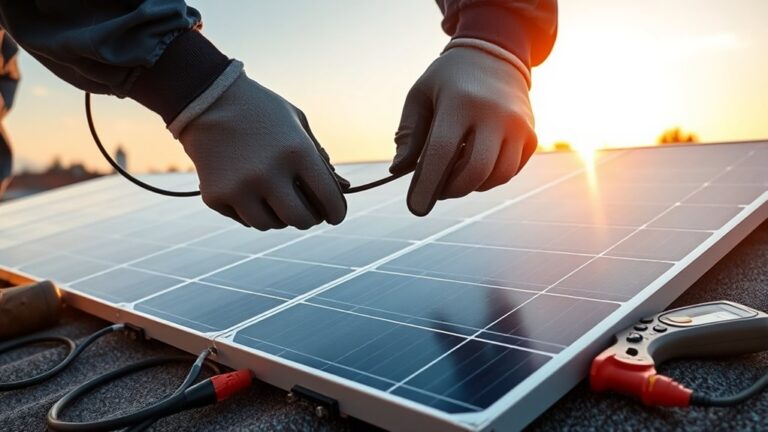
Once your solar panels are securely mounted on your RV roof, the next step is to connect them safely to your RV’s electrical system. Start by using the correct gauge wire to handle the current without overheating—typically, 10 or 12 gauge works well for most RV solar setups.
Use weatherproof MC4 connectors to guarantee a secure, waterproof connection between panels and wiring. Run the wires through a conduit or protective tubing to prevent damage from abrasion or weather.
Always install an inline fuse or circuit breaker close to the panel’s positive lead to protect against short circuits or overloads. Finally, label your wiring clearly to make future troubleshooting easier.
Double-check all connections for tightness and polarity before proceeding. It’s always better to be safe than sorry when dealing with electricity!
Hook Up the Solar Charge Controller and Battery Bank
Now that your solar panels are wired, it’s time to connect the charge controller to manage power flow. This device is key to keeping everything running smoothly.
You’ll also need to wire the battery bank correctly to store the energy efficiently. Getting these connections right guarantees your RV’s electrical system runs smoothly and safely. It’s worth taking a little extra time here to do it properly.
Connecting Charge Controller
While setting up your RV’s solar system, connecting the charge controller to the battery bank is a critical step that guarantees efficient energy management. This connection regulates the power flowing from your solar panels to the batteries, preventing overcharging and extending battery life.
To do this properly, first turn off all power sources to avoid shorts or shocks. Then, connect the charge controller’s battery terminals to the battery bank, making sure you match the polarity correctly — positive to positive, negative to negative.
Make sure to securely tighten all connections so you don’t get loose wiring or voltage drops. Also, double-check that the controller settings match your battery type to get the best charging efficiency.
Wiring Battery Bank
Before hooking up the solar charge controller to your battery bank, you need to plan the wiring layout carefully to guarantee safe and efficient power flow. Start by choosing the right gauge wires based on the current your system will handle.
Use heavy-duty cables for the battery connections to minimize voltage drop. Always connect the charge controller’s positive and negative terminals to the corresponding battery bank terminals.
Make sure to include a fuse or circuit breaker close to the battery’s positive terminal to protect against short circuits. Double-check all connections for tightness and correct polarity—reversing these can damage your equipment.
Finally, secure and organize your wires to prevent chafing or accidental disconnections. Taking these steps assures your battery bank charges safely and reliably from your solar system.
Test Your Solar Setup and Fix Common Problems
Once you’ve connected your solar panels and battery system, you’ll want to test your setup to guarantee everything runs smoothly and efficiently. Start by checking your system’s voltage with a multimeter to confirm panels produce power and the battery is charging.
Then, inspect all connections for tightness and corrosion to avoid power loss. Next, monitor the charge controller to ensure it regulates voltage correctly.
Finally, observe your RV’s power consumption to verify the solar setup meets your energy needs.
- Measure panel voltage output using a multimeter.
- Check all wiring and connections for security and cleanliness.
- Confirm the charge controller operates within specifications.
- Track energy usage to match solar power input.
These steps help you spot and fix common issues early. It’s a simple way to keep your solar setup running great!
Frequently Asked Questions
How Much Can I Save on Energy Costs With RV Solar Panels?
You can save up to 50-70% on energy costs with RV solar panels, depending on your usage and sunlight availability. They reduce reliance on generators, cutting fuel expenses and providing free, renewable energy while you travel.
It’s pretty great because you get to enjoy the outdoors without worrying about constantly fueling up. Plus, solar panels are quiet and eco-friendly, making your trips more relaxing and sustainable.
Can Solar Panels Damage My RV Roof Over Time?
Solar panels won’t damage your RV roof if you install them properly using the right mounts and sealants.
Poor installation or neglecting maintenance can cause leaks or wear, so always check and secure panels regularly to protect your roof.
It’s really about staying on top of things and making sure everything’s tight and sealed. That way, your roof stays safe while you enjoy the benefits of solar power.
Are Portable Solar Panels Better Than Fixed Ones for RVS?
Portable solar panels are better if you want flexibility and easy storage. They’re great for those who like to move around and set up quickly.
But fixed ones provide consistent power without any setup hassle. You just install them once and forget about it.
You’ll choose based on your travel style and energy needs. It’s all about balancing convenience and reliability.
How Do Weather Conditions Affect RV Solar Panel Performance?
Don’t worry if clouds roll in; weather conditions like rain or snow reduce your RV solar panels’ output, but they still generate power.
Direct sunlight boosts performance, so you’ll want to park in sunny spots whenever possible. It really makes a difference!
What Maintenance Is Required to Keep RV Solar Panels Efficient?
You’ll need to clean your panels regularly and check for shading or debris. It’s also important to inspect wiring for damage and make sure connections stay tight.
Don’t forget to monitor your battery health. Keep an eye on your charge controller too, so everything runs at maximum efficiency.
Conclusion
Installing solar panels on your RV is like harnessing the power of the sun itself, turning your vehicle into a modern-day chariot of freedom. By following these simple steps, you’ll enjoy endless energy on the road, just like explorers of old relied on the stars.
With a bit of patience and care, your solar setup will keep you powered wherever adventure calls—making every journey brighter and more sustainable. Ready to hit the road?
Using solar panels on your RV not only saves you money but also reduces your carbon footprint. It’s an eco-friendly way to stay off the grid and enjoy reliable power wherever you go.
So, get ready to install your solar panels and embrace the freedom of renewable energy. Your RV adventures just got a whole lot greener and more independent!