How to Wire Solar Panels in Series in 5 Simple Steps
To wire solar panels in series, start by gathering your essential tools and safety gear, like a multimeter and insulated gloves. These tools help ensure you do the job safely and accurately.
Next, identify each solar panel’s positive and negative terminals—usually marked with red and black colors. This step is crucial because connecting the panels correctly will maximize your system’s efficiency.
Now, connect the positive terminal of one panel to the negative terminal of the next panel. Keep repeating this process for all the panels you want to connect in series.
This wiring method increases the total voltage, which is great for certain types of solar setups.
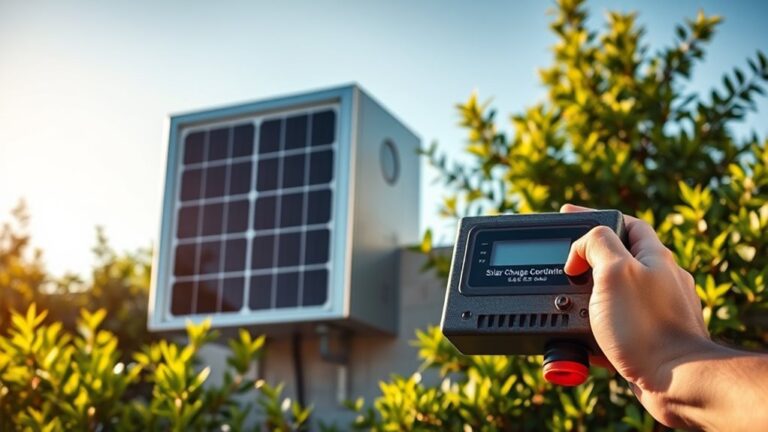
Once you’ve linked all the panels, connect the free positive and negative terminals to your charge controller or inverter. This connection allows the solar energy to be properly managed and used.
Finally, double-check all your connections for security and voltage continuity using your multimeter.
This step guarantees your system is safe, efficient, and ready to deliver power. Keep exploring to master every detail of a safe, efficient solar panel setup!
Key Takeaways
- Identify positive (+) and negative (–) terminals on each solar panel before starting the wiring process.
- Connect the positive terminal of the first panel to the negative terminal of the second panel.
- Continue connecting panels in series by linking positive to negative terminals for all panels.
- Attach the free positive terminal of the last panel and the free negative terminal of the first panel to the charge controller or inverter.
- Secure all connections, check voltage with a multimeter, and ensure cables are tightly fastened and insulated.
Why Wiring Solar Panels in Series Matters
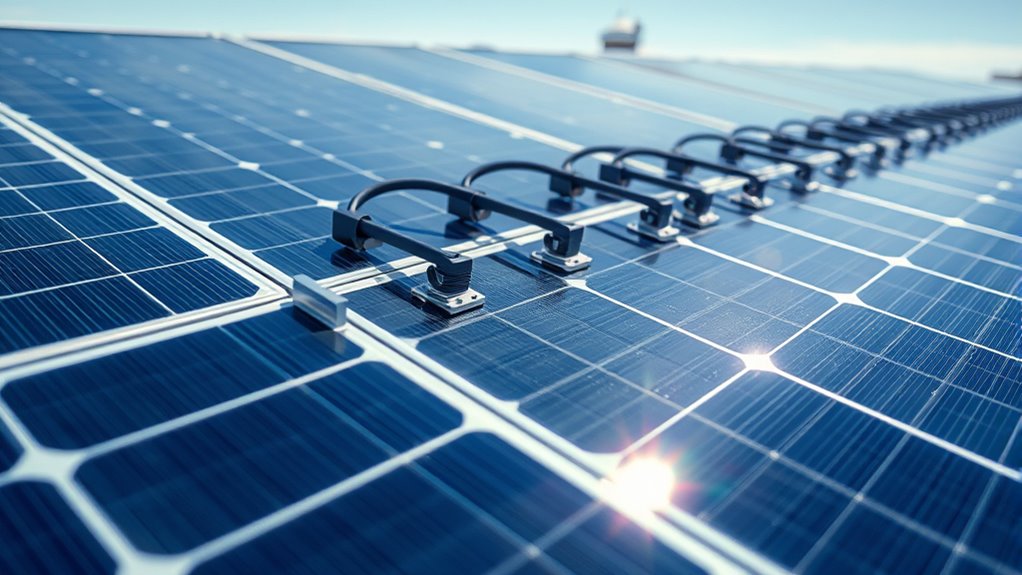
Although wiring solar panels in series might seem straightforward, it plays a crucial role in how your system performs. When you connect panels in series, you increase the total voltage while keeping the current the same.
This means your system can deliver higher voltage to your inverter or battery bank, which often improves efficiency and reduces energy loss over long cable runs. You’ll also find that higher voltage systems can be more cost-effective, as you might need thinner cables and less robust components.
However, you have to match panels carefully; mismatched voltages can reduce overall output. Understanding these basics helps you design a system that maximizes power output and reliability.
Gather Tools and Safety Gear for Solar Panel Wiring
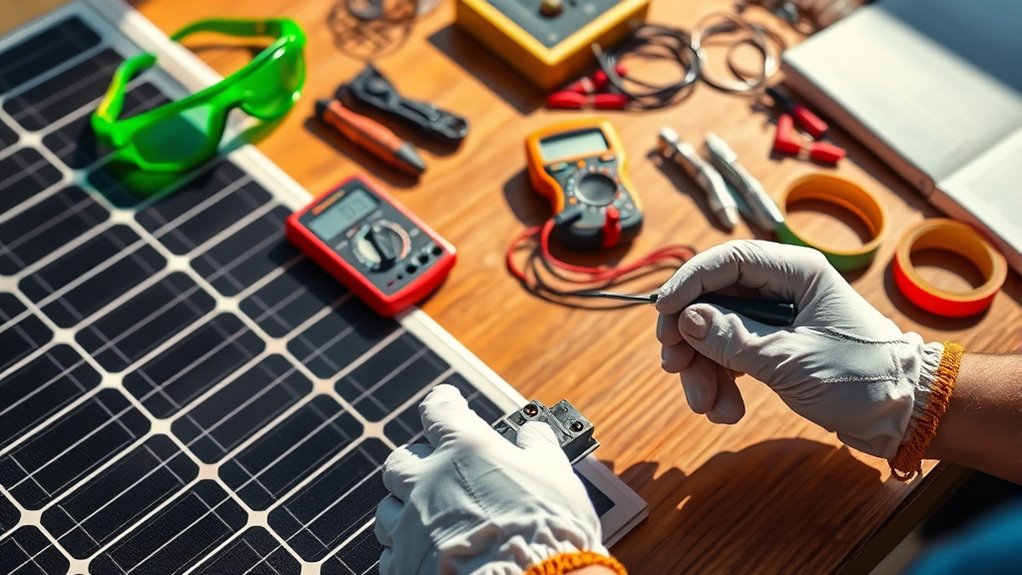
Before you start wiring your solar panels in series, you need to gather the right tools and safety gear to guarantee a smooth and secure installation. Make sure you have a multimeter, wire strippers, screwdrivers, and a wrench set handy.
You’ll also need appropriate solar wiring cables and connectors rated for outdoor use. Safety gear is just as important—wear insulated gloves, safety glasses, and non-slip footwear to protect yourself from electrical hazards and accidental falls.
Consider using a voltage tester to verify circuits are de-energized before handling wires. Having a sturdy ladder and a tool belt will keep your workspace organized and accessible.
Preparing everything beforehand helps you work efficiently and reduces the risk of mistakes or injuries during wiring. It really pays off to be ready before you dive in!
How to Identify Solar Panel Terminals for Series Wiring
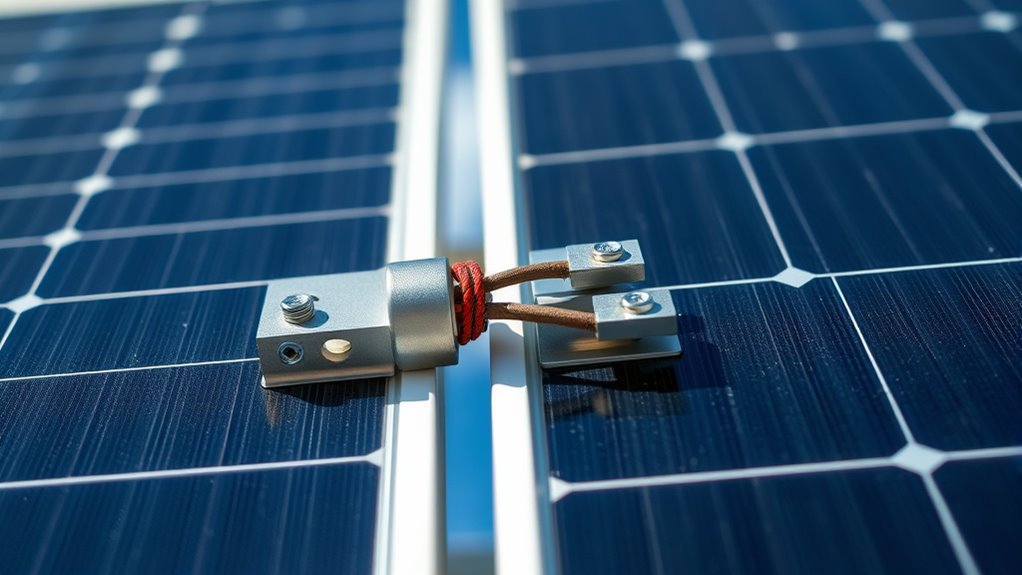
Once you have all your tools and safety gear ready, the next step is to identify the terminals on your solar panels for series wiring. Look for two terminals on each panel: a positive (+) and a negative (–).
These are usually marked clearly near the junction box on the back of the panel. The positive terminal often has a red wire or a plus sign, while the negative terminal may have a black wire or a minus sign.
Make sure you can distinguish these terminals before proceeding, as connecting them incorrectly can damage your system. If the markings aren’t visible, consult the panel’s datasheet or manual.
Confirming the correct terminals guarantees smooth, safe series connections and peak performance of your solar array.
Step-by-Step Guide to Wiring Solar Panels in Series
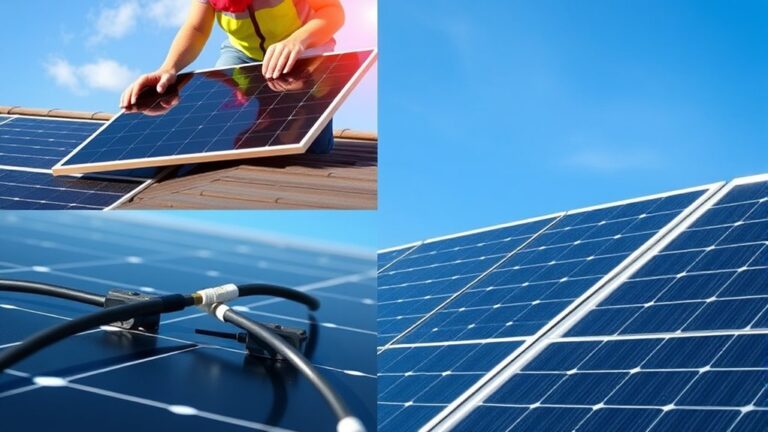
To wire your solar panels in series, start by connecting the positive terminal of the first panel to the negative terminal of the second panel. This increases the voltage while keeping the current the same.
Follow these steps carefully:
Follow these steps carefully to ensure a safe and efficient series wiring of your solar panels.
- Connect the positive terminal of the first panel to the negative terminal of the second panel using a suitable cable.
- Repeat this connection pattern for additional panels, linking each positive terminal to the next panel’s negative terminal.
- Finally, connect the free negative terminal of the first panel and the free positive terminal of the last panel to your charge controller or inverter.
It’s pretty straightforward once you get the hang of it! Just make sure your connections are secure and you’re good to go.
Check and Secure Your Series Solar Panel Connection
A secure and properly checked connection is key to ensuring your series-wired solar panels perform efficiently and safely. After wiring your panels, inspect each connection point carefully. Look for loose wires, corrosion, or damaged insulation that could cause resistance or shorts.
Use a multimeter to verify voltage continuity across the entire series string, confirming that the panels are connected correctly in series. Tighten all terminal screws firmly, but avoid overtightening, which might damage connectors.
Apply dielectric grease to exposed terminals to prevent corrosion and improve conductivity. Finally, secure cables with zip ties or clamps to prevent movement from wind or vibration.
Taking these steps helps maintain consistent power output and extends your system’s lifespan. This way, you keep your solar setup reliable and safe.
Frequently Asked Questions
Can I Mix Different Wattage Panels in a Series?
You can mix different wattage panels in series, but the system’s current is limited by the lowest panel’s current. This might reduce overall efficiency, so it’s better to match panels for peak performance.
Basically, if one panel produces less current, it holds back the whole string. So, while it’s possible to mix them, you might not get the best results. Matching panels keeps everything running smoothly and efficiently.
How Does Series Wiring Affect Solar Panel Longevity?
You’ll find series wiring can slightly reduce your solar panels’ lifespan by about 5%, since a single weaker panel drags down the whole string.
Regular maintenance helps you keep them performing efficiently longer. It’s a good way to make sure your system stays in top shape.
What Is the Impact of Shading on Series-Wired Panels?
Shading one panel in a series string reduces the current for the entire system, lowering overall power output. You’ll see significant drops because the weakest panel limits the whole chain’s performance until the shade is removed.
It’s kind of like the saying, “a chain is only as strong as its weakest link.” So, even if just one panel gets shaded, the whole string suffers. That’s why it’s important to keep panels clear of shade whenever possible.
Can Series Wiring Be Combined With Parallel Wiring?
Yes, you can combine series and parallel wiring to optimize voltage and current. Just make sure your panels and charge controller support the configuration.
Also, carefully balance the system to avoid shading and mismatch issues that can reduce efficiency. It’s all about getting the best performance without causing problems down the line.
How Do Series Connections Influence Inverter Compatibility?
Wondering if your inverter can handle higher voltage? Series connections increase voltage, so you’ll need an inverter rated for that voltage range.
Otherwise, your system won’t perform well or might even get damaged—choose wisely!
Conclusion
Wiring your solar panels in series is like connecting links in a strong chain—each panel adds power to boost your system’s voltage. By following the steps carefully and using the right tools, you’ll create a safe, efficient setup that maximizes energy output.
Don’t forget to double-check and secure every connection to keep your system running smoothly. With a little care, you’ll harness the sun’s power like a pro in no time!
Remember, wiring solar panels in series increases the voltage while keeping the current the same, which is perfect for matching your inverter or charge controller requirements. Proper series wiring ensures your solar power system runs efficiently and safely, giving you maximum energy output from your panels. So, take your time, follow the steps, and enjoy the benefits of a well-wired solar setup!