How to Test a Solar Panel in 10 Easy Steps
To test your solar panel in 10 easy steps, start by gathering essential tools like a multimeter and solar power meter. These tools help you accurately measure the panel’s performance and identify any issues.
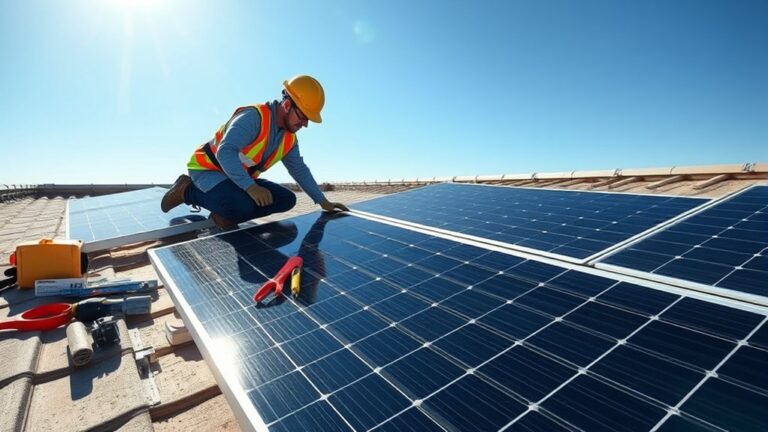
Next, inspect the panel surface, frame, and wiring for any visible damage or dirt that could affect efficiency.
Measure the open-circuit voltage and short-circuit current under direct sunlight to get baseline readings.
Then, check the voltage and current while the panel is under load to see how it performs during actual use.
Compare your readings with the manufacturer’s specifications to spot any discrepancies or problems.
Finally, finish by cleaning the panel and tightening all connections to maintain optimal performance.
Keep going to uncover helpful tips on troubleshooting and boosting your panel’s overall efficiency.
Key Takeaways
- Inspect the panel visually for cracks, dirt, corrosion, and loose connections before testing. It’s important to catch any obvious issues early on.
- Measure open-circuit voltage using a multimeter under direct sunlight. Then, compare the reading with the panel’s specifications to see if it’s performing as expected.
- Test short-circuit current safely with a multimeter set to a high current range for accuracy. This helps you verify the panel’s current output without causing damage.
- Measure voltage and current under load. After that, calculate the power output and compare it to the rated wattage to check if the panel is working efficiently.
- Clean the panel gently and address any wiring or shading issues you spot. Keeping it in good shape will help maintain optimal performance over time.
Why Testing Your Solar Panels Matters
Testing your solar panels regularly guarantees they operate at peak efficiency and helps you catch potential issues early. When you test your panels, you confirm they’re producing the expected amount of power, which directly impacts your energy savings.
Over time, dirt, shading, or damage can reduce performance, so regular checks keep you ahead of these problems. By spotting faults early, you avoid costly repairs and downtime. Plus, testing lets you verify that your system complies with warranty conditions, protecting your investment.
Without testing, you might miss gradual declines in output that add up to significant losses. Staying proactive with your solar panels means you maximize their lifespan and get the most from your renewable energy setup. Testing is simple but essential for long-term success.
Gather the Tools Needed for Testing
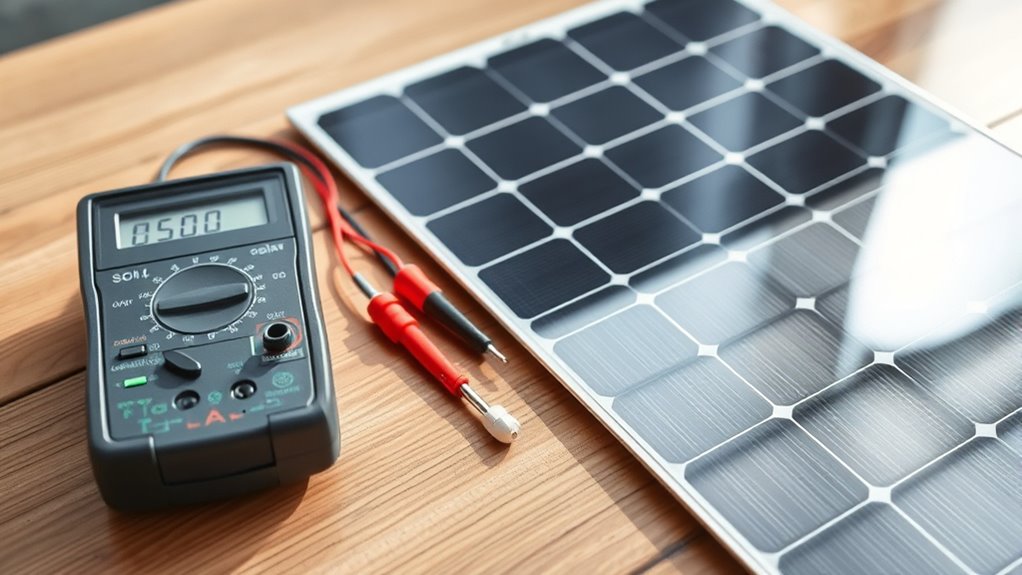
Before you start testing, make sure you have all the essential equipment like a multimeter and a solar irradiance meter.
Don’t forget to choose the right safety gear to protect yourself from electrical hazards and sharp edges.
Having these tools ready will make the process smoother and safer.
Essential Testing Equipment
Although solar panels are built to last, you’ll need specific tools to measure their performance accurately. Having the right equipment guarantees you get reliable data and can identify any issues early on.
Start by gathering a few key devices that make testing straightforward and effective.
Here are the essential testing tools you’ll need:
- Multimeter: To measure voltage, current, and resistance with precision.
- Solar Power Meter: To assess the solar irradiance hitting the panel.
- Clamp Meter: For non-contact current measurements on connected circuits.
With these tools, you’ll be able to check your solar panel’s output efficiently and troubleshoot any potential problems. Just make sure each tool is in good working condition before you begin your tests.
Safety Gear Selection
Since working with solar panels involves electrical components and outdoor conditions, you’ll want to equip yourself with the right safety gear to protect against potential hazards. Start with insulated gloves to prevent electrical shocks when handling wires or connectors.
Safety goggles are essential to shield your eyes from debris or accidental sparks. Wear a long-sleeve shirt and sturdy pants to protect your skin from sun exposure and sharp edges on the panel.
Non-slip, closed-toe shoes will help you maintain good footing, especially if the testing area is uneven or wet. Finally, consider using a safety helmet if you’re working in a construction zone or elevated area.
Inspect Solar Panel and Connections for Damage
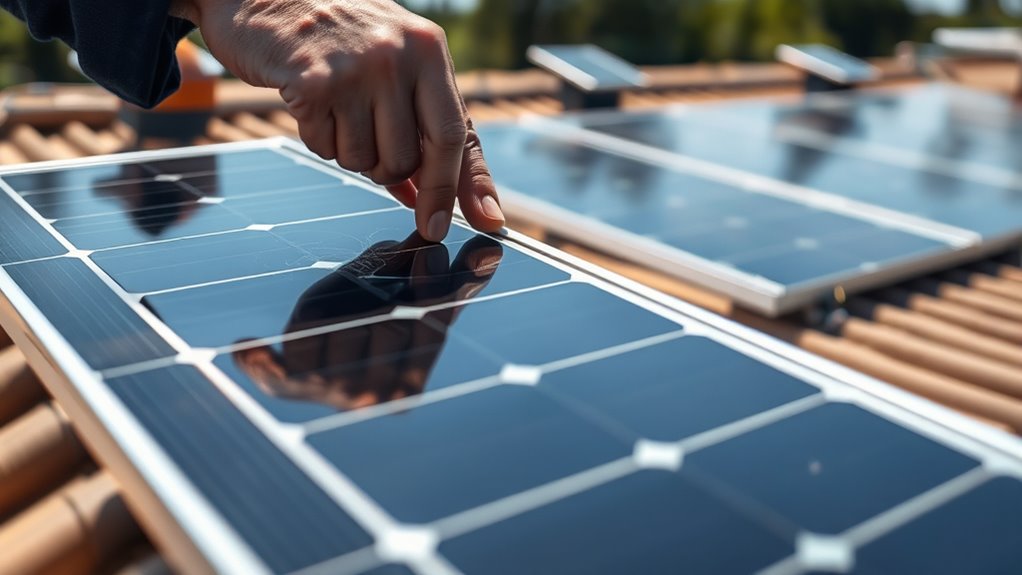
Start by closely examining the solar panel’s surface for any cracks, dirt, or discoloration that might affect performance. Then, check all connection points to make sure they’re secure and free from corrosion.
Finally, look for any physical damage that could cause issues before you begin testing. It’s always better to catch problems early, so take your time with this part.
Visual Panel Surface Check
Before you plunge into electrical testing, take a close look at the solar panel’s surface and connections for any signs of damage. This quick visual check helps you spot issues that might affect performance or safety.
Pay attention to the glass surface for cracks or scratches that could weaken the panel. Also, examine the frame and backing for corrosion or warping. Don’t forget to look at the wiring and junction box, but avoid diving deep into connection points just yet.
Here’s what to focus on during your visual panel surface check:
- Glass: Check for cracks, chips, or dirt that could block sunlight.
- Frame: Look for bent areas, rust, or loose screws.
- Surface: Spot discoloration or delamination that signals internal damage.
Connection Points Inspection
Focus on the connection points next, as these areas often face wear and tear that can disrupt your panel’s performance. Check where the wires meet the panel terminals for any signs of corrosion, loose fittings, or frayed cables.
If you spot corrosion, clean it carefully using a soft brush and a mixture of baking soda and water, then dry thoroughly. Make sure all connectors are tight and secure; loose connections can cause power drops or intermittent faults.
Look for discoloration or melting around connectors, which might indicate overheating. Don’t forget to inspect the junction box on the back of the panel, ensuring it’s firmly attached and sealed to prevent moisture intrusion.
Keeping these points in good condition helps maintain efficient energy flow and extends your solar panel’s lifespan. It’s a simple step that really pays off in the long run.
Look For Physical Damage
How can you tell if your solar panel has suffered any physical damage? Start by closely inspecting the panel surface and connections for visible signs of wear or harm. Damage can reduce efficiency or cause complete failure.
Look for cracks or chips on the glass surface that might allow moisture in. Also, check for corroded or loose connections at junction boxes or wiring terminals.
Don’t forget to examine bent or broken frames. These could misalign the panel or affect mounting stability.
Pay special attention to areas exposed to harsh weather or debris impact. If you spot any issues, address them immediately to prevent further damage.
Regularly checking your solar panels ensures they stay in top condition and perform optimally for years. It’s a simple habit that really pays off.
Measure Open-Circuit Voltage
Why is measuring the open-circuit voltage important when testing a solar panel? It gives you a quick snapshot of the panel’s health. By measuring the voltage without any load connected, you can check if the panel produces the expected voltage output.
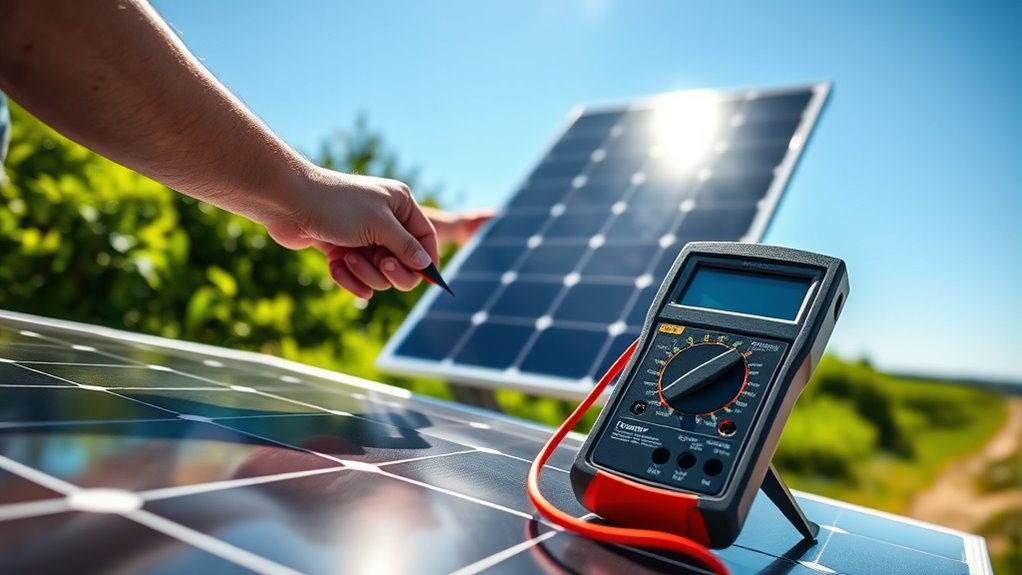
To do this, set your multimeter to the DC voltage setting, and connect the positive lead to the panel’s positive terminal and the negative lead to the negative terminal. Make sure the panel is in direct sunlight for accurate results.
A voltage reading close to the manufacturer’s specified value means the panel is functioning well. If it’s markedly lower, there might be internal damage or shading issues.
This step helps you spot problems early before moving on to more detailed tests.
Test Short-Circuit Current
After checking the open-circuit voltage, the next step is to measure the short-circuit current. This test helps you figure out the maximum current your solar panel can produce under ideal sunlight conditions.
To do this safely, you’ll need a multimeter and some caution, since you’re intentionally creating a short circuit.
Here’s how to proceed:
- Set your multimeter to the highest current range to prevent damage.
- Connect the multimeter leads directly to the panel’s positive and negative terminals.
- Expose the panel to full sunlight to get an accurate reading.
Measure Voltage Under Load
Even though you’ve measured the panel’s open-circuit voltage and short-circuit current, you’ll need to check the voltage under load to see how it performs during actual use. To do this, connect a suitable resistive load, like a power resistor or a small appliance, to the panel’s terminals.
Use your multimeter set to measure voltage and connect it across the load. This setup simulates real conditions by drawing current from the panel, allowing you to observe the voltage it actually delivers.
A significant drop from the open-circuit voltage indicates potential issues like shading, wiring faults, or panel degradation. Measuring voltage under load helps guarantee your solar panel provides stable power when connected to a device or battery.
This way, you get a realistic view of its operational performance. It’s a simple step but really important if you want to know how your panel will behave in everyday use.
Check Panel Efficiency With a Multimeter
Measuring the voltage under load gives you insight into how your solar panel performs in real conditions, but to truly understand its efficiency, you need to look a bit deeper.
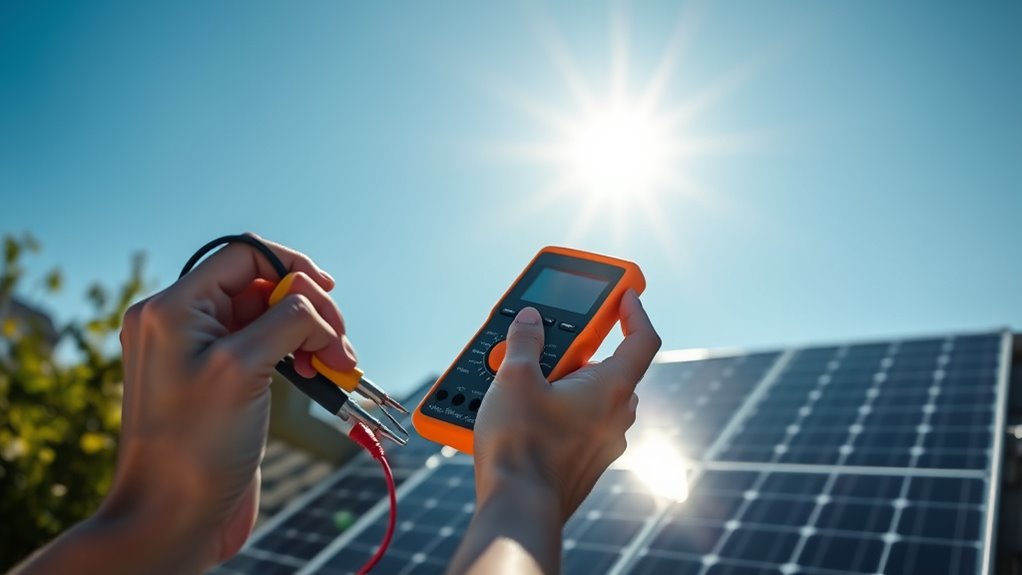
Using a multimeter, you can measure the current output alongside voltage, which helps calculate power output and efficiency. Start by setting your multimeter to the appropriate DC current range.
Connect the multimeter in series with the panel’s output to get the current reading. Then, multiply the voltage and current readings to find the actual power your panel produces.
To check panel efficiency, you’ll need to measure the voltage (V) and current (I) accurately under sunlight. Next, calculate power (P = V × I) output.
Finally, compare this power to the panel’s rated wattage for a real-time efficiency assessment. It’s a straightforward way to see how well your panel is working when it counts.
Compare Your Readings to Manufacturer Specs
Now that you’ve taken your measurements, it’s essential to compare them with the manufacturer’s specifications. This helps you see if your panel is performing as expected or if there might be an issue.
Knowing how to interpret these results will guide you in deciding the next steps. It’s a simple way to make sure everything is working the way it should.
Understanding Manufacturer Specifications
Before you draw conclusions from your test results, you should compare your readings to the manufacturer’s specifications. These specs provide a benchmark for what your solar panel should achieve under standard test conditions.
Understanding them helps you identify if your panel is performing as expected or if there might be issues. It’s a good way to know if everything’s working right or if you need to dig a little deeper.
Focus on key specifications such as:
- Maximum Power Output (Pmax): The highest power the panel can deliver.
- Open Circuit Voltage (Voc): Voltage when no current flows.
- Short Circuit Current (Isc): Current when the panel’s output is shorted.
Interpreting Test Results
When you compare your test readings to the manufacturer’s specifications, you can quickly determine if your solar panel is operating properly or needs attention. Start by matching your voltage and current measurements to the listed values under standard test conditions.
If your readings are close, your panel is likely in good shape. Significant deviations, especially lower outputs, could indicate issues like shading, dirt buildup, or internal damage.
Keep in mind that environmental factors—like temperature and sunlight intensity—can affect your results, so slight differences are normal. If your panel consistently underperforms, it may be time for maintenance or replacement.
Always document your readings and compare them over time to track performance trends. This way, you can guarantee your solar panel delivers ideal energy.
How to Spot Common Problems From Test Results
Although testing a solar panel gives you raw data, interpreting those results correctly is really the key to spotting common issues like shading, wiring faults, or cell damage. When you look at voltage, current, and resistance values, keep an eye out for any discrepancies that might indicate a problem.
For example, if the voltage is unusually low, that could mean the panel is shaded or dirty. On the other hand, if the current readings are all over the place, it might be a sign of faulty wiring or a damaged cell.
Here’s what to watch for:
- Low voltage output: This often means partial shading or dirt buildup.
- Fluctuating current readings: Could be loose connections or wiring problems.
- High resistance values: Usually caused by damaged cells or corrosion.
Post-Test Maintenance Tips for Solar Panels
Since regular maintenance keeps your solar panels operating at peak efficiency, you should take specific steps after testing to address any issues uncovered. First, clean the panels gently with a soft cloth and mild soap to remove dirt or debris that might reduce output.
If your test showed wiring problems, inspect the connections and tighten or replace any damaged parts. Check for physical damage like cracks or loose mounts and repair them promptly.
Also, verify your panels are free from shading by trimming nearby foliage. Schedule routine inspections every few months to catch issues early.
Frequently Asked Questions
Can I Test Solar Panels During Cloudy Weather?
You can test solar panels during cloudy weather, but the output will be lower than in direct sunlight. So, don’t be surprised if the numbers aren’t as high as you expect.
For more accurate results, try to test on a sunny day. Or, you can use a multimeter to check the voltage and current no matter what the weather is like. It’s a handy tool to have around!
How Often Should I Test My Solar Panels?
You should test your solar panels at least twice a year to guarantee they’re working efficiently.
If you notice a drop in energy output or after severe weather, test them more frequently to catch any issues early.
It’s a good habit to keep an eye on your system so it keeps running smoothly.
What Safety Precautions Are Essential When Testing Solar Panels?
As sunlight hits the panel, you’ll want gloves, safety glasses, and insulated tools to protect yourself. Always test under dry conditions to stay safe.
Also, avoid direct contact with live wires, and make sure to disconnect the panel from the system before starting. These steps help prevent any unexpected shocks or accidents.
Can I Test Solar Panels Without a Multimeter?
You can’t accurately test solar panels without a multimeter since it measures voltage and current.
However, you can do a basic sunlight check by connecting the panel to a small device, but this won’t give precise results.
Does Panel Age Affect Test Result Accuracy?
Like a clock losing time, panel age does affect test result accuracy. You’ll find older panels show lower output and efficiency, so your readings might not reflect their original performance.
Always consider wear when testing. It’s something that can really change what you see on the results. Just keep that in mind!
Conclusion
Testing your solar panels is like tuning a well-loved instrument—when everything’s in harmony, your energy flows smoothly and powerfully. By checking voltage, current, and efficiency, you’re not just maintaining equipment; you’re nurturing your green investment and lighting your future.
Keep an eye out for issues and give your panels the care they deserve. With a little attention, your solar setup will shine bright, turning sunlight into a steady, reliable source of energy for years to come.
Regular testing helps you spot problems early and keeps your solar panels working at peak performance. Whether you’re measuring output or inspecting connections, these simple steps ensure your solar energy system stays efficient and dependable. Taking time to test your solar panels protects your investment and supports a sustainable lifestyle.