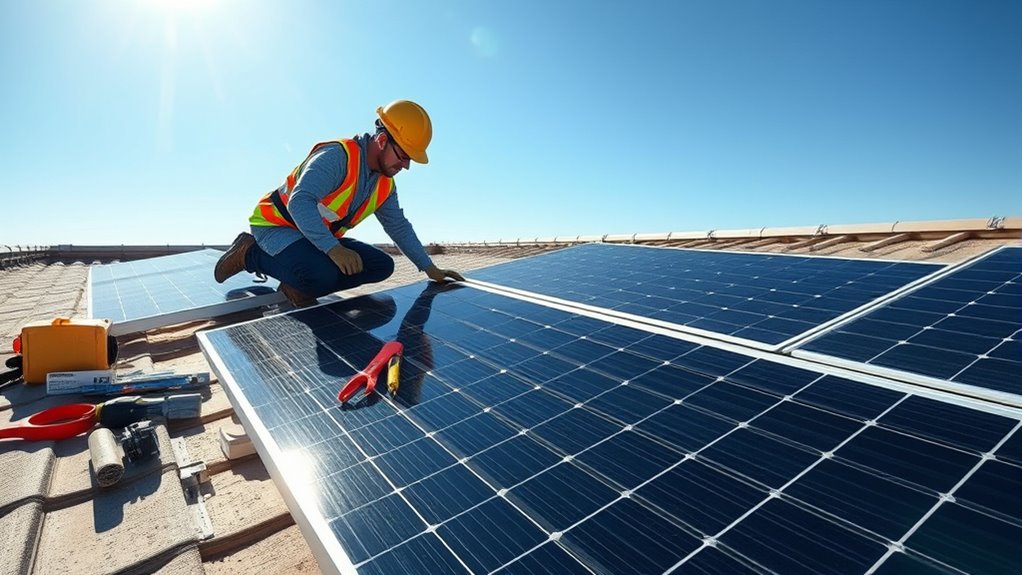
How to Mount Solar Panels on Roof in 7 Easy Steps
Start by inspecting your roof for any damage, available space, and the ideal placement for your solar panels. Choosing compatible panels and weather-resistant mounting kits is key to a successful installation.
Next, mark and drill precise mounting points on your roof. Slide flashing underneath these points to prevent any leaks down the line.
Secure the brackets firmly to your roof rafters using lag bolts. This will ensure your solar panels stay put, even in strong winds.
Now, attach the panels to the mounts, tightening the clamps evenly for a secure fit.
Finally, connect the wiring with the correct polarity and use weatherproof connectors to protect against the elements.
Don’t forget to test the system’s voltage and current output to make sure everything is working perfectly.
Follow these steps closely, and you’ll be ready to explore more detailed installation tips next!
Key Takeaways
- Inspect your roof for any damage first. Measure the available space and find south-facing, shade-free areas for the best solar panel placement.
- Next, choose solar panels and weather-resistant mounting kits that fit your roof type and panel specs.
- Now, install the mounting brackets. Make sure they line up with the roof rafters and secure them tightly with lag bolts. Don’t forget to add flashing to keep things waterproof.
- After that, attach the solar panels to the mounting rails using clamps or bolts. Double-check that everything is properly aligned and fits snugly.
- Finally, connect the panels with MC4 connectors and match the polarity. Wire everything to your system and test the voltage and current output to make sure it’s working right.
Inspect Your Roof for Solar Panel Installation
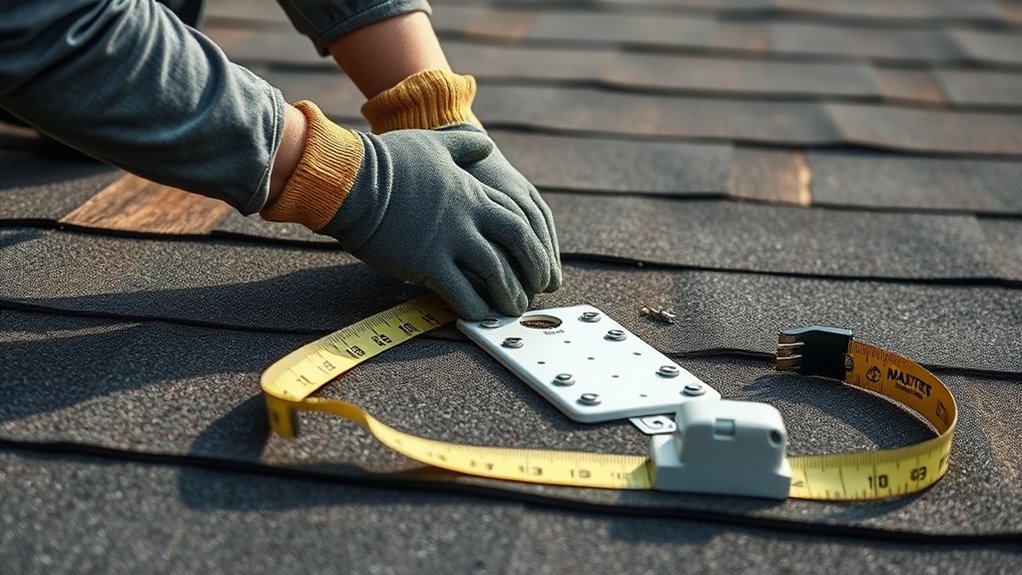
Before you install solar panels, you need to inspect your roof thoroughly. Start by checking the roof’s condition—look for damaged or missing shingles, cracks, or signs of wear.
If your roof isn’t in good shape, panels won’t last long, and repairs afterward could be costly. Next, measure the available space to confirm it can accommodate your solar array.
Also, take note of the roof’s orientation and angle, as these impact solar efficiency. Make sure there’s no significant shading from trees, chimneys, or nearby buildings during peak sunlight hours.
Finally, inspect the roof’s structural integrity; your roof must support the additional weight of solar panels. If you’re unsure, consult a professional roofer to avoid future problems.
How to Choose Solar Panels and Mounting Kits for Your Roof
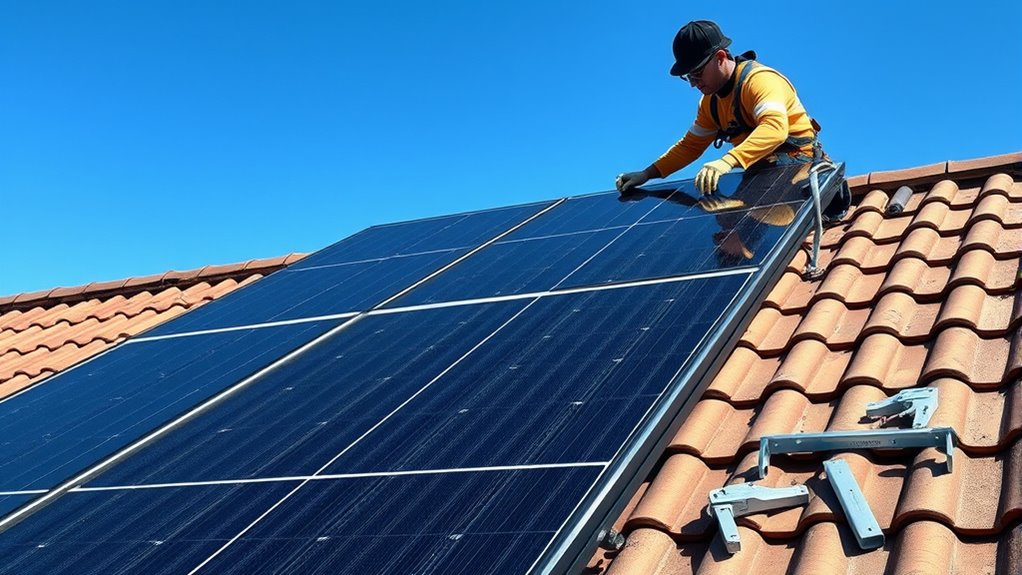
Choosing the right solar panels means comparing types based on efficiency, cost, and durability to fit your needs.
You’ll also want to pick a mounting kit that matches your roof’s material and slope for a secure fit.
Let’s look at how to make smart choices for both.
Panel Types Comparison
When selecting solar panels and mounting kits for your roof, understanding the differences between panel types is essential. You’ll mainly choose between monocrystalline, polycrystalline, and thin-film panels.
Each offers unique benefits depending on your roof space, budget, and efficiency needs. Here’s a quick comparison to help you decide:
| Panel Type | Key Features |
|---|---|
| Monocrystalline | High efficiency, sleek design |
| Polycrystalline | Cost-effective, moderate efficiency |
| Thin-film | Lightweight, flexible, less efficient |
| Durability | Monocrystalline > Polycrystalline > Thin-film |
| Aesthetics | Monocrystalline preferred for looks |
Mounting Kit Selection
Although selecting the right solar panels is crucial, choosing the appropriate mounting kit guarantees your system stays secure and performs efficiently. First, consider your roof type—whether it’s asphalt shingles, metal, tile, or flat—to find a compatible mounting system.
Look for kits made of durable, weather-resistant materials like aluminum or stainless steel to ensure longevity. You’ll also want a kit that matches your solar panel size and weight.
Check for ease of installation, especially if you’re doing it yourself. Some kits offer adjustable features to optimize panel tilt and orientation, boosting energy production.
Finally, verify the kit’s certification and compliance with local building codes to avoid issues. Picking the right mounting kit protects your investment and maximizes your solar energy output.
Mark and Drill Solar Panel Mounting Points
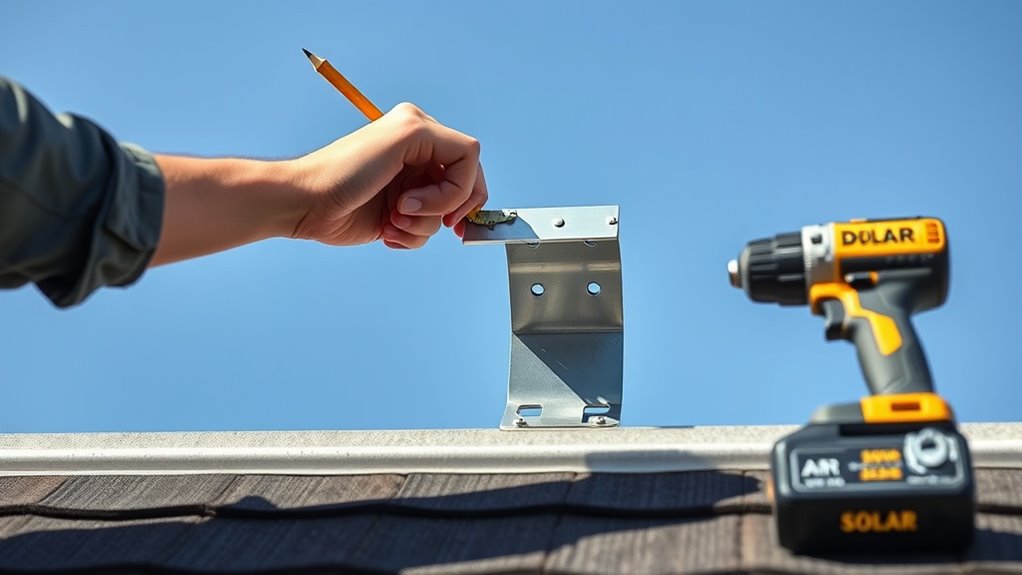
Now that you’ve chosen your panels and mounting kit, it’s time to identify the best spots on your roof for the mounts. Carefully measure and mark each point to guarantee everything lines up perfectly.
When you drill, work safely and precisely to secure a solid foundation for your solar setup. Taking your time here really pays off!
Identifying Optimal Mounting Locations
Since proper placement guarantees maximum sunlight exposure, you’ll need to carefully mark and drill the mounting points for your solar panels. Start by choosing roof areas free from shadows caused by trees, chimneys, or nearby buildings.
Focus on south-facing sections for the best sunlight throughout the day. Also, make sure the roof surface is sturdy and in good condition to support the panels securely.
Use this quick reference to identify the best mounting spots:
| Factor | Ideal Condition | Why It Matters |
|---|---|---|
| Sunlight Exposure | Unobstructed, south-facing | Maximizes energy output |
| Roof Condition | Solid, no damage | Ensures safe, lasting mount |
| Space Availability | Large, flat areas | Allows proper panel layout |
Choosing wisely now saves you time and boosts efficiency later. It’s worth putting in the effort upfront!
Measuring and Marking Points
How do you guarantee your solar panels are mounted accurately for maximum efficiency? Precise measuring and marking of mounting points is key.
Follow these steps to ensure your panels sit perfectly:
- Measure the distance between mounting brackets on your solar panel frame.
- Transfer these measurements onto your roof using a tape measure, aligning with your identified ideal locations.
- Mark each mounting point clearly with a pencil or chalk for visibility.
- Double-check your measurements and marks to prevent errors before proceeding to drill.
Safe and Accurate Drilling
Before you start drilling, make certain you’ve double-checked your marked points for accuracy to avoid misalignment. Use a level and measuring tape to confirm each spot is perfectly aligned with your panel layout.
Wear safety goggles and gloves to protect yourself from debris. It’s better to be safe than sorry!
Select the right drill bit size for your mounting hardware to ensure a snug fit without splitting the roof material. Begin drilling slowly to prevent the bit from slipping, then maintain steady pressure for clean holes.
Keep the drill perpendicular to the roof surface for straight holes, which are essential for secure mounts. Finally, clear away any dust or debris from the holes before installing anchors or bolts to guarantee a solid, long-lasting connection for your solar panels.
Install Roof Flashing to Prevent Leaks
Although mounting your solar panels securely is essential, installing roof flashing plays an equally important role in protecting your roof from leaks. Roof flashing acts as a waterproof barrier around your mounting points, preventing water from seeping in.
Follow these steps to install flashing correctly:
- Choose the right flashing that matches your roof type and mounting system.
- Lift the shingles carefully to slide the flashing underneath without damaging them.
- Position the flashing so it directs water away from the mounting hole.
- Seal the edges with roofing sealant to ensure a watertight fit.
Proper flashing installation safeguards your roof’s integrity and keeps your solar setup leak-free for years to come. Don’t skip this critical step—it really makes a difference!
Secure Solar Panel Mounting Brackets
Once you’ve installed the flashing, you can secure the mounting brackets firmly to your roof. Start by aligning each bracket with your roof rafters for maximum support.
Use a drill to drive lag bolts through the bracket base and into the rafters. Tighten the bolts securely but avoid over-tightening to prevent damage.
Check each bracket for stability and adjust if needed. Properly securing these brackets guarantees your solar panels stay put through wind and weather.
| Step | Tool Needed | Key Tip |
|---|---|---|
| Align brackets | Measuring tape | Match brackets to rafters |
| Drill bolts | Power drill | Use lag bolts for strength |
| Check stability | Hand wrench | Tighten bolts, avoid over-tightening |
Attach Solar Panels to the Mounts
After securing the mounting brackets, you’ll want to carefully position each solar panel onto them, guaranteeing the panels align with the mounting rails. Proper alignment is key to avoid any stress on the panels or mounts.
Carefully position each solar panel to align with the mounting rails, ensuring no stress on panels or mounts.
Here’s how to attach your solar panels:
- Lift the panel and place it onto the rails, matching the mounting holes.
- Slide the panel gently until it sits flush against the brackets.
Next, secure the panel using the appropriate clamps or bolts, tightening them evenly. This helps keep everything sturdy.
Finally, double-check each connection to guarantee the panel won’t shift or loosen over time. You want to be sure everything stays put!
Connect Wiring and Test Your Solar Panel System
How do you safely connect the wiring and guarantee your solar panel system works correctly? First, make sure the main power source is turned off to avoid electrical shock.
Next, connect the solar panels in series or parallel according to your system design. Use MC4 connectors for secure, weatherproof connections.
Double-check polarity—positive to positive, negative to negative—to prevent damage. After wiring, connect the system to the charge controller, battery bank, and inverter as specified.
Once everything’s hooked up, restore power and use a multimeter to test voltage and current output. Make sure the readings match your system’s expected performance.
Finally, inspect all connections for tightness and proper insulation. If everything checks out, your solar panel system is ready to generate clean energy efficiently.
Frequently Asked Questions
How Do Solar Panels Affect My Home Insurance?
Solar panels usually increase your home’s value but might raise your insurance premiums slightly. You should notify your insurer and update your policy.
Make sure your coverage includes damage or theft related to the panels to avoid any surprises. It’s better to be safe than sorry!
What Permits Are Needed for Solar Panel Installation?
You’ll need building and electrical permits, but don’t worry—it’s usually straightforward. Check with your local city or county office because requirements vary.
Getting permits guarantees your installation is safe and up to code, protecting your investment. It’s definitely worth the effort!
How Long Do Solar Panels Typically Last?
Solar panels typically last 25 to 30 years, but many keep producing electricity beyond that.
You’ll notice a slight efficiency drop over time, so regular maintenance helps you get the best long-term performance. It’s kind of like giving your panels a little TLC to keep them running smoothly.
Can Solar Panels Increase My Home Value?
Solar panels act like a golden key, revealing extra value for your home. You’ll see increased appeal and higher resale prices because buyers love energy savings and eco-friendliness.
It’s a win-win situation. Your investment shines brightly in the market, making your home stand out from the rest.
What Maintenance Is Required After Installation?
You’ll need to clean your panels occasionally to remove dirt and debris, and inspect for damage after storms. Also, make sure to check wiring connections at least once a year.
Regular monitoring helps guarantee your system is performing at its best. It’s a good idea to schedule professional inspections every few years to keep everything running efficiently.
Conclusion
Mounting solar panels on your roof is like planting a seed in a garden—you prepare the soil, choose the right tools, and nurture the growth carefully. Just as a seed turns sunlight into life, your panels will transform rays into energy, powering your home sustainably.
By following these steps, you’re not just installing equipment; you’re cultivating a brighter, greener future, one panel at a time. Take pride in this journey—you’re growing more than power.
Installing solar panels on your roof means investing in renewable energy that reduces your carbon footprint. It’s a smart way to save on electricity bills while helping the environment. So, get ready to turn sunlight into clean, sustainable power and enjoy the benefits of solar energy every day!