
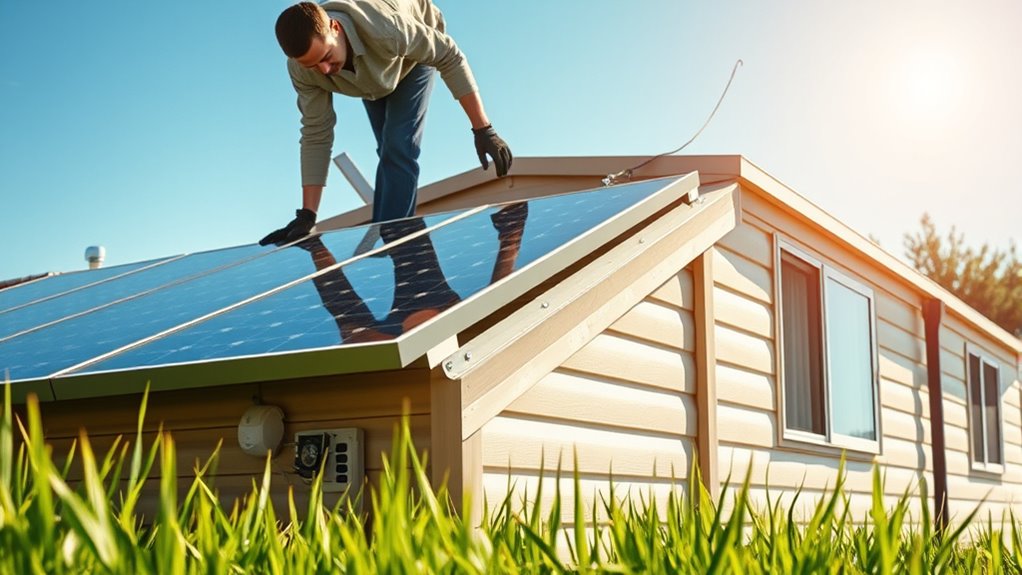
How Do You Put Solar Panels on Mobile Homes Step-by-Step?
Start by inspecting your mobile home roof for damage, space, and orientation to guarantee it’s suitable for solar panels. It’s important to make sure the roof can handle the weight and that it gets enough sunlight throughout the day.
This initial check sets the foundation for a successful solar panel installation on your mobile home.
Next, choose the right panel type and size based on your energy needs. You’ll want panels that fit well and provide enough power without overloading your system.
Then, gather mounting brackets and safety gear designed specifically for mobile homes to ensure everything stays secure and safe during and after installation.
Clean and prepare the roof thoroughly before you start mounting anything.
Once that’s done, securely mount the panels in place.
After mounting, connect the wiring to your electrical system with proper breakers to keep everything running smoothly and safely.
Finally, maintain and monitor your solar system regularly to keep it efficient and lasting.
Checking your setup now and then helps you catch any issues early, so your mobile home solar panels keep saving you money and energy for years to come.
Keep going to uncover detailed steps and tips!
Key Takeaways
– Inspect and prepare the mobile home roof for panel mounting by checking condition, cleaning, and ensuring proper orientation and space.
You want to make sure the roof is in good shape before you start. It’s also important to clear off any debris.
– Choose suitable solar panels, inverters, and system size based on energy needs and roof compatibility.
Pick the right size and type to match your energy usage and what your roof can handle.
– Secure panels using appropriate mounting brackets and hardware, applying sealant to prevent leaks.
Make sure everything is tight and sealed up so you don’t get any water damage.
– Connect electrical wiring with proper breakers, grounding, and compatibility checks.
Safety first—double-check that all connections are secure and grounded properly.
– Regularly clean panels, inspect system components, and monitor energy output for optimal performance.
Keeping an eye on your system will help it run smoothly and last longer.
Assess Your Mobile Home Roof for Solar Panel Suitability
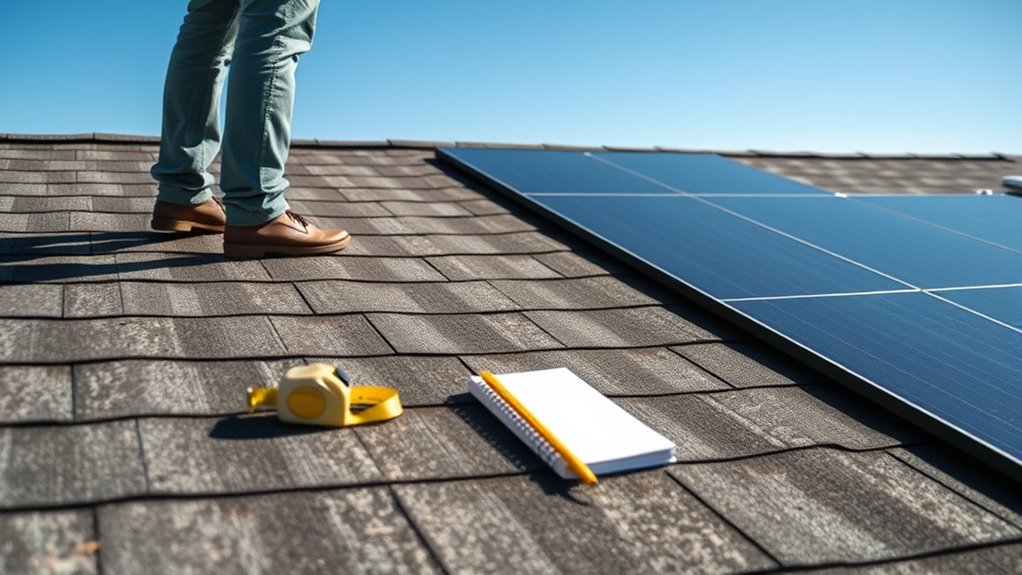
Before installing solar panels, you need to assess your mobile home’s roof to verify it can support the system. Start by checking the roof’s condition—look for damage, leaks, or weak spots that might affect panel installation.
Begin by inspecting your mobile home’s roof for damage or weak spots before installing solar panels.
You’ll want to measure the available space to confirm there’s enough room for the panels without shading. Consider the roof’s material too; metal or asphalt shingles work well, but some materials might require special mounting hardware.
Also, evaluate the roof’s angle and orientation; a south-facing roof with a pitch between 15 and 40 degrees maximizes solar exposure. Finally, check local building codes and HOA rules to affirm your plans comply.
Doing this groundwork ensures your solar setup will be safe, effective, and long-lasting.
Choose the Best Solar Panel System for Your Mobile Home
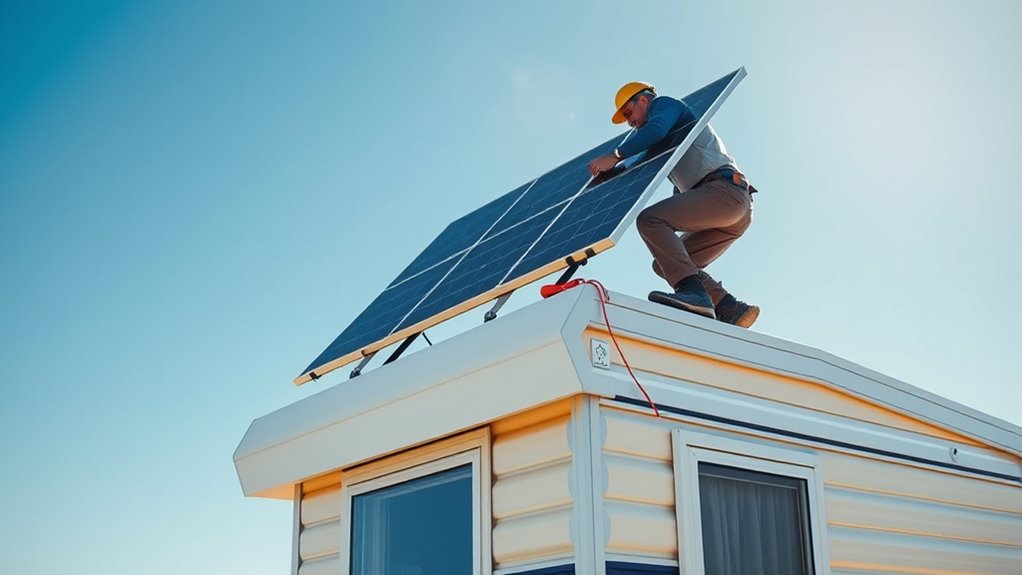
Selecting the right solar panel system for your mobile home can make all the difference in efficiency and cost savings. First, consider the energy needs of your household by reviewing past utility bills to estimate your daily electricity usage.
Next, decide between monocrystalline and polycrystalline panels. Monocrystalline offers higher efficiency but comes at a higher price, while polycrystalline is more affordable with slightly less efficiency.
Also, think about the system size. Smaller systems suit limited space, but larger ones cover more energy needs.
Don’t forget to check the inverter type. String inverters are common, but microinverters provide better performance on shaded roofs.
Finally, factor in your budget and available incentives to pick a system that maximizes savings without compromising quality or performance. It’s all about finding the right balance for your situation!
Prepare Your Roof and Select Mounting Equipment for Solar Panels
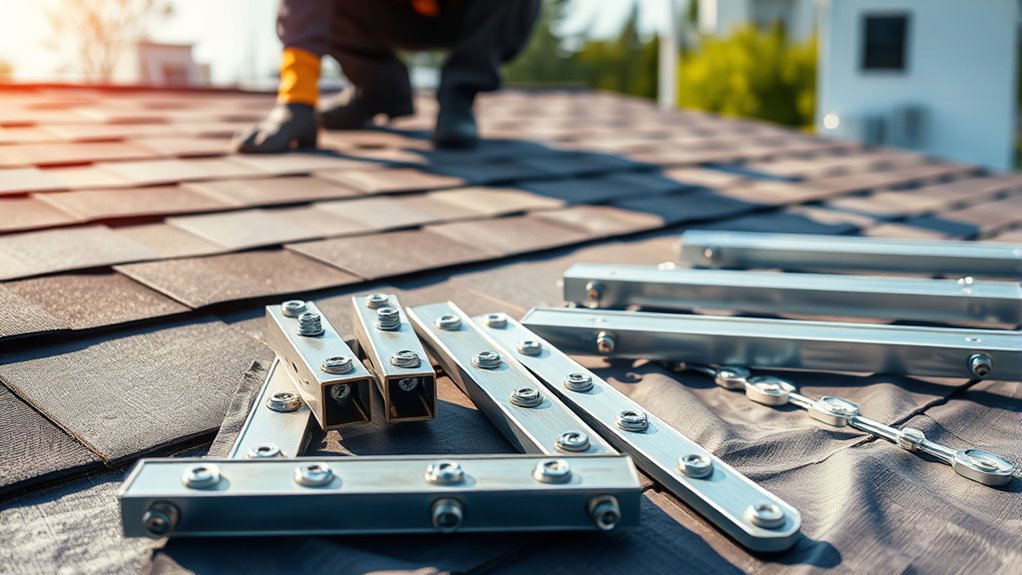
Once you’ve chosen your solar panel system, it’s essential to prepare your mobile home’s roof to guarantee a secure and efficient installation. Start by inspecting your roof for any damage or weak spots that could compromise the mounting.
Next, clean the roof thoroughly to remove dirt and debris. This ensures proper adhesion of the mounting equipment.
Then, select mounting brackets designed specifically for mobile homes. These brackets accommodate the unique structure and materials of your roof.
Finally, gather all necessary hardware like screws, sealants, and flashing. These help prevent leaks and provide stability.
- Inspect roof condition for damage or weak spots
- Clean roof surface thoroughly
- Choose mobile home–compatible mounting brackets
- Collect all hardware: screws, sealants, flashing
Proper preparation here sets you up for a smooth panel installation.
Install and Secure Solar Panels on Your Mobile Home Roof
With your roof prepped and all mounting equipment ready, it’s time to securely attach the solar panels to your mobile home. Start by positioning each panel according to your layout plan, aligning the mounting brackets with the pre-installed rails or directly onto the roof if you’re using a rail-less system.
Use stainless steel bolts and washers to fasten the panels firmly. Make sure each connection is tight enough to withstand wind and weather.
Check that the panels are level and spaced properly to allow maximum airflow. Don’t forget to use sealant around any drilled holes to prevent leaks.
Finally, double-check all mounts and hardware for stability before moving on. Taking these steps carefully will help ensure your panels stay secure and perform efficiently over time.
Connect Solar Panels Safely to Your Mobile Home Electrical System
Before connecting your solar panels, make sure your wiring is compatible with your mobile home’s electrical system. You’ll also need to install the proper circuit breakers to protect your setup from overloads.
Taking these steps guarantees a safe and efficient connection. It’s worth the extra effort to keep everything running smoothly and safely.
Wiring Compatibility Checks
Although installing solar panels can boost your mobile home’s energy efficiency, you need to guarantee your electrical system can handle the new setup. Before connecting everything, perform wiring compatibility checks to ensure safety and efficiency.
- Inspect Existing Wiring: Check if your current wires can support the solar panel amperage without overheating. It’s important not to skip this step because overheated wires can cause serious problems.
- Verify Voltage Compatibility: Make sure the solar system voltage matches your home’s electrical system. If the voltages don’t line up, the system won’t work properly.
- Assess Connector Types: Confirm that connectors on your panels and wiring harnesses are compatible to avoid mismatches. Using the wrong connectors can cause loose connections or damage.
- Check Grounding Systems: Proper grounding prevents electrical hazards; ensure your mobile home’s grounding aligns with solar requirements. This step helps keep everything safe and functioning well.
Installing Circuit Breakers
After confirming your wiring and grounding systems can handle the solar setup, the next step is installing circuit breakers to protect your mobile home’s electrical system. Circuit breakers prevent overloads and short circuits by cutting power during faults.
You’ll need to install breakers compatible with both your solar inverter and main panel. Always turn off the main power before working.
Here’s a quick reference to match breakers with your setup:
| Breaker Type | Purpose |
|---|---|
| Main Breaker | Controls overall power |
| Solar Breaker | Connects solar inverter safely |
| Ground Fault Breaker | Protects against electrical leaks |
Installing the right breakers guarantees safety and efficiency. If you’re unsure, it’s always a good idea to consult a professional electrician to avoid hazards.
Test, Maintain, and Troubleshoot Your Mobile Home Solar Panel System
You’ll want to inspect your solar panel system regularly to catch any issues early. Keep your panels clean to guarantee they work efficiently.
If something seems off, learning how to diagnose common problems will save you time and money. It’s easier than you might think once you get the hang of it.
Regular System Inspections
Since your mobile home solar panel system powers essential parts of your home, regular inspections keep it running efficiently and prevent costly repairs. You should schedule routine checks to spot any issues early.
Here’s what to focus on:
- Visually inspect panels for cracks, damage, or shading from new obstructions.
- Check all wiring and connections for wear, corrosion, or loose fittings.
- Monitor the inverter display for error messages or abnormal readings.
- Test battery health if your system includes storage, ensuring it holds charge properly.
Cleaning Solar Panels
How often should you clean your solar panels to keep them performing at their best? Generally, cleaning them every six months works well. But if you live in a dusty area or near trees, you might need to clean them more often.
Use a soft brush or sponge with water and mild soap. Avoid harsh chemicals or abrasive tools that could scratch the panels. Rinse thoroughly to prevent residue buildup.
Make sure you clean panels early in the morning or late in the evening when they’re cool. This helps avoid thermal shock or damage.
Regular cleaning boosts efficiency by removing dirt, bird droppings, and debris that block sunlight. Keep an eye out for stubborn spots and gently clean those to maintain maximum energy output for your mobile home solar system.
Diagnosing Common Issues
Regular cleaning keeps your solar panels running efficiently. But even well-maintained systems can face issues over time.
To diagnose common problems, follow these steps:
- Visual Inspection: Look for cracks, dirt buildup, or loose wiring on panels and connections.
- Check the Inverter: Make sure the inverter display shows normal operation. If you see blinking or error lights, that usually means there’s a fault.
- Monitor Energy Output: Compare current energy production with past data. This helps you spot drops that might suggest panel or system issues.
- Test Voltage and Current: Use a multimeter to measure output voltage and current at different points. This can help you identify faulty panels or wiring.
Frequently Asked Questions
How Much Do Solar Panels for Mobile Homes Typically Cost?
You’ll typically pay between $8,000 and $15,000 for solar panels on a mobile home, depending on system size and installation complexity. Costs vary, but incentives and tax credits can help lower your upfront expenses considerably.
It’s a pretty good idea to look into those incentives before you buy. They can make a big difference in what you actually pay. So, don’t forget to check what’s available in your area!
Are There Government Incentives for Installing Solar Panels on Mobile Homes?
You’re tapping into a golden treasure—yes, government incentives often shine bright for mobile home solar installations.
You can snag tax credits, rebates, and even net metering benefits, making your solar journey smoother and more affordable.
Can I Install Solar Panels on a Mobile Home Myself or Hire a Professional?
You can install solar panels on your mobile home yourself if you’re handy and understand electrical work. But hiring a professional guarantees safety, proper setup, and maximizes efficiency.
Also, don’t skip permits or local regulations. It’s important to follow those to avoid any trouble down the road.
How Long Do Mobile Home Solar Panels Last Before Replacement?
Imagine sunlight gently powering your mobile home for 25 to 30 years.
You can expect your solar panels to last that long before needing replacement, as they’re built tough to withstand weather and keep generating energy efficiently.
It’s pretty amazing how durable they are, right?
With just a little maintenance, they keep doing their job for decades.
Will Solar Panels Increase the Resale Value of My Mobile Home?
Yes, solar panels can increase your mobile home’s resale value by lowering energy costs and appealing to eco-conscious buyers.
You’ll attract more interest and potentially sell faster, especially if your system is well-maintained and efficient.
It’s a smart upgrade that not only saves money but also makes your home more attractive to buyers who care about sustainability.
Conclusion
By installing solar panels on your mobile home, you’re not just harnessing sunlight—you’re capturing the promise of independence and sustainability. Each panel you secure is like planting a seed of energy freedom, growing stronger with every ray.
As you connect and test your system, you’re weaving a tapestry of resilience and hope. It’s proof that even small spaces can hold big dreams powered by the sun.
Your mobile home becomes a beacon of change, showing how solar panels can transform on-the-go living. Embracing solar energy on your mobile home means reducing bills, increasing self-reliance, and stepping into a greener future. Solar panels on mobile homes are more than just equipment—they’re your path to energy independence and a sustainable lifestyle.
One Comment