How Do You Charge a Battery With a Solar Panel in 10 Easy Steps?
To charge a battery with a solar panel in 10 easy steps, start by picking a battery that’s great for deep cycling and find a solar panel that’s compatible with it. You’ll want to gather insulated tools and safety gear to keep things safe while working.
Next, install a charge controller between the solar panel and the battery to regulate the power flow and protect your battery.
When connecting everything, make sure you wire carefully and match the polarity correctly—this is super important to avoid any damage.
Position your solar panel where it can get plenty of direct sunlight for the best charging performance.
Keep an eye on your battery voltage regularly to ensure it’s charging properly.
Also, don’t forget to clean and maintain your system to keep it running smoothly.
Following these simple basics will set you up for effective battery charging with solar power. Plus, there’s plenty more useful info out there to help you optimize your setup even further!
Key Takeaways
– Choose a compatible solar panel and deep-cycle battery matched in voltage and capacity for efficient charging.
Make sure they work well together to get the best results.
– Position the solar panel in direct sunlight, angled to your latitude, facing south (north hemisphere) or north (southern hemisphere).
This helps capture the most sunlight throughout the day.
– Connect the battery to a charge controller first, then wire the solar panel to the controller, ensuring correct polarity and secure connections.
Double-check those connections so everything is safe and works properly.
– Use insulated tools and safety gear, verify all wiring with a multimeter, and avoid loose or corroded connections.
Safety first—it’s important to be careful when handling electrical components.
– Regularly monitor battery voltage and charge indicators, keep panels clean, and maintain the system to optimize charging and battery life.
A little upkeep goes a long way in keeping your system running smoothly.
Choose the Best Battery Type for Solar Charging
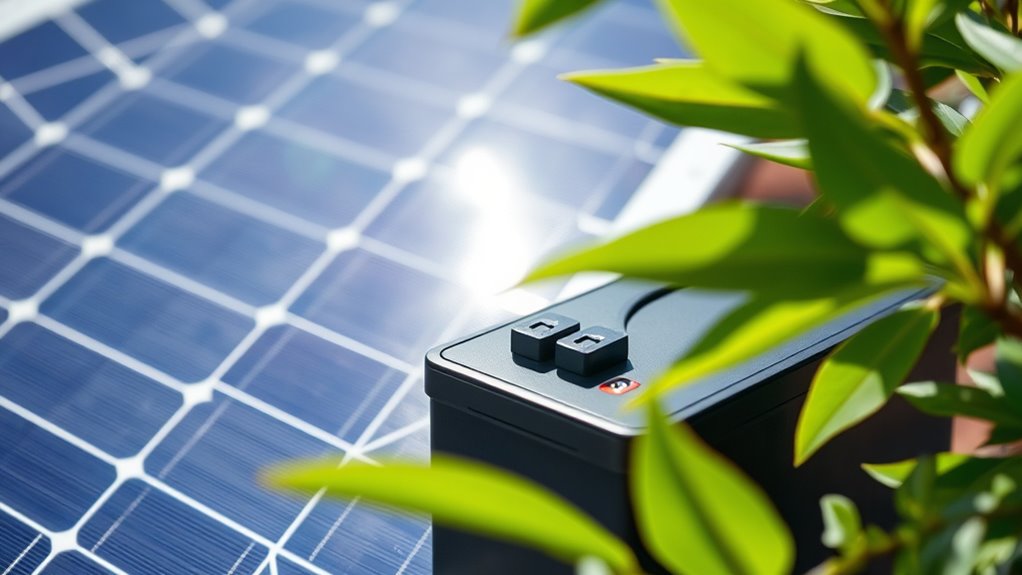
How do you pick the best battery type for solar charging? You’ll want to focus on batteries designed for deep cycling since they handle frequent charging and discharging better.
Lead-acid batteries, especially sealed AGM or gel types, are common and affordable choices. However, they require maintenance and have shorter lifespans.
Lead-acid batteries like sealed AGM or gel are affordable but need upkeep and don’t last as long.
Lithium-ion batteries offer higher efficiency, longer life, and need less upkeep, but they cost more upfront. Consider your budget, usage patterns, and how often you’ll need to replace the battery.
Also, check the battery’s capacity and voltage to ensure it matches your solar setup. Selecting the right battery means balancing cost, durability, and performance, so you get reliable power when the sun isn’t shining.
Pick the Right Solar Panel for Your Battery

Once you’ve chosen the right battery type, the next step is selecting a solar panel that matches its capacity and voltage. Picking the perfect panel guarantees efficient charging and protects your battery’s lifespan.
Think of it like pairing the right shoes with your outfit—it just works better together. Consider these key factors:
- Voltage Compatibility: Match your panel’s voltage to your battery system to avoid damage.
- Wattage Output: Choose a panel that provides enough power to recharge your battery fully.
Also, if you need mobility, look for lightweight, compact panels. They make it easier to move around without hassle.
And don’t forget durability. Opt for weather-resistant panels if you plan to use them outdoors regularly. That way, they’ll hold up no matter the conditions.
Gather Tools and Safety Gear Before Starting
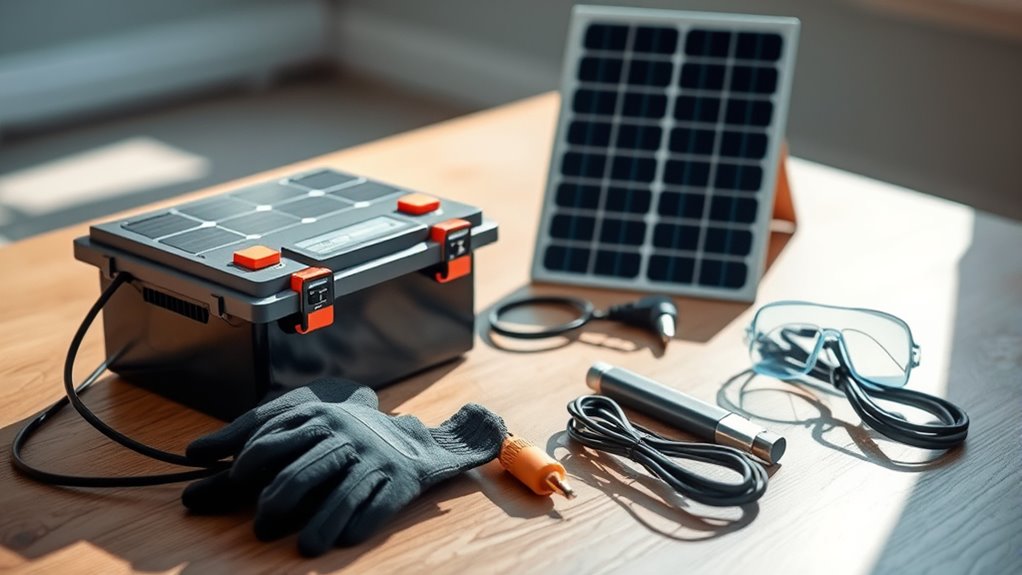
Before you begin charging your battery with a solar panel, gather all the necessary tools and safety gear to guarantee a smooth and secure process. Having everything ready keeps frustration at bay and protects you from potential hazards like electric shocks or burns.
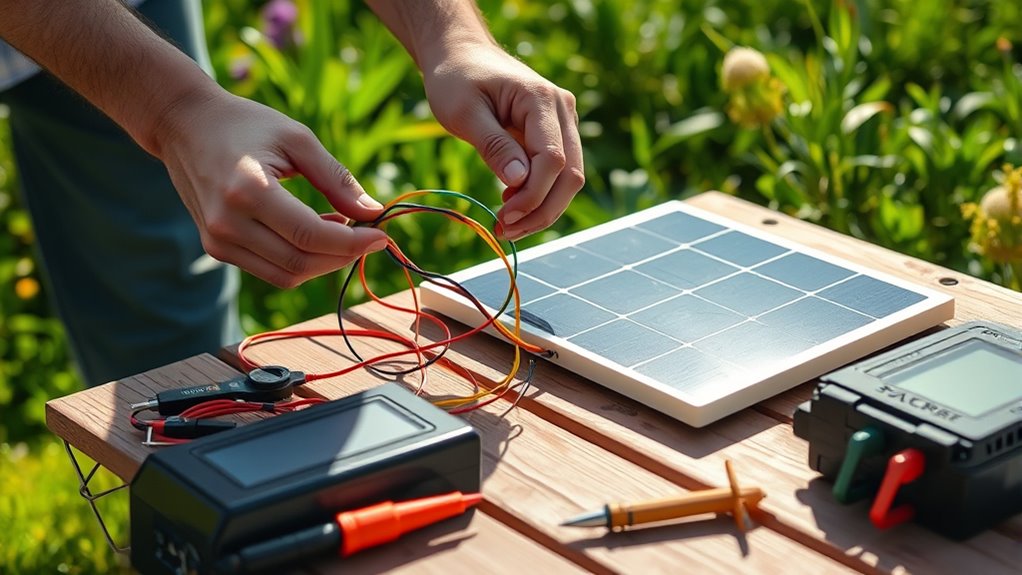
Essential items include insulated gloves, safety goggles, a multimeter, and sturdy cables. Organizing your workspace also helps maintain focus and efficiency.
| Tool/Safety Gear | Purpose | Feeling It Brings |
|---|---|---|
| Insulated Gloves | Prevent electric shock | Confidence |
| Safety Goggles | Protect eyes from sparks | Security |
| Multimeter | Measure voltage/current | Control |
| Sturdy Cables | Ensure proper connections | Reliability |
| Clean Workspace | Avoid accidents | Calmness |
Install the Charge Controller Correctly
You’ll want to install the charge controller properly to protect your battery from overcharging and damage. Make certain you follow the correct wiring techniques to guarantee a safe and efficient connection.
Finally, adjust the controller settings to match your battery type for peak performance. This way, you’ll get the most out of your system without any hassle.
Importance Of Charge Controller
Although solar panels generate clean energy, installing a charge controller correctly is essential to protect your battery and optimize charging. Without it, your battery risks overcharging, which can shorten its lifespan or even cause damage.
A properly installed charge controller ensures your battery charges efficiently and safely. It regulates voltage and current flow, preventing harmful spikes and excessive discharging.
When you install it right, you’ll enjoy peace of mind knowing your battery won’t overheat. Plus, you get longer battery life with balanced charging.
You’ll also have a consistent power supply for your devices and reduce the risk of costly damage or replacements. It’s a simple step that makes a big difference!
Proper Wiring Techniques
When installing your charge controller, taking care with the wiring guarantees your system runs safely and efficiently. First, always connect the battery to the controller before attaching the solar panel to avoid damage.
Use appropriately rated wires to handle the current, and keep cables short to reduce voltage drop. It’s a simple step that really helps your system perform better.
Secure all connections tightly to prevent loose contacts, which can cause sparks or inefficiency. Finally, follow polarity carefully—reversing cables can damage components.
| Step | Tip |
|---|---|
| 1. Connect Battery | Attach battery first to controller |
| 2. Use Correct Wire | Match wire gauge to current load |
| 3. Keep Cables Short | Minimize voltage drop |
| 4. Secure Connections | Tighten all terminals |
| 5. Check Polarity | Positive to positive, negative to negative |
Controller Settings Adjustment
After securing all wiring connections properly, focus on setting up your charge controller to manage power flow effectively. This step is vital to protect your battery from overcharging or deep discharging, ensuring long-lasting performance.
Start by selecting the correct battery type on the controller—whether lead-acid, AGM, or lithium—because each needs different charging parameters. Then, adjust the voltage settings according to your battery’s specifications.
Don’t forget to set the load control options if your controller supports it. This helps prevent energy waste and keeps your system running smoothly.
Feel confident knowing your battery is safe and efficient. Enjoy peace of mind with proper power regulation.
Experience longer battery life with precise settings. Take control of your solar charging system like a pro.
Proper controller adjustment is key to a hassle-free solar setup.
Wire the Solar Panel to the Charge Controller
Before connecting any wires, make sure you’ve identified the positive and negative terminals on both your solar panel and charge controller. This step is essential to avoid damaging the system.
Use appropriately rated wires for your panel’s voltage and current. Connect the positive terminal of the solar panel to the positive input on the charge controller. Then, connect the negative terminal to the negative input.
Secure the connections tightly to prevent loose contacts.
| Step | Action |
|---|---|
| 1 | Identify positive/negative terminals |
| 2 | Use correct wire gauge |
| 3 | Connect positive terminal |
| 4 | Connect negative terminal |
Double-check polarity before powering the system to guarantee safe and efficient charging. It’s always better to be safe than sorry!
Safely Connect the Battery to the Charge Controller
Although connecting the battery to the charge controller might seem straightforward, you need to follow specific safety steps to protect both your equipment and yourself. First, always disconnect all power sources before making connections. Double-check the battery’s voltage matches the charge controller’s specifications.
Connecting a battery to a charge controller requires careful safety checks and power disconnection first.
Make sure you connect the positive terminal of the battery to the positive input on the controller, and the negative to negative—mix-ups can cause serious damage. Secure all connections tightly to prevent sparks or loose contacts.
Wear insulated gloves to avoid shocks. Use cables rated for your system’s current.
Keep tools insulated and away from battery terminals. Also, work in a dry, well-ventilated area to reduce risks.
Following these steps helps you create a safe, reliable charging setup. It’s worth taking the time to do it right!
Position Your Solar Panel for Maximum Sunlight
When you position your solar panel to capture the most sunlight, you maximize its efficiency and charging power. Begin by placing the panel where it gets direct sunlight without shade from trees, buildings, or other obstacles.
Adjust the angle to match your latitude—tilt the panel to face the sun directly, which varies with the season. In summer, a lower tilt works best, while in winter, a steeper angle captures more sun.
Make certain the panel faces true south if you’re in the northern hemisphere or true north if you’re in the southern hemisphere. Check the panel’s position throughout the day to avoid shadows and ensure it stays aligned with the sun’s path.
Proper placement dramatically boosts your battery’s charging speed. So, keep an eye on it and tweak the angle if you need to!
Monitor Battery Voltage and Charging Status
You’ll want to regularly check your battery’s voltage to guarantee it’s charging properly and not overcharging. Use a voltmeter or built-in indicators on your charge controller to monitor the status.
Keeping an eye on these readings helps you maintain your battery’s health and efficiency. It’s a simple step that can save you from bigger issues down the road.
Checking Voltage Levels
Since proper voltage levels guarantee your battery charges safely and efficiently, monitoring them is crucial throughout the process. You’ll want to use a reliable multimeter to check the voltage regularly.
This helps you avoid overcharging or undercharging, which can damage your battery. Keep an eye on your battery’s voltage to ensure it stays within the recommended range, usually between 12.4V and 14.4V for a 12V battery.
Remember, maintaining correct voltage keeps your battery healthy and boosts its lifespan. It’s a simple step that makes a big difference.
Here’s why you should stay on top of voltage levels:
- Avoid costly damage and battery failure
- Maximize your battery’s performance and efficiency
- Gain confidence in your solar charging setup
- Protect your investment with simple checks
Indicators of Charging Status
Although monitoring voltage is essential, recognizing clear indicators of your battery’s charging status helps you manage the process more effectively. You’ll want to watch for signs like the battery’s voltage rising steadily, which means it’s charging properly.
Many solar charge controllers have built-in LED indicators that show charging progress—usually green for charging and red or flashing for errors or full charge. You can also use a multimeter to track the voltage; a fully charged 12V battery typically reads about 12.6 to 12.8 volts.
If the voltage plateaus or drops, it might mean the battery’s full or there’s an issue. Paying attention to these indicators lets you avoid overcharging or undercharging, ensuring your battery stays healthy and lasts longer.
Maintain Your Solar Panel and Battery to Extend Lifespan
To keep your solar panel and battery working efficiently, regular maintenance is essential. Neglecting this can shorten their lifespan and reduce performance.
Regular maintenance is key to maximizing the lifespan and performance of your solar panel and battery.
You want your setup to last and save you money in the long run. Here’s what you can do:
- Clean the solar panel surface regularly to remove dust and debris that block sunlight.
- Check connections and wiring for corrosion or damage to prevent power loss.
- Monitor the battery’s water levels (if applicable) and top up with distilled water as needed.
- Store the battery properly in a cool, dry place when not in use to avoid degradation.
Troubleshoot Common Issues Charging Batteries With Solar
When your battery isn’t charging properly with a solar panel, it can quickly become frustrating and disrupt your power needs. First, check all connections; loose or corroded wires often cause charging problems.
Make sure your solar panel is clean and positioned to get maximum sunlight. Also, inspect the charge controller—if it’s faulty or incompatible, your battery won’t charge efficiently.
Next, verify the battery’s voltage with a multimeter. A damaged or deeply discharged battery might not accept a charge.
Overheating can reduce efficiency, so confirm proper ventilation. If you’ve ruled out these issues and still face problems, test each component separately to pinpoint the fault.
Troubleshooting step-by-step helps you maintain a reliable solar charging system without unnecessary replacements. It’s all about patience and checking each part carefully.
Frequently Asked Questions
Can I Use a Solar Panel to Charge Multiple Batteries Simultaneously?
Yes, you can charge multiple batteries simultaneously, but you’ll need a proper solar charge controller. Also, connect the batteries correctly, either in series or parallel, to guarantee balanced charging.
This helps prevent damage to your batteries or panel. It’s important to get the setup right to keep everything working smoothly.
How Do Weather Conditions Affect Solar Battery Charging Efficiency?
Like waiting for sunshine in a storm, cloudy or rainy days cut your solar battery’s charging efficiency drastically.
You won’t get full power without direct sunlight, so expect slower charging and plan accordingly during bad weather.
It’s just how it goes with solar energy—less sun means less juice.
What Is the Ideal Battery Charge Level Before Disconnecting the Solar Panel?
You should disconnect the solar panel when your battery reaches about 80-90% charge to prevent overcharging. This range keeps your battery healthy and efficient.
It also helps avoid damage from excessive voltage or heat buildup. So, keeping an eye on that charge level is really important.
Are There Any Environmental Impacts of Using Solar Panels for Charging?
Using solar panels is like planting a tree—they reduce pollution and carbon emissions. You’ll cut your environmental impact markedly.
But remember, manufacturing panels uses resources. So recycling them properly helps keep your eco-footprint low.
Can Solar Panels Charge Batteries Indoors Under Artificial Light?
You can’t effectively charge batteries indoors with solar panels under artificial light because they produce much less energy than sunlight.
For better results, place your panels outside where they receive direct sunlight. It’s just way more efficient that way!
Conclusion
Charging your battery with a solar panel is like tending a garden—choose the right soil (battery), plant the seeds carefully (install and wire properly), and give it sunlight (position your panel well). Just as a garden thrives with regular care, your solar setup will flourish with monitoring and maintenance.
Stay patient and attentive, and soon you’ll harvest the steady energy that keeps your world bright and powered, just like nature’s own rhythm. Remember, charging a battery with a solar panel takes a bit of effort at first, but once everything is set up right, it’s smooth sailing.
By following these simple steps, you can efficiently charge your battery using solar power. It’s all about choosing the right battery, connecting everything properly, and positioning the solar panel for maximum sun exposure. With consistent monitoring and care, your solar battery charging system will provide reliable, clean energy for years to come.