
How to Make Beef Jerky in Smoker
To make beef jerky in your smoker, start with lean cuts like eye of round. Make sure to trim all the fat off for a better texture and longer shelf life. Thin slices work best, so slice your meat carefully.
Next, marinate the slices for 12-24 hours in a flavorful mix of soy sauce, Worcestershire sauce, and your favorite spices. This step really brings out that delicious smoky flavor.
Preheat your smoker to a low temperature between 150-175°F. Use soaked hardwood chips to get that perfect smoky aroma.
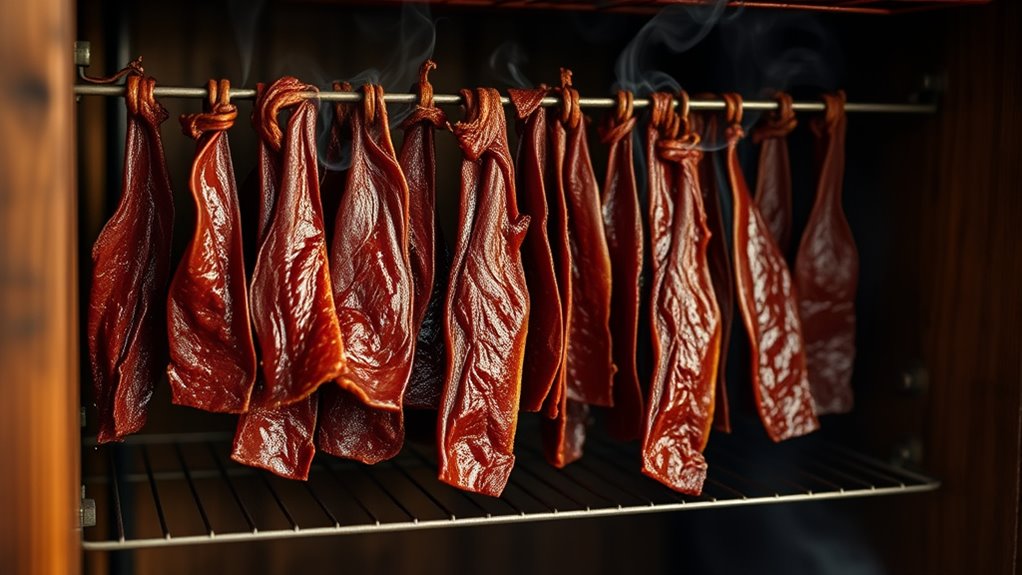
Smoke the meat low and slow until it feels flexible with just a slight crack when bent.
Drying the jerky properly is super important, and so is storing it right. Keep reading to discover tips for perfect flavor and how to extend your jerky’s shelf life. It’s easier than you think!
Key Takeaways
- Select lean beef cuts, trim fat and sinew, and slice 1/8″ to ¼″ thick against the grain for tender jerky.
- Marinate beef 12-24 hours in a mixture of soy sauce, Worcestershire, brown sugar, and spices for flavor and tenderness.
- Preheat smoker to 150-175°F, soak wood chips 30 minutes, and smoke jerky for about 2 hours, maintaining steady low heat and airflow.
- Check jerky for flexibility with slight cracking when bent, then finish drying at 160°F for 30-60 minutes with vents slightly open.
- Cool jerky completely before storing in airtight, moisture-proof containers; refrigerate or freeze for longer shelf life.
Pick the Best Meat Cuts for Jerky
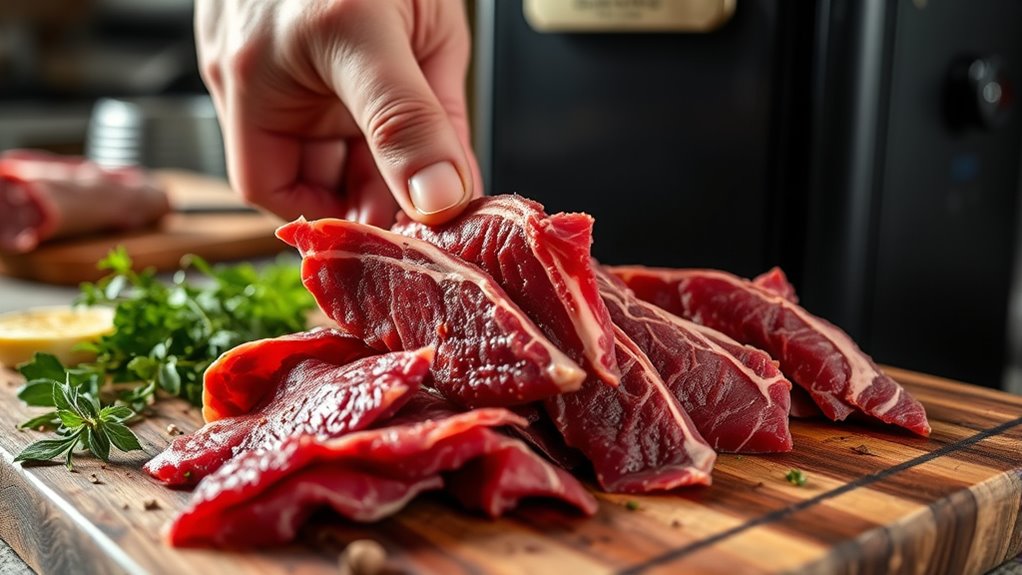
When you pick the best meat cuts for jerky, lean options like beef eye of round, sirloin, or rump roast work best because they reduce fat content and help your jerky last longer. Start by trimming off all fat and silver skin to improve texture and prevent spoilage.
For easier slicing and uniform thickness, partially freeze the beef for 1-2 hours before cutting. Use a meat slicer or ask your butcher to slice the meat very thin, between ⅛″ and ¼″ thickness.
Slicing against the grain creates tender jerky, while slicing with the grain results in a chewier texture. Choosing lean cuts like eye of round and focusing on proper fat removal and slicing techniques ensures your jerky dries evenly and stays fresh longer.
Whip Up a Flavorful Jerky Marinade
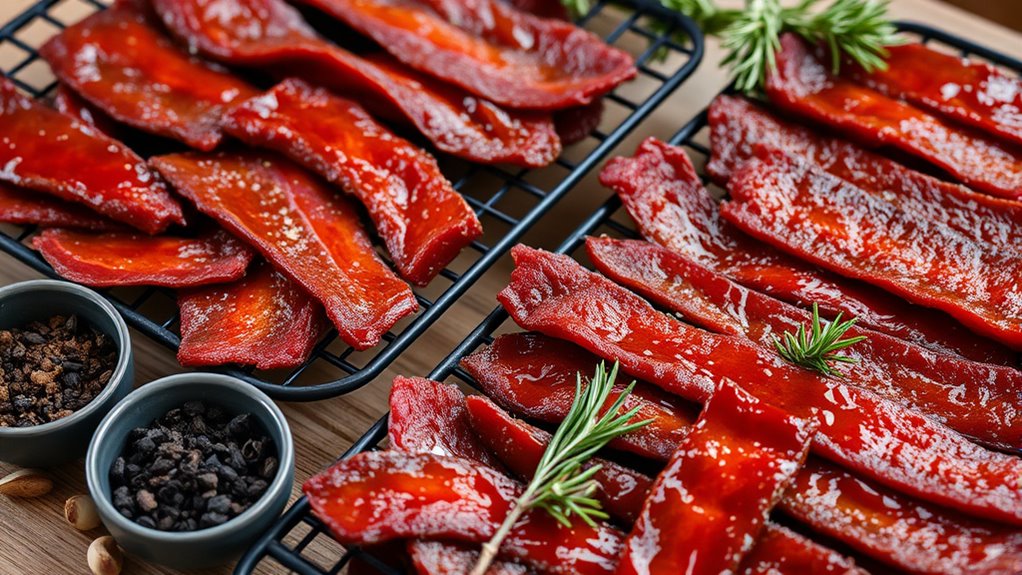
Although selecting the right meat is essential, crafting a flavorful marinade truly brings your beef jerky to life. Start by mixing soy sauce, Worcestershire sauce, brown sugar, garlic powder, onion powder, and black pepper.
Adding a few drops of liquid smoke enhances that smoky flavor without extra time. Whisk the liquid marinade well to dissolve the sugar and seasoning thoroughly before marinating your meat.
A few drops of liquid smoke boost flavor fast; whisk well to blend sugar and spices before marinating.
To make the most of your marinade:
- Use a sealed container or Ziplock bag to marinate for 12-24 hours.
- Customize with honey, chili paste, or smoked paprika for unique tastes.
Also, strain excess liquid before smoking to avoid sogginess. Keep the marinade balanced for deep, savory flavor during marinating.
This marinade step is key to making your jerky irresistibly flavorful.
Prep Your Meat for Smoking
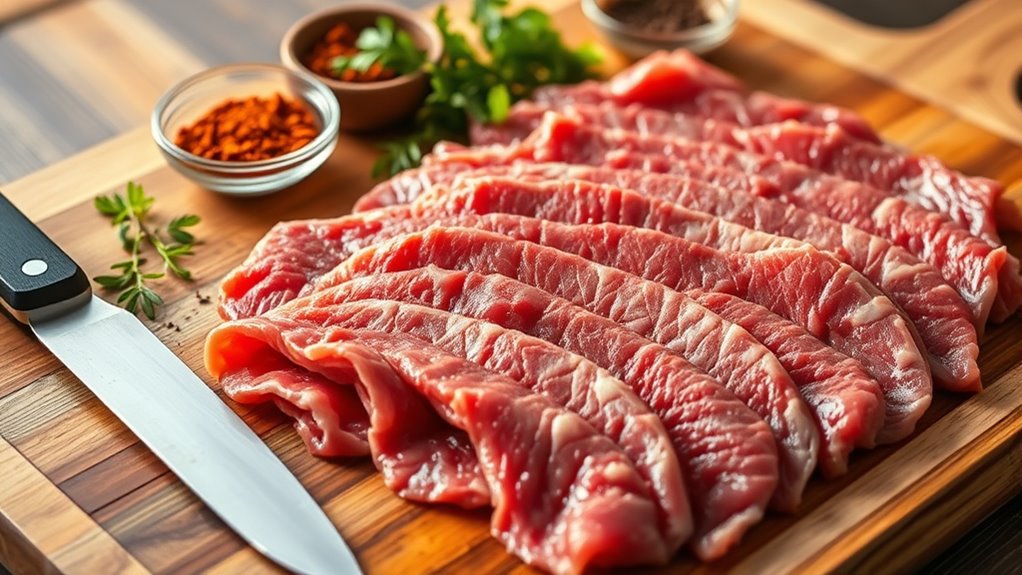
Start by choosing lean cuts of beef to make sure your jerky dries evenly and lasts longer. Freeze the meat for about 30 minutes to make slicing thin, uniform strips easier.
Use a sharp knife to cut against the grain, removing any fat or silverskin for the best texture and flavor. This step really makes a difference in how your jerky turns out!
Selecting Lean Meat
Choosing the right cut of meat is essential for making quality beef jerky in your smoker. Focus on lean cuts like beef eye of round, flank steak, or sirloin to reduce fat and extend shelf life.
Proper meat preparation ensures better texture and flavor. Before slicing, partially freeze the meat for 1-2 hours to make cutting easier and achieve uniform thickness.
Use a sharp knife to remove any fat, silver skin, or sinew, as these can spoil your jerky.
Keep these tips in mind:
- Select lean cuts to minimize fat content
- Partially freeze for easier handling and consistent slices
- Remove all visible fat and silver skin
- Slice against the grain for tender jerky
This approach guarantees a clean, flavorful base for smoking. It really makes a difference in the final product!
Slicing Techniques
When you slice your meat into 1/8 to 1/4 inch thick strips against the grain, you guarantee tender jerky that’s easier to chew. To make slicing easier and achieve uniform slices, partially freeze the meat for 1-2 hours. This firms it up, allowing you to cut even cuts with precision.
Use a sharp knife or a jerky slicer to maintain consistent thickness throughout all strips. Removing silverskin, fat, and sinew before slicing improves texture and prevents spoilage.
For tougher cuts, tenderize with a meat mallet or pre-slice to ensure uniform thickness and easier slicing. Paying attention to these slicing techniques guarantees your jerky dries evenly and results in a perfect, chewable texture every time.
Get Your Smoker Ready for Low-Temp Jerky
First, preheat your smoker to a steady 150-175°F. Keep a thermometer handy so you can monitor the temperature closely.
Next, soak your wood chips. Add just enough to create flavor without overpowering the meat.
Finally, open the vents fully to promote airflow. Use a drip pan to maintain consistent heat and catch drippings. Easy, right?
Smoker Temperature Control
Although maintaining a low temperature can be challenging, keeping your smoker steady between 150°F and 175°F is essential for drying jerky without overcooking. To achieve consistent temperature, use a reliable monitor thermometer and adjust vents carefully for proper airflow regulation.
If you’re using an electric smoker, set it between 160°F and 170°F and avoid frequent door openings to maintain steady heat. Remember, controlling smoker temperature helps preserve flavor and texture.
Keep these tips in mind:
- Fully open vents at the start, then gradually reduce airflow to prevent over-drying.
- Use soaked wood chips to add flavor and assist temperature control.
Check smoker temperature regularly and adjust vents or fuel as needed. For electric smokers, rely on built-in temperature control for ease.
Wood Chip Preparation
Controlling your smoker’s temperature sets the stage for flavorful jerky, but the type and preparation of wood chips will shape its smoky character. For wood chips preparation, start by choosing hardwoods like apple, cherry, hickory, or oak. These woods add a rich flavor to your beef jerky.
Before adding them to your smoker, soak wood chips in water for at least 30 minutes. This helps guarantee slow, steady smoke production. Depending on your smoker, place the soaked wood chips directly on hot coals or inside a smoker box. This way, you generate consistent smoke without flames.
During long sessions, wood chip replenishment is essential. Add more every 30 minutes to an hour to maintain that perfect, thin, wispy smoke. This also helps you avoid bitter white smoke.
Ventilation and Airflow
How do you guarantee your smoker maintains the perfect environment for drying beef jerky? Proper ventilation and airflow are key. You want steady airflow to ensure moisture escape and consistent temperature regulation between 150-175°F.
Start with the smoker vents fully open to promote airflow. Then, use airflow adjustment to prevent overheating or uneven drying.
Keep these tips in mind for ideal vent positioning and airflow control:
- Open the top vent fully during the initial drying phase for moisture escape.
- Place foil above the heating element to improve airflow and catch drippings.
- Slightly open vents throughout to allow fresh air circulation and avoid smoke buildup.
- For electric smokers, monitor vent positioning closely and open the door slightly if extra airflow is needed.
Mastering these ensures your jerky dries evenly and safely every time. Easy, right? Just a little attention to vents goes a long way!
Smoke and Dry Your Beef Jerky Perfectly
When you smoke your beef jerky at a steady low temperature between 150 and 175°F, you guarantee it dries evenly while developing rich flavor. Start by using soaked wood chips, preferably blue smoke, to enhance your jerky recipe’s taste.
Place the jerky strips in the smoker, keeping the top vent fully open initially to maximize airflow during early drying. Smoke jerky for about 2 hours, replenishing wood chips every 30 to 60 minutes as needed.
Check the texture regularly—it should be flexible and slightly crack when bent, signaling perfect dryness. Finish by drying at 160°F for 30 to 60 minutes with the vent slightly open to maintain even airflow and prevent over-drying.
This careful smoking and drying process ensures tender, flavorful beef jerky every time.
Store Your Smoked Jerky to Keep It Fresh
Although your smoked jerky tastes amazing fresh from the smoker, proper storage is key to preserving its flavor and texture. To keep your jerky fresh and safe, follow these essential tips:
Use an airtight container or vacuum-sealed bags to block air and moisture. Make sure you complete the cooling process before sealing to prevent condensation and mold.
If your jerky has higher moisture content, store it in the refrigerator or freezer for a longer shelf life. Also, try to avoid humid environments, as they can ruin jerky’s texture and promote bacterial growth.
Choosing the right storage method based on your jerky’s moisture content really helps maintain quality. Proper storage can extend the shelf life to 1-2 weeks at room temperature, or several months if frozen.
Frequently Asked Questions
How Long Does It Take to Smoke Beef Jerky on a Smoker?
Smoking beef jerky takes about 2 to 4 hours, like watching a slow dance.
You’ll want to keep your smoker steady at 170°F and check often to get that perfect chewy texture without drying it out.
How Long Does It Take to Smoke Jerky at 225?
It takes about 4 to 6 hours to smoke jerky at 225°F. You’ll want to check it after 4 hours, ensuring it’s dry but still pliable.
Adjust the time based on the thickness and your desired texture. Just keep an eye on it so it doesn’t get too dry or too chewy.
Is It Better to Smoke or Dehydrate Beef Jerky?
Why settle for just one method? You’ll get richer flavor smoking, but dehydrating gives you precise control and consistent texture.
Combining both lets you enjoy the best of each, creating perfect jerky every time.
What Type of Meat Is Best for Smoking Beef Jerky?
You’ll want lean cuts like eye of round, sirloin, or rump roast for smoking beef jerky. These low-fat options help prevent spoilage, improve texture, and taste better when sliced thin against the grain for even drying.
Choosing the right cut makes a big difference. Plus, lean meat means your jerky stays good longer and has that perfect chewy bite.
Conclusion
Now that you know how to make beef jerky in your smoker, you’re all set to enjoy a delicious, homemade snack. Did you know jerky has been a preserved meat favorite for over 9,000 years?
By choosing the right cuts and marinating well, you set the foundation for great flavor. Smoking low and slow is key to getting that perfect texture and taste.
When you store your beef jerky properly, it stays fresh and ready whenever you need a protein-packed bite on the go. Making beef jerky in a smoker isn’t just about preserving meat—it’s about crafting a tasty treat you can enjoy anytime. So grab your smoker, pick your favorite marinade, and get ready to make jerky that’s bursting with flavor and perfect for snacking!