
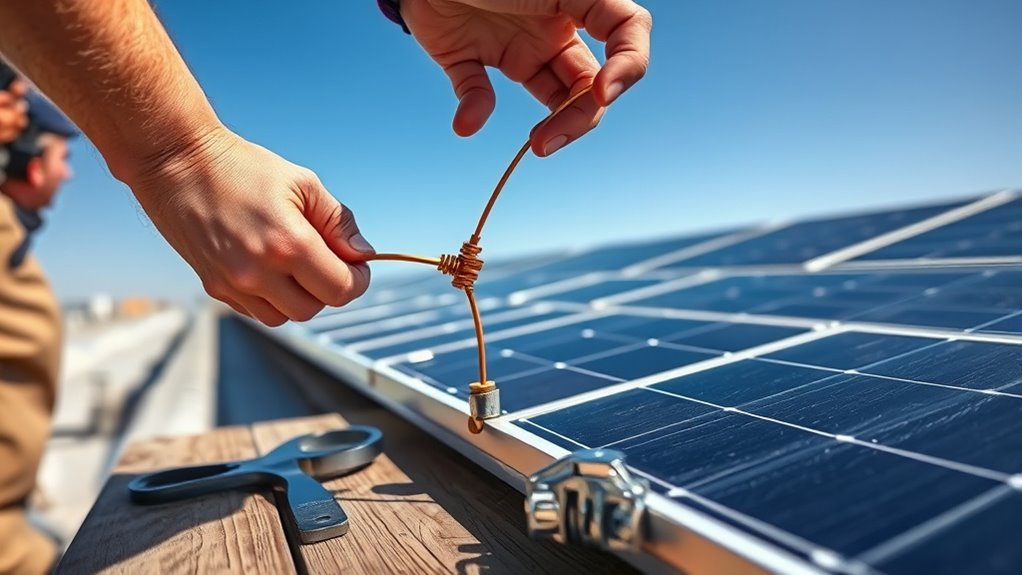
How to Ground Solar Panels in 3 Easy Steps
To ground your solar panels in three easy steps, start by gathering essential tools like copper grounding wire, a grounding clamp, wire stripper, and a multimeter. These tools are key to ensuring your solar panel system is safe and efficient. Proper grounding protects your panels from electrical faults and lightning strikes, so it’s really important to get it right.
Next, securely attach the stripped grounding wire to the panel frame using the clamp. Make sure to fasten the wire neatly along the mount for a clean setup. This step helps create a continuous path for electricity to flow safely to the ground.
Finally, connect the other end of the wire tightly to a certified earth ground. Use your multimeter to test the connection and confirm everything is working correctly. If you want to guarantee the best practices and safety tips, keep exploring the details.
Key Takeaways
- Locate the grounding lug on the solar panel frame and strip half an inch of insulation from the grounding wire.
- Securely attach the grounding wire to the panel frame’s grounding lug or clamp using a screwdriver or drill.
- Run the grounding wire along the mount, fastening it with cable ties or clips to prevent movement.
- Connect the other end of the grounding wire to a certified earth ground using a grounding clamp.
- Verify all connections are tight and continuous, and confirm proper grounding with a multimeter test.
Just take your time with each step to make sure everything is secure. It’s important for safety and efficiency!
Gather Essential Tools and Materials for Grounding Solar Panels
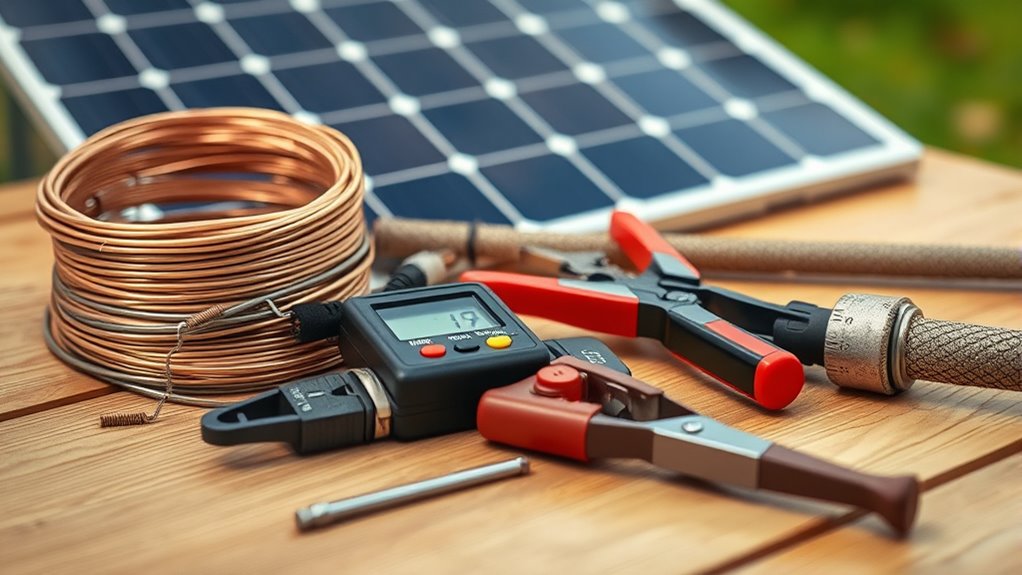
Before you begin grounding your solar panels, gather all the essential tools and materials to guarantee a smooth process. You’ll need a grounding wire, usually copper, to safely direct any electrical faults.
Grab a grounding lug or clamp to secure the wire to your panel’s frame. Don’t forget a wire stripper to prepare the grounding wire and a screwdriver or drill to attach the clamps.
A multimeter can help you test your connections later for safety. Safety gear like gloves and goggles is a must to protect yourself during installation.
Having all these items ready means you won’t interrupt your work searching for tools or parts, making the grounding process quicker and safer. Preparation is key to a reliable and effective solar panel grounding setup.
Connect the Ground Wire to Your Solar Panel Frame and Mount
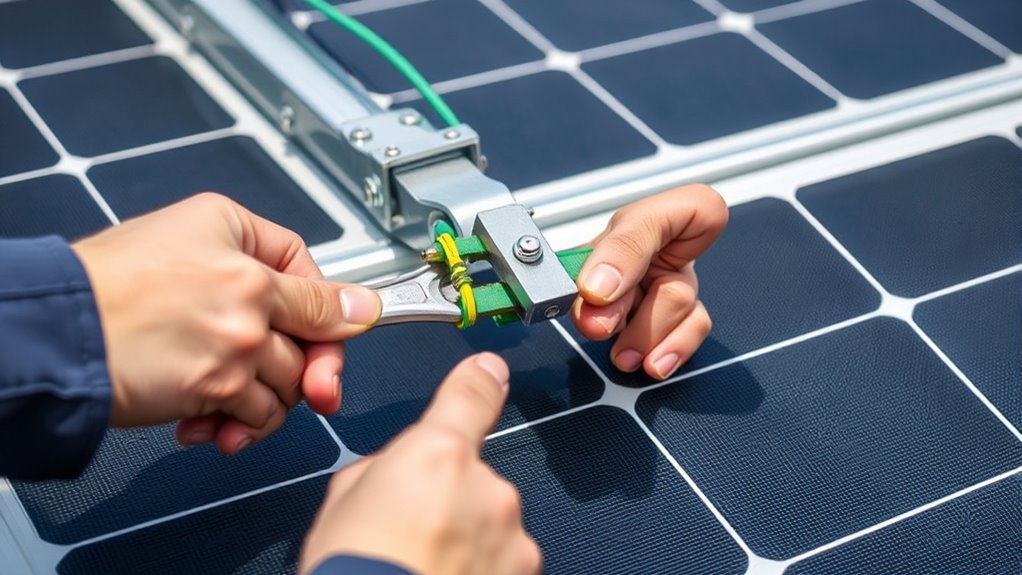
Once you have all your tools and materials ready, start by attaching the grounding wire to your solar panel frame and mount. This step guarantees safety by preventing electrical faults.
Begin by grounding your solar panel frame to ensure safety and prevent electrical faults.
Here’s how to do it:
- Locate the grounding lug or designated grounding point on your solar panel frame.
- Strip about half an inch of insulation off the end of your grounding wire.
- Securely attach the wire to the grounding lug using a grounding screw or clamp, ensuring tight contact with the metal surface.
- Run the wire along the mount, fastening it with cable ties or clips to keep it neat and prevent movement.
This connection creates a continuous path for electrical current. It protects your system from potential surges or faults, so it’s really important to get it right.
Connect the Ground Wire to a Certified Earth Ground
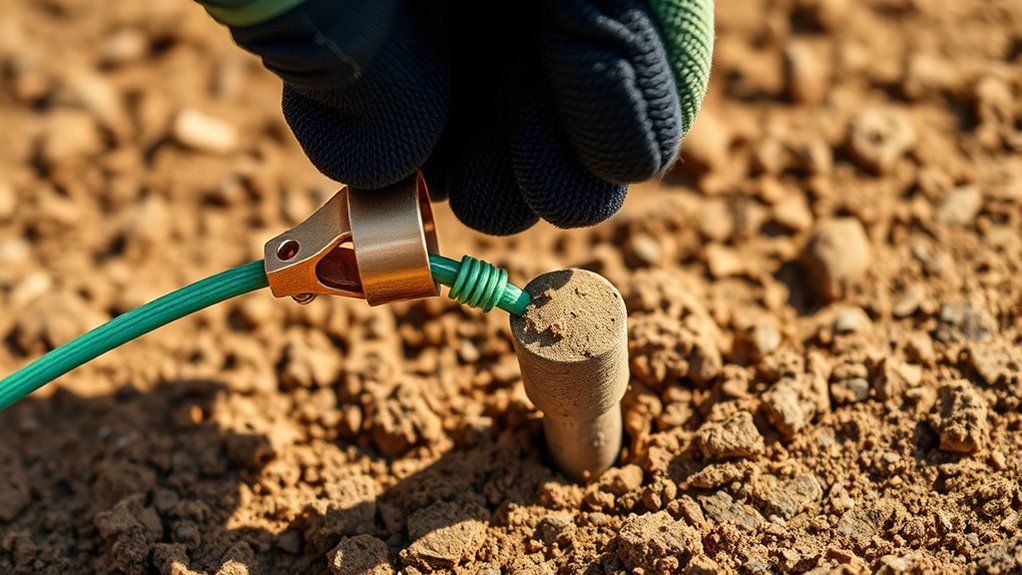
After securing the ground wire to your solar panel frame, you’ll need to connect it to a certified earth ground to complete the system’s safety circuit. Locate a grounding rod or a grounding system approved by your local electrical code, typically a copper rod driven into the earth.
Attach the other end of your ground wire to this rod using a grounding clamp, making sure the connection is tight and corrosion-resistant. Double-check that the wire is continuous and firmly secured because loose connections can cause safety hazards.
Finally, verify your work with a multimeter to confirm a low-resistance path to earth. Proper grounding protects your system from electrical faults and lightning, so don’t skip this essential step.
If you’re unsure about any part of this process, it’s a good idea to consult a licensed electrician.
Frequently Asked Questions
How Often Should I Inspect the Grounding System of My Solar Panels?
You should inspect your solar panel grounding system at least once a year and after severe weather. Regular checks help catch corrosion or loose connections early, keeping your system safe and efficient.
Don’t skip this important task! It’s a simple step that goes a long way in protecting your investment and ensuring everything runs smoothly.
Can Grounding Improve the Efficiency of Solar Panels?
You won’t boost your solar panels’ efficiency directly by grounding them, but since 90% of system issues relate to poor grounding, keeping it solid helps your panels perform reliably and last longer.
This way, you’re indirectly supporting better energy output. So, while grounding isn’t a magic fix for efficiency, it’s definitely key for smooth and consistent performance.
What Are the Risks of Not Grounding Solar Panels Properly?
If you don’t ground solar panels properly, you risk electrical shocks, fires, and equipment damage.
You could also face system failures or void warranties, so it’s vital to guarantee your panels are safely and correctly grounded.
Is Grounding Required by Law for All Solar Panel Installations?
Think of grounding like a safety net. Yes, you’ll find grounding is legally required for most solar panel installations to protect you and your system from electrical faults and lightning.
It keeps everything safer and code-compliant. So, it’s definitely something you don’t want to skip.
Can I Ground Solar Panels Myself, or Should I Hire a Professional?
You can ground solar panels yourself if you’re confident with electrical work, but hiring a professional guarantees safety and code compliance.
Don’t risk mistakes—professionals have the right tools and knowledge to do it properly.
It’s totally doable on your own if you know what you’re doing, but sometimes leaving it to the experts is just easier and safer.
Conclusion
Grounding your solar panels is like planting roots for a sturdy tree—it keeps everything safe and secure. By gathering the right tools, connecting the ground wire to your panel frame and mount, and linking it to a certified earth ground, you create a reliable path for excess electricity to flow away.
Follow these simple steps, and you’ll guarantee your solar setup stands strong against electrical surges. This protects both your system and your home from potential damage. Proper grounding is essential for the safety and efficiency of your solar panels.
So, take the time to ground your solar panels correctly. By doing so, you not only safeguard your investment but also ensure your entire solar energy system operates smoothly. Proper grounding is key to a durable and safe solar panel installation that will serve you well for years to come.


One Comment