Do It Yourself Solar Water Heater in 3 Easy Steps
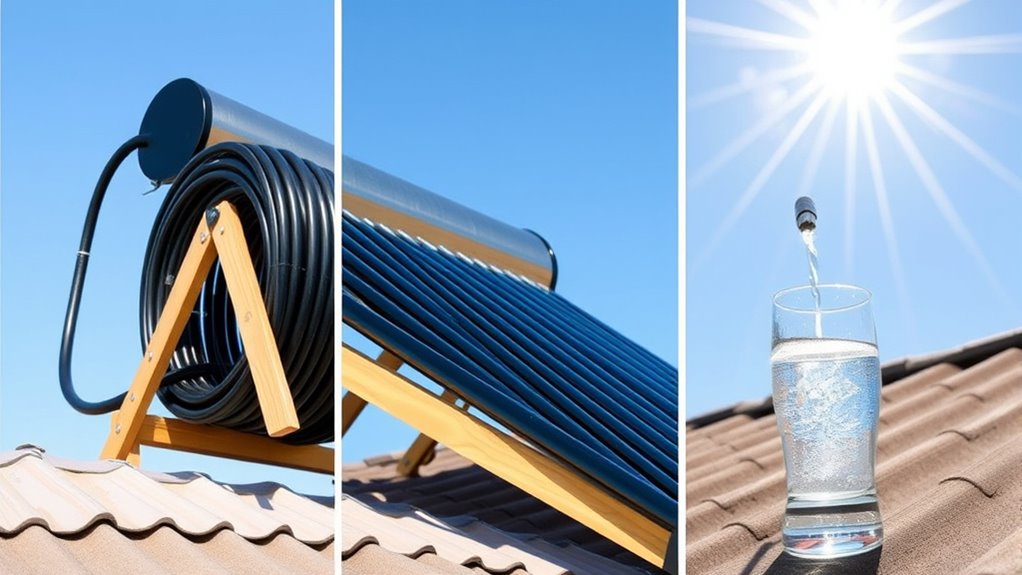
You can build your own solar water heater in three easy steps. Solar water heaters are a great way to save energy and lower your utility bills. Plus, making one yourself is simpler than you might think!
First, gather sturdy materials like wood or metal for the frame and secure fasteners.
Next, assemble the collector panel by attaching copper tubing in a coil on a backing with an absorber plate and transparent cover.
Finally, mount the panel facing south, connect it to your water system, check for leaks, and fine-tune for maximum heat.
Keep going to uncover tips for better performance and durability.
Key Takeaways
- Build a sturdy frame using wood or metal and prepare tools like a drill and measuring tape for assembly.
- Attach copper tubing in a coil pattern on plywood, securing it with clamps to ensure smooth water flow.
- Install an absorber plate over the tubing and cover it with transparent tempered glass to trap heat efficiently.
- Mount the panel facing south at an angle for maximum sun exposure and seal all pipe connections tightly.
- Connect to the water supply, check for leaks, and adjust the system to optimize heating performance.
Gather Materials for Your DIY Solar Water Heater Frame
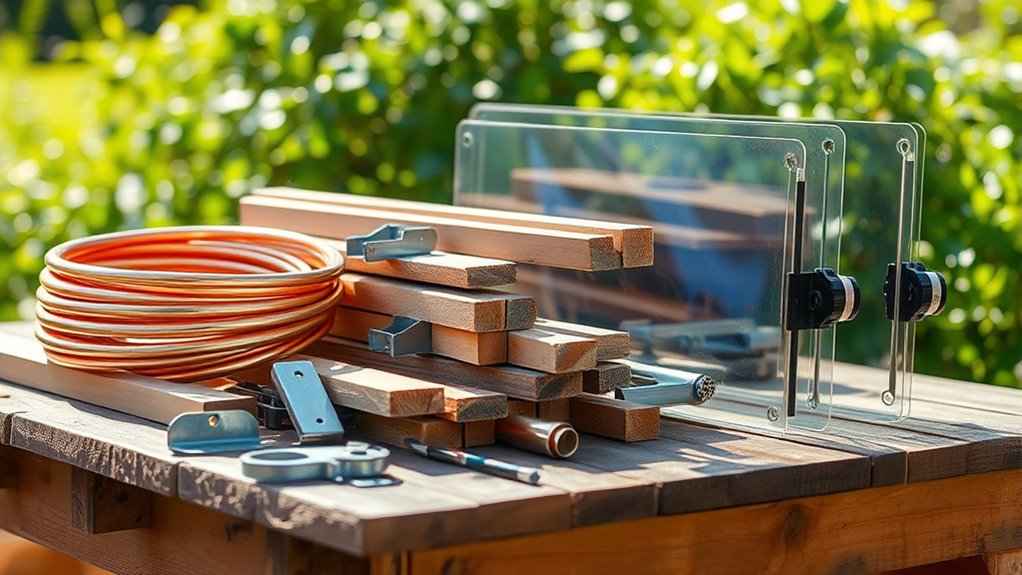
Before you begin building your solar water heater frame, gather all the necessary materials to guarantee a smooth assembly process. You’ll need sturdy wood or metal for the frame structure, depending on your preference and availability.
Gather sturdy wood or metal before building your solar water heater frame for a smooth assembly process.
Don’t forget screws, nails, or bolts to secure the frame tightly. Have a drill, screwdriver, and measuring tape handy for precise assembly.
You’ll also want weather-resistant paint or sealant to protect the frame from outdoor elements. If you plan to angle the frame for maximum sun exposure, include adjustable brackets or hinges.
Finally, safety gear like gloves and goggles will keep you protected while working. Preparing these materials beforehand saves time and avoids interruptions once you start building your solar water heater frame.
Assemble and Install Your Solar Water Heater Collector Panel
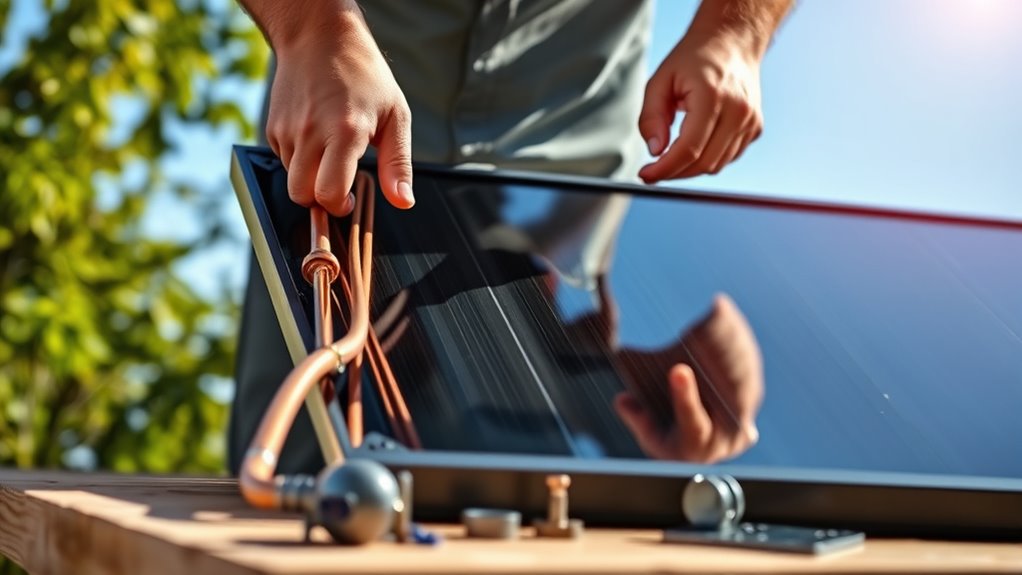
Once you’ve gathered and prepared your materials, it’s time to assemble the solar water heater collector panel. Start by securely attaching the copper tubing to the plywood or metal backing. Make sure to form a consistent coil or serpentine pattern to maximize sun exposure.
Use clamps or zip ties to hold the tubing in place. You want to avoid any kinks that might restrict water flow.
Next, attach the absorber plate—usually a painted or coated metal sheet—over the tubing. This helps capture heat efficiently.
Then, install a transparent cover, like tempered glass or clear acrylic. This creates a greenhouse effect that traps heat inside.
Finally, mount the fully assembled panel at a south-facing angle on a sturdy frame or rooftop bracket. This way, you’ll optimize sunlight exposure and get maximum heating throughout the day.
Connect, Test, and Fine-Tune Your Solar Water Heater System
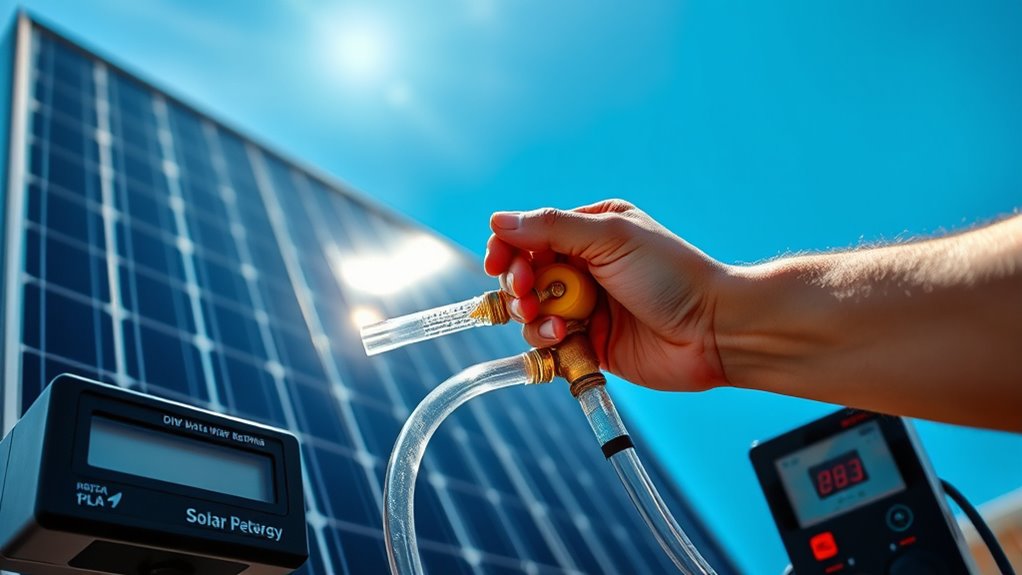
After assembling your solar water heater collector panel, you’ll connect the system’s pipes and fittings to your existing water supply and storage tank. Make certain all connections are tight and secure to prevent leaks. Use Teflon tape on threaded joints for a watertight seal.
Once connected, open the water supply and check for leaks. If everything looks good, turn on the water flow to fill the collector panel. Monitor the system as the water heats up under the sun.
If you notice heat loss or slow warming, adjust pipe angles or insulation. Fine-tune your setup by observing water temperature changes throughout the day until you achieve consistent, efficient heating.
This guarantees your DIY solar water heater performs reliably and saves energy. It’s worth taking the time to get it just right!
Frequently Asked Questions
How Much Can I Save on Energy Bills With a Solar Water Heater?
You can save up to 50-70% on your energy bills by using a solar water heater. It cuts down your reliance on electricity or gas, lowering costs and making your home more energy-efficient over time.
Pretty great, right? Over time, those savings really add up and help the environment too.
What Maintenance Is Required for a DIY Solar Water Heater?
You don’t have to wrestle bears—just clean the panels, check for leaks, and flush the system yearly.
It’s simple upkeep that keeps your heater running smoothly while you enjoy those energy savings without breaking a sweat.
Are There Any Safety Precautions When Installing a Solar Water Heater?
Yes, you should turn off power and water before starting. Also, make sure to wear protective gloves and eyewear to keep yourself safe.
It’s important to guarantee secure mounting, so everything stays in place. Avoid sharp edges while handling the equipment, too.
Once you’re done, check for leaks after installation. This helps ensure everything is working properly and safely.
Can a Solar Water Heater Work in Cloudy or Cold Climates?
You might think solar heaters fail in cloudy or cold climates, but they still work! They capture diffused sunlight and retain heat efficiently.
You’ll get warm water, though output might be lower on gloomy days. So, don’t worry too much about the weather—solar water heaters can still do their job.
How Long Does It Take to Recoup the Installation Cost?
You’ll typically recoup installation costs within 3 to 7 years, depending on your energy savings and local climate.
The sunnier it is and the more you use it, the faster you’ll recover your investment. It really just comes down to how much sunlight you get and how often your system runs.
Conclusion
By building your own solar water heater, you’re harnessing the sun’s golden embrace to warm your water and your home. With just a few simple steps, you’ll transform ordinary materials into a powerful, eco-friendly system that dances with sunlight.
So, roll up your sleeves and let the sun’s gentle touch fuel your comfort—because sometimes, the brightest solutions are the ones you create yourself.
Creating your own solar water heater is not just a fun project; it’s a smart way to save energy and reduce your carbon footprint. Plus, using renewable energy like the sun means lower utility bills and a greener lifestyle.
With DIY solar water heating, you get the satisfaction of building something useful and sustainable. It’s a win for your home, your wallet, and the planet. Ready to turn sunlight into warm water? Let’s get started!