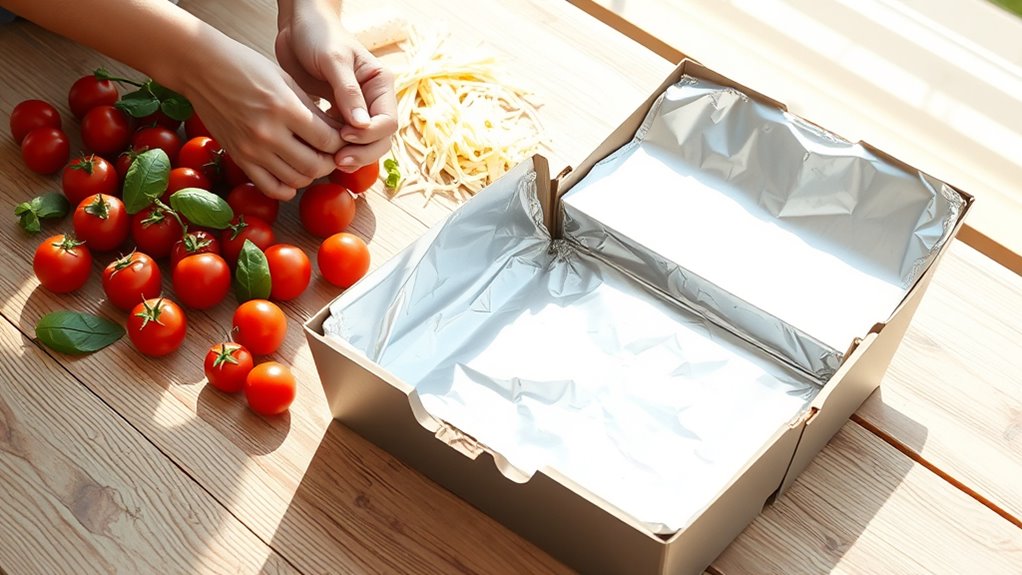
How to Make a Pizza Box Solar Oven in 5 Easy Steps
To make a pizza box solar oven, start by gathering a clean pizza box, aluminum foil, plastic wrap, black paper, tape, and scissors. These materials are easy to find and perfect for creating a simple, effective solar cooker.
First, cut a flap on the lid of the pizza box. Then, cover the underside of the flap with aluminum foil. This helps reflect sunlight into the box, which is key for heating up your food.
Next, tape plastic wrap over the opening you created by cutting the flap. This plastic layer traps heat inside the box, turning your pizza box into a mini greenhouse.
Line the bottom of the box with black paper, which absorbs heat and warms up the oven. Add some insulation beneath the black paper to keep the heat from escaping.
Finally, place your solar oven under direct sunlight. Adjust the flap to reflect sunlight inside the box, and check the temperature regularly. Keep tweaking it to get the best cooking results.
Making a pizza box solar oven is a fun and eco-friendly way to cook using the power of the sun!
Key Takeaways
- Cut a flap on the pizza box lid, leaving one side as a hinge, and cover its underside with clear plastic wrap.
- Line the box bottom with black construction paper to absorb heat and place a tray or foil for food.
- Cover the flap’s underside with aluminum foil to reflect sunlight into the box.
- Insulate the box bottom with crumpled newspaper or foam beneath the black paper for better heat retention.
- Position the box in direct sunlight, angle the reflective flap toward the sun, and monitor temperature with a thermometer.
Give it a try and watch how the sun does the cooking!
Gather Materials for Your Pizza Box Solar Oven
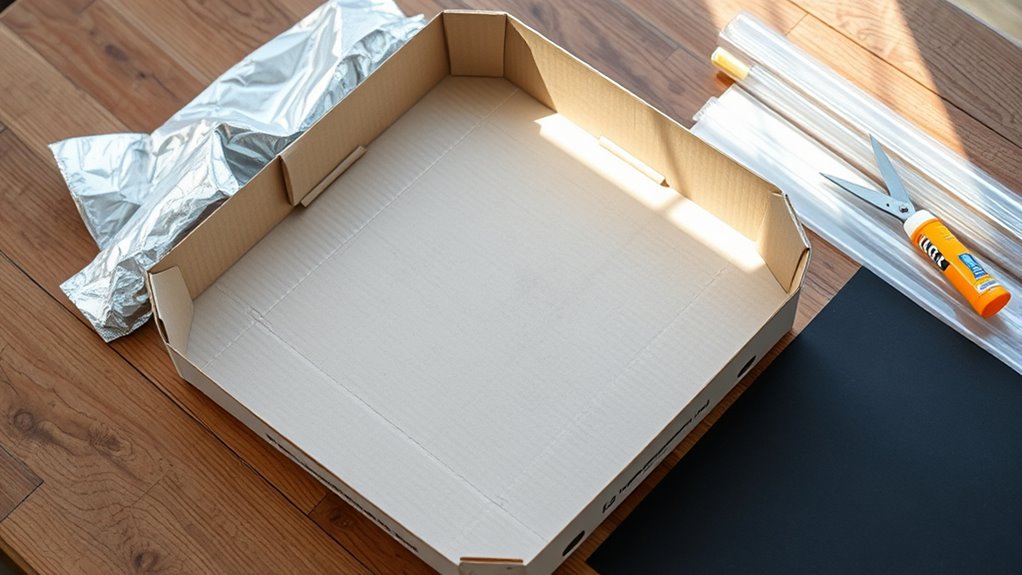
Before you start building your solar oven, gather all the materials you’ll need. You’ll want a clean, empty pizza box — it should be sturdy and large enough to hold your food.
Grab some aluminum foil to reflect sunlight inside the box. Clear plastic wrap or a large transparent plastic bag will help create a greenhouse effect, trapping heat.
You’ll also need black construction paper to absorb and retain heat at the bottom of the box. Don’t forget tape, scissors, and a ruler for precise cuts and securing materials.
A stick or straw can help prop open the flap you’ll create later. Finally, have a thermometer handy if you want to monitor the temperature inside your oven as it cooks your food.
Having everything ready will make the building process smooth and efficient. It really helps to have all your tools and materials on hand before you begin!
Get Your Pizza Box Ready to Cook
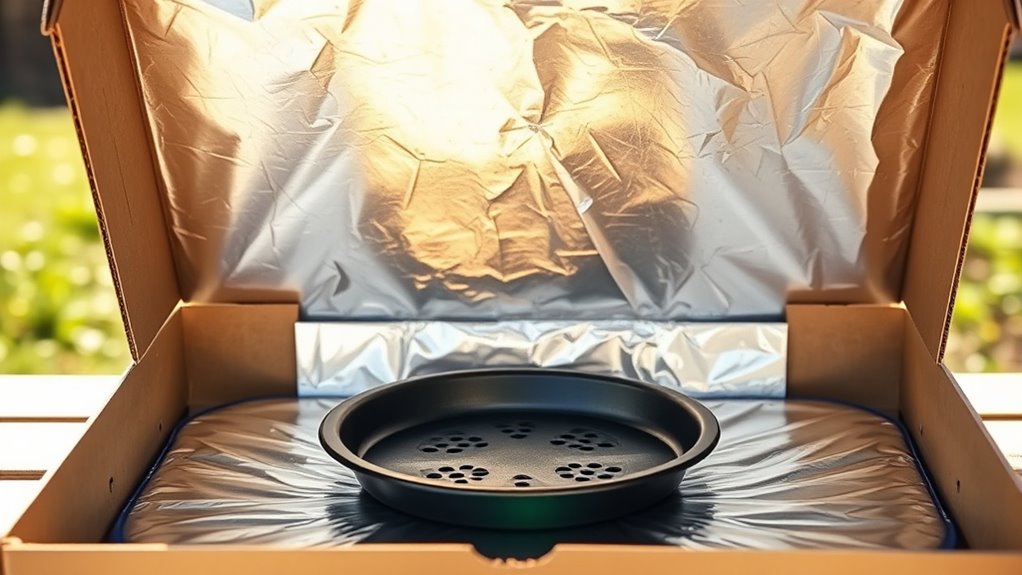
Once you’ve gathered your materials, prepare the pizza box by carefully cutting a flap along three sides of the lid, leaving one side attached to act as a hinge. This flap will help reflect sunlight into the box.
Start by cutting a flap on the pizza box lid to reflect sunlight inside.
Next, gently fold the flap back without tearing the edges. Then, cover the underside of the flap with clear plastic wrap or a transparent sheet to create an airtight window that traps heat.
To get your pizza box ready to cook:
- Line the bottom of the box with black construction paper to absorb sunlight.
- Make sure the box’s interior is clean and dry.
- Place a cooking tray or foil inside to hold your food.
These steps guarantee your solar oven will efficiently capture and retain heat. It’s pretty simple, but it makes a big difference!
Add the Reflective Flap and Insulate Your Oven
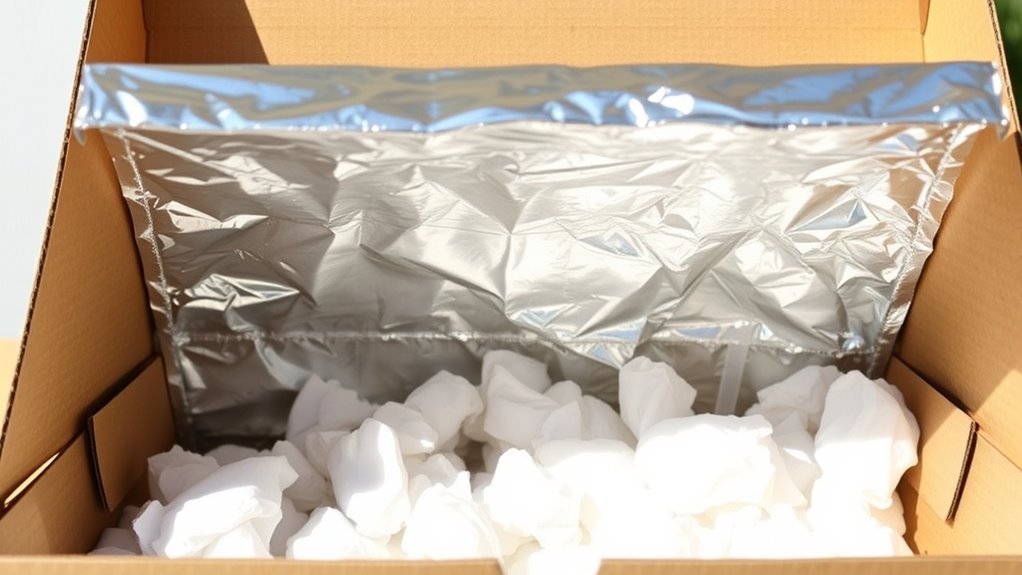
As you fold the reflective flap outward, position it to catch and direct sunlight into your oven, boosting the interior temperature. Next, cover the underside of this flap with aluminum foil, securing it smoothly with glue or tape to maximize light reflection.
Now, focus on insulating your oven. Line the bottom of the pizza box with crumpled newspaper or foam to trap heat effectively. Then, place a sheet of black construction paper on top of the insulation; black absorbs heat, aiding your oven’s warming process.
Finally, close the box lid carefully, making sure the reflective flap stays angled correctly. This combination of a reflective flap and insulation helps your solar oven reach higher temperatures. It makes your oven ready to cook your food efficiently.
Place Your Pizza Box Solar Oven Where the Sun Shines Best
With your reflective flap positioned and insulation in place, your solar oven is ready to harness sunlight effectively. To get the best results, you’ll want to place your pizza box solar oven where it can soak up the most direct sun.
Here’s how to find the perfect spot:
- Choose a location with no shade from trees, buildings, or other objects during the cooking time.
- Face the reflective flap toward the sun, adjusting it throughout the day if possible to keep the light focused inside.
- Set your oven on a flat, stable surface that won’t tilt or move, ensuring consistent sunlight exposure.
It’s pretty simple once you get the hang of it. Just keep an eye on the sun and move your flap as needed, and you’ll be cooking with sunshine in no time!
Test Your Solar Oven and Use It Safely
Before you start cooking, you’ll want to test your solar oven to make sure it heats properly and that you’re using it safely. Place a thermometer inside and position the oven in direct sunlight.
Check the temperature after 30 minutes; it should reach at least 200°F for effective cooking. If it doesn’t, adjust the angle or make sure the reflective flap is secure.
After 30 minutes, the oven should hit 200°F; adjust angle or reflective flap if needed.
Always use oven mitts when handling the box, as it can get hot. Keep kids supervised and avoid looking directly at the reflective surface to protect your eyes.
Never leave the oven unattended while in use, especially on windy days. Following these steps ensures your solar oven works well and keeps you safe while cooking outdoors.
Frequently Asked Questions
Can I Cook Other Foods Besides Pizza in the Solar Oven?
Yes, you can cook other foods besides pizza in your solar oven. Try heating s’mores, warming veggies, or melting cheese.
Just adjust cooking times and keep an eye on the temperature for the best results. It’s pretty simple once you get the hang of it!
How Long Does It Take to Cook Food in a Solar Oven?
It usually takes about 30 minutes to an hour to cook food in a solar oven, depending on sunlight intensity and the type of food.
You’ll want to check periodically to avoid overcooking or undercooking.
Just keep an eye on it, and adjust your cooking time if the sun gets behind clouds or if you’re cooking something denser.
What Is the Best Time of Day to Use the Solar Oven?
You’ll get the best results using your solar oven between 11 a.m. and 2 p.m. That’s when the sun is strongest.
Make sure it’s a clear, sunny day to maximize heat. This way, you’ll cook your food more efficiently.
Can the Solar Oven Work on Cloudy Days?
The solar oven can work on cloudy days, but it won’t be as effective. You’ll find it takes longer to heat up and may not reach high temperatures.
How Do I Clean and Store the Solar Oven After Use?
You might think cleaning’s tricky, but it’s actually pretty simple. Just wipe the interior with a damp cloth and some mild soap.
Let it dry completely before you fold it flat. Then, store it in a dry place to keep it ready for next time. Easy, right?
Conclusion
Now that you’ve built your pizza box solar oven, you’ve tapped into a brilliant, eco-friendly way to cook using just the sun’s energy. It’s amazing how something so simple can harness nature’s power.
This proves that sustainable solutions aren’t just theories—they’re real and effective. As you watch your food slowly cook, you’ll feel a connection to the earth and a hope for a cleaner future.
You’ve turned a box into a beacon of possibility. Using a pizza box solar oven shows how easy it is to adopt renewable energy at home. It’s a fun, practical project that helps reduce your carbon footprint while enjoying the benefits of solar cooking.