
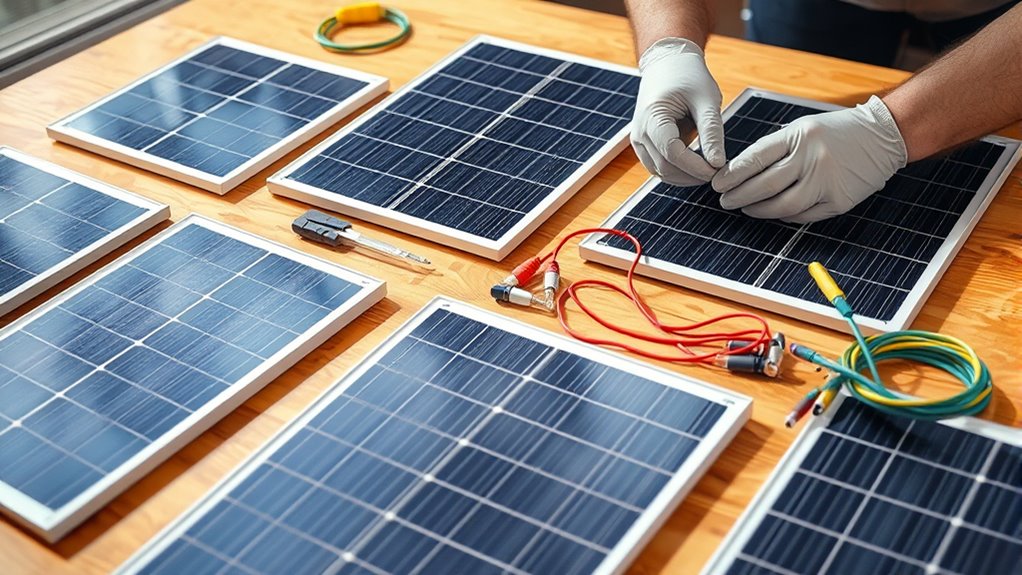
How to Wire Solar Panels in 5 Simple Steps
First, gather essential tools like MC4 connectors, a charge controller, and proper gauge wire for your solar panel wiring project. These items are crucial for ensuring a safe and efficient setup. Having the right equipment from the start makes the whole process smoother and more reliable.
Next, decide whether to wire your panels in series or parallel. Series wiring increases voltage, while parallel wiring boosts current. Choose based on what your solar power system needs. This step is key to optimizing your system’s performance.
Then, connect the panels step-by-step, making sure each connection is tight and the polarity is correct. This helps prevent any electrical issues down the line. Take your time with this part—it’s worth double-checking.
After that, safely wire the panels to your charge controller and inverter. Always power off your system before making these connections to avoid any hazards. Safety first!
Finally, test your setup using a multimeter and perform a load test. This confirms that everything is working properly and safely. Keep going, and you’ll soon discover how to optimize every detail for the best solar power output.
Key Takeaways
– Gather necessary tools like solar connectors, charge controller, appropriate gauge wire, and testing equipment before starting the wiring process.
Make sure you have everything ready so you’re not scrambling halfway through.
– Choose between series wiring (adds voltage) or parallel wiring (adds current) based on your system’s voltage and current requirements.
This choice really depends on what your system needs to work efficiently.
– Connect solar panels correctly: series wiring links positive to negative terminals sequentially; parallel wiring joins all positives and all negatives together.
Double-check these connections to avoid any mistakes.
– Safely connect panels to the charge controller and battery, ensuring correct polarity and secure, insulated connections to prevent shorts.
Safety first! You don’t want any loose wires or wrong connections causing issues.
– Test the system by measuring voltage and current under sunlight, inspecting connections, and performing a load test before regular use.
This final step helps you catch any problems early and ensures your system runs smoothly.
Gather Your Tools and Materials for Wiring Solar Panels
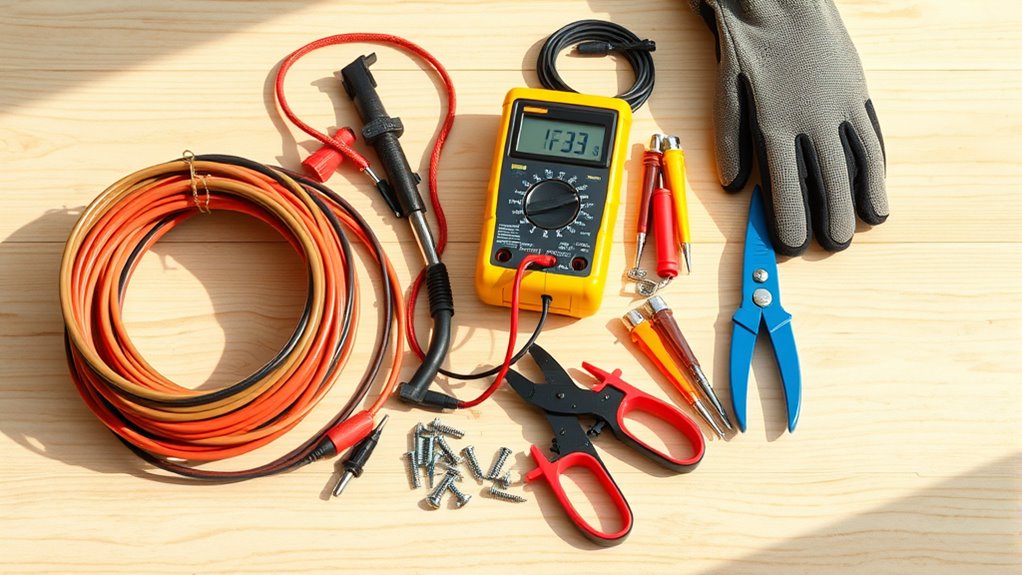
Before you begin wiring your solar panels, you’ll need to gather the right tools and materials to guarantee a smooth process. Start with solar panel connectors and MC4 connectors, which ensure secure, weatherproof connections.
You’ll also need a solar charge controller to regulate voltage and prevent battery overcharging. Don’t forget an appropriate gauge wire—usually between 10 and 12 AWG depending on your system’s amperage.
A wire stripper and crimping tool are essential for preparing and securing wire ends. Additionally, have a multimeter handy for testing voltage and continuity.
Other helpful items include heat shrink tubing for insulation, cable ties to organize wiring, and mounting brackets if you’re installing panels. Getting these ready before you start saves time and avoids interruptions during your wiring project.
How to Choose Between Series and Parallel Wiring
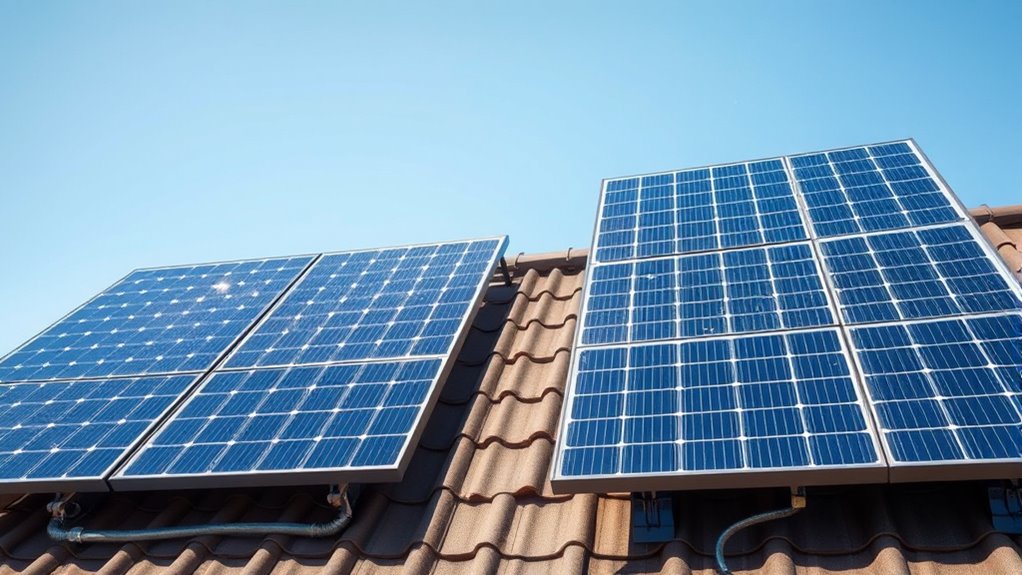
When deciding how to wire your solar panels, you’ll need to choose between series and parallel configurations, as each affects your system’s voltage and current differently. Wiring in series adds the panel voltages together while keeping current constant, which is ideal if your inverter or charge controller requires higher voltage input.
In contrast, parallel wiring keeps voltage the same as a single panel but increases the current. This works well if you want to maintain lower voltage and boost amperage for your system.
Consider your equipment’s voltage limits, desired power output, and safety requirements when choosing. Also, think about shading and panel mismatch, as series wiring is more sensitive to these issues.
Understanding these factors helps you pick the best wiring method for efficient solar power. It’s really about matching your setup to what your equipment needs and the conditions you expect.
Wire Your Solar Panels Step-by-Step in Series or Parallel
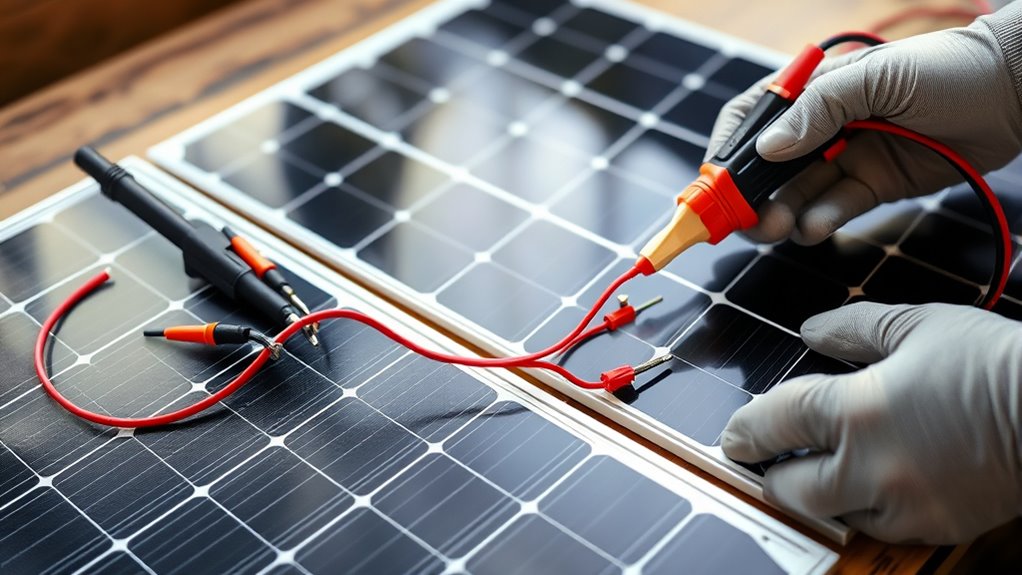
Since wiring your solar panels correctly is essential for system performance, you’ll want to follow each step carefully whether you choose series or parallel configuration.
For series wiring, connect the positive terminal of one panel to the negative terminal of the next. This adds voltage while keeping current constant. Make certain all connections are tight and secure.
For parallel wiring, link all positive terminals together and all negative terminals together. This keeps voltage steady but increases current. Use proper connectors and avoid mixing panel types to prevent imbalances.
Double-check polarity before finalizing connections to avoid damage. Once wired, test the output with a multimeter to confirm voltage and current match your expectations.
Taking these steps ensures your solar array functions efficiently and safely. It’s worth the effort to get it right!
Safely Wire Your Solar Panels to the Controller and Inverter
Although wiring your solar panels is a crucial step, connecting them safely to the charge controller and inverter is just as important. This helps protect your system and guarantees efficient energy flow.
First, make sure your system is powered off before making any connections. Always use appropriately rated cables and connectors that can handle your system’s voltage and current.
Connect the solar panel leads to the charge controller’s input terminals, matching positive to positive and negative to negative. Then, wire the charge controller to the battery bank, keeping the correct polarity to avoid any damage.
Finally, connect the inverter to the battery bank, again double-checking that the polarity is correct. Secure all connections firmly and use proper insulation to prevent shorts. Following these steps will keep your system safe and running efficiently.
Test Your Solar Panel System Before Use
Before you start using your solar panel system, you need to test it thoroughly to guarantee everything works correctly and safely. Testing helps you spot wiring mistakes or faulty components before they cause issues.
Follow these steps:
- Check Voltage Output: Use a multimeter to measure the voltage at the panel terminals under sunlight. It should match the panel’s rated voltage.
- Inspect Connections: Make sure all wires are secure and correctly connected to the charge controller and inverter.
- Test Charge Controller: Check that the controller is regulating voltage and current as it should.
- Run Load Test: Connect a small load (like a light bulb) to confirm the system powers it without interruption.
Doing these tests helps your solar setup run efficiently and keeps your equipment safe from damage. It’s worth taking the time to get it right!
Frequently Asked Questions
How Do Weather Conditions Affect Solar Panel Wiring Longevity?
You’ll find weather conditions like rain, extreme heat, and UV exposure can degrade wiring insulation over time, causing cracks or corrosion.
Protect your connections with weatherproof materials to guarantee your solar panel wiring lasts longer and stays safe.
It’s really all about keeping things sealed and shielded. When you do, your system can handle whatever Mother Nature throws its way.
Can Solar Panels Be Wired With Different Voltage Ratings Together?
You shouldn’t wire solar panels with different voltage ratings together, as it can cause mismatched output and reduce system efficiency.
Instead, match their voltages to guarantee safe, ideal performance and avoid damaging your system components. It’s really about keeping everything balanced so your system runs smoothly.
What Maintenance Is Required for Wired Solar Panel Systems?
You’ll want to clean panels every 6 months since dirt can reduce efficiency by up to 25%.
Check wiring for corrosion or damage yearly, and make sure connections stay tight to keep your solar system running smoothly and safely.
Doing these simple steps can really help your system last longer and work better. Just a little regular care goes a long way!
Are There Legal Regulations for Wiring Solar Panels at Home?
Yes, you do have to follow legal regulations when wiring solar panels at home. You’ll need permits, inspections, and must comply with local electrical codes to guarantee safety and legality.
It’s a good idea to check with your local authorities first. They can guide you through the specific rules and help make sure everything is done right.
How Do Temperature Fluctuations Impact Solar Wire Performance?
Temperature swings can twist and strain your solar wires like a dance partner pulling too hard, causing insulation to crack or connections to loosen.
You’ll want flexible, weather-resistant wires to keep your system performing smoothly.
Conclusion
Now that you’ve wired your solar panels, imagine the warm glow of clean energy powering your home. You’ve gathered your tools, chosen the right wiring method, and connected everything safely.
You even tested your system to make sure it works perfectly. With each step, you’ve built a bridge from sunlight to electricity, turning rays into reliable power.
This simple setup opens the door to a brighter, greener future. Wiring solar panels correctly is key to maximizing your solar power system’s efficiency.
So, whether you’re wiring in series or parallel, every panel and wire counts. Step by step, you’re creating a sustainable energy source—one sunny day at a time.

One Comment