How to Connect a Solar Panel to a Battery in 7 Simple Steps
To connect a solar panel to a battery, start by gathering your solar panel, charge controller, battery, and proper wiring. These are the essential components you’ll need to get your solar power system up and running efficiently. Turning off all power before you begin is super important for safety.
Next, connect the panel’s positive and negative terminals to the charge controller’s respective inputs. It’s key to make sure you match the correct polarity here to avoid any damage.
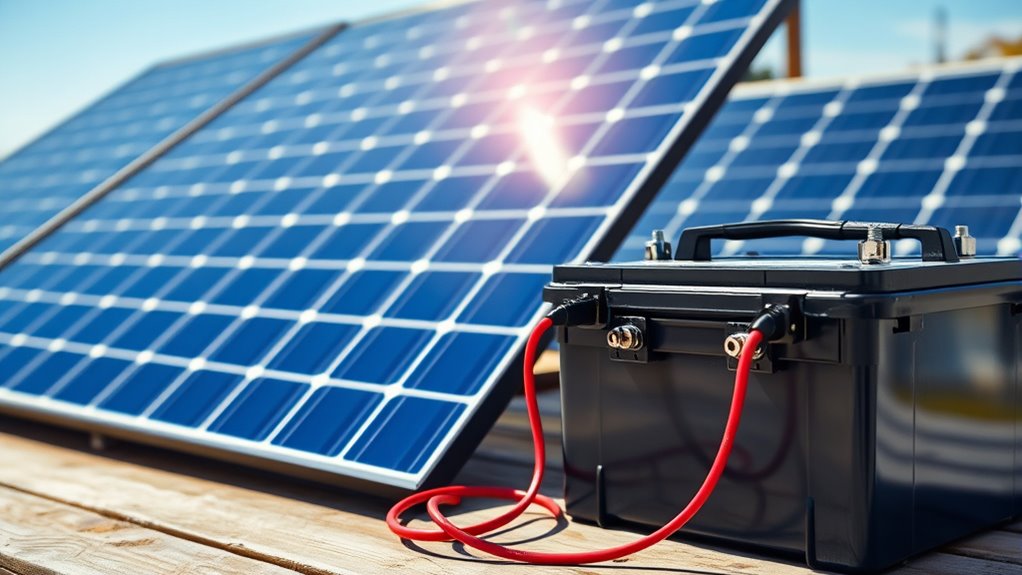
After that, wire the charge controller to the battery, again ensuring tight and correct polarity connections.
Once that’s done, attach your devices or inverter with appropriate fuses to protect your system.
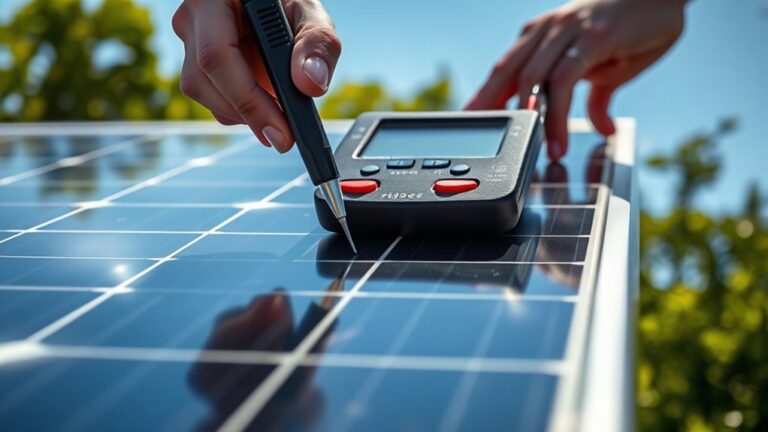
Finally, test everything with a multimeter to confirm the setup is working safely. Follow these steps closely, and you’ll be able to optimize and maintain your solar power system with ease.
Key Takeaways
- Turn off all power sources and identify positive and negative terminals on both the solar panel and charge controller before connecting.
- Connect the solar panel’s positive and negative wires to the corresponding terminals on the charge controller using secure, insulated connectors.
- Attach the battery to the charge controller by connecting positive to positive and negative to negative terminals with appropriately sized cables.
- Install a fuse or circuit breaker between the battery and any connected devices or inverter for safety and protection.
- Use a multimeter to test the system’s voltage and current, ensuring proper charging and steady power delivery before finalizing connections.
It’s always good to double-check your connections before moving on. That way, you avoid any surprises later on!
Tools and Materials for Your Solar Panel Setup
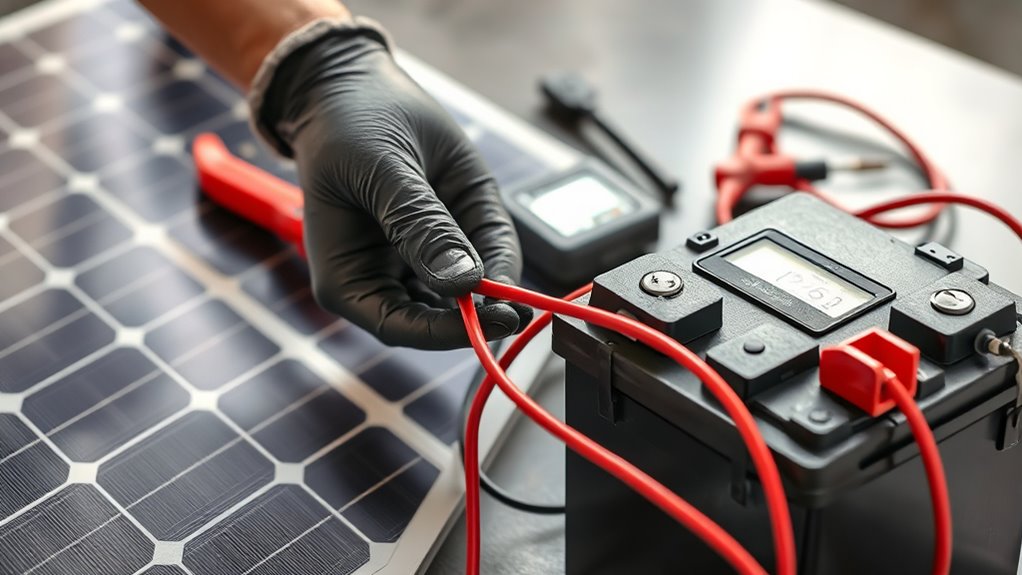
Before you begin connecting your solar panel to a battery, gather the essential tools and materials to guarantee a smooth setup. You’ll need the solar panel itself, a compatible charge controller, and a deep-cycle battery designed for solar use.
To connect everything safely, grab insulated wiring, preferably with the right gauge for your system’s amperage. Don’t forget MC4 connectors or similar fittings to ensure secure panel connections.
You’ll also need a multimeter to check voltage and confirm proper connections. Additionally, have mounting brackets ready to position your panel correctly for maximum sunlight exposure.
Finally, keep safety gear like gloves and eye protection on hand. Having these tools and materials ready will save you time and prevent common connection errors.
Choosing the Right Battery for Your Solar Panel
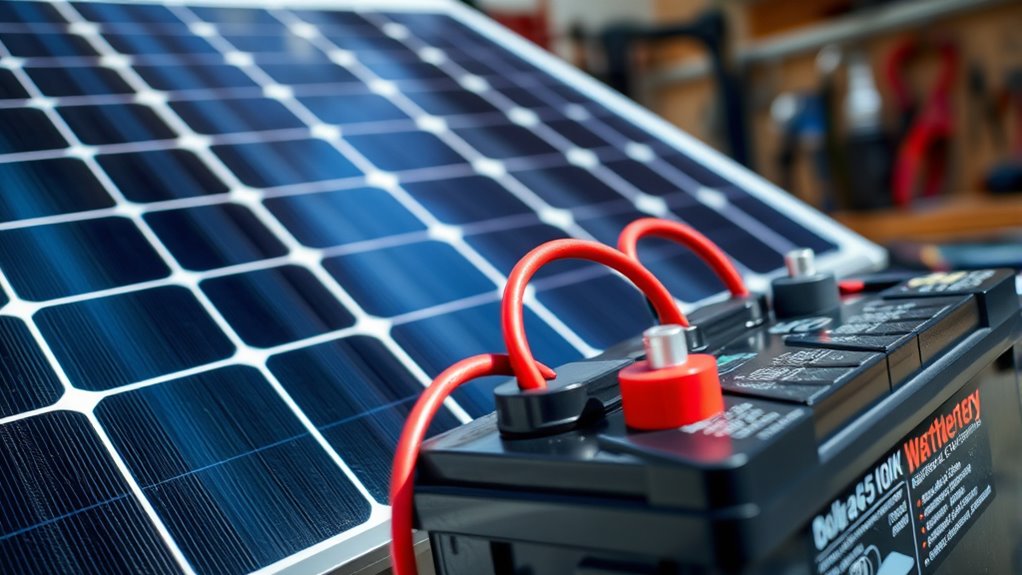
To get the most out of your solar panel, you need to choose the right battery type, capacity, and voltage. Matching these factors guarantees your system runs efficiently and lasts longer.
You’ll also want to take into account how much maintenance the battery requires to keep it in good shape. It’s all about finding what fits your needs and lifestyle best.
Battery Types Overview
Choosing the right battery for your solar panel system means understanding the main types available and how they match your energy needs. You’ll mainly encounter three types: lead-acid, lithium-ion, and nickel-based batteries.
Lead-acid batteries, including flooded and sealed variants, are affordable and reliable but require maintenance and have shorter lifespans. Lithium-ion batteries offer higher efficiency, longer life, and are lighter, though they come at a higher cost.
Nickel-based batteries are less common but provide good performance in extreme temperatures. Each type has different charging characteristics and durability, so knowing these helps you pick the best fit.
Capacity and Voltage Matching
How much capacity and what voltage should your battery have to work seamlessly with your solar panel? First, match the battery voltage to your solar panel system—commonly 12V, 24V, or 48V—to ensure compatibility and avoid damage.
Next, consider capacity, measured in ampere-hours (Ah), which determines how much energy your battery stores. Calculate your energy needs based on daily usage and select a battery with enough capacity to supply power during cloudy days or at night.
Lifespan and Maintenance Considerations
Although matching capacity and voltage sets the foundation, understanding your battery’s lifespan and maintenance needs is essential to keep your solar system running smoothly. Different battery types, like lead-acid or lithium-ion, offer varying lifespans and maintenance demands.
Lead-acid batteries typically require regular water refilling and periodic equalization charges. On the other hand, lithium-ion batteries need minimal upkeep but come with a higher upfront cost.
You should also consider cycle life—the number of charge and discharge cycles a battery can handle before its capacity drops considerably. Regularly monitoring your battery’s health and keeping terminals clean helps prevent performance issues and extends lifespan.
Safely Connecting the Solar Panel to a Charge Controller
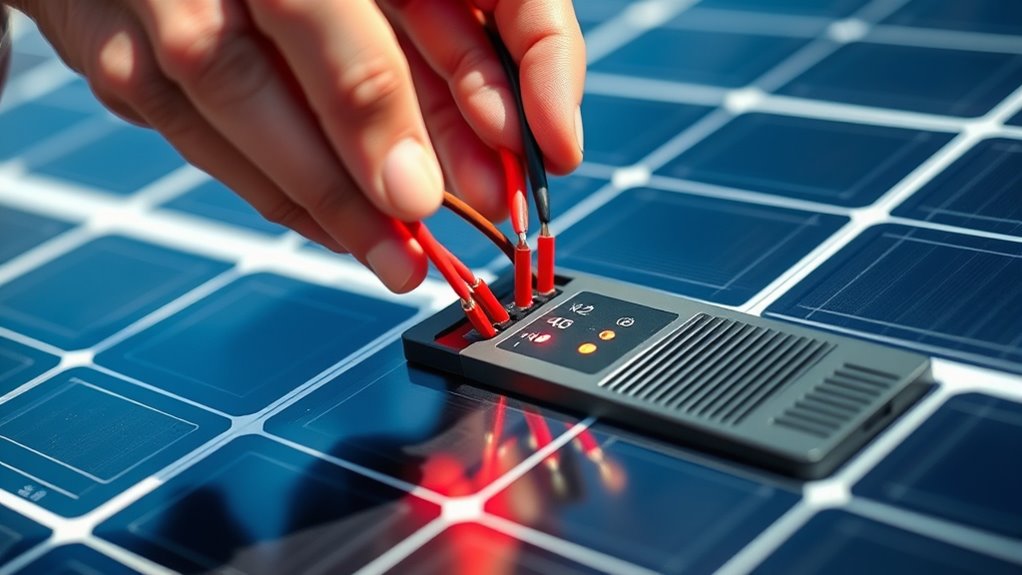
Before connecting your solar panel to the charge controller, make sure you’ve turned off all power sources to prevent any accidental shorts or shocks. Identify the positive and negative terminals on both the solar panel and the charge controller.
Use properly rated wires and connectors to guarantee a secure, safe connection. Connect the positive wire from the solar panel to the charge controller’s solar input positive terminal, then connect the negative wire to the corresponding negative terminal.
Double-check that all connections are tight and free from corrosion or damage. Avoid reversing polarity, as this can damage the controller.
Keep wiring neat and insulated to prevent accidental contact or shorts. Once connected, you can safely proceed to the next steps, confident that your system’s solar input is securely integrated with the charge controller.
Wiring the Charge Controller to the Battery
Once you’ve secured the solar panel connections, you’ll need to wire the charge controller to the battery to store the energy properly. First, identify the battery terminals on the charge controller—usually marked with a battery symbol.
Use appropriately sized cables for your system’s voltage and current to guarantee safety and efficiency. Connect the positive (+) terminal of the charge controller to the positive terminal on the battery, then do the same for the negative (-) terminals.
Tighten the connections firmly to prevent any loose contacts, which could cause voltage drops or sparks. Always connect the battery to the charge controller before connecting the solar panel to avoid damaging the controller.
After wiring, double-check polarity and connections before proceeding. This step guarantees your battery safely receives the energy generated from your solar panel.
Connecting the Battery to Your Devices or Inverter
Now that your battery is charged, it’s time to connect it to your devices or inverter. Make certain you choose the right cables to handle the current safely and minimize power loss.
Always double-check your connections to ensure a stable and secure power output. It’s a good habit that can save you from headaches later on!
Selecting Proper Connection Cables
Although choosing the right connection cables might seem straightforward, it plays a crucial role in guaranteeing efficient and safe power transfer from your battery to devices or an inverter.
Using cables that are too thin can cause overheating and power loss, while cables that are too thick may be unnecessarily expensive and bulky. You want to match the cable gauge to your system’s current load and the distance between components.
Here’s a quick guide to help you pick the right cables:
| Current Load (Amps) | Recommended Cable Gauge (AWG) |
|---|---|
| Up to 10 | 16 |
| 10 to 20 | 14 |
| 20 to 30 | 12 |
| 30 to 50 | 10 |
Always use quality, insulated cables designed for DC power to guarantee durability and safety. It’s worth investing in good cables to keep your system running smoothly and safely.
Ensuring Safe Power Output
When you connect your battery to devices or an inverter, you need to guarantee the power output is safe and stable to protect both your equipment and yourself. Start by using a properly rated fuse or circuit breaker between the battery and your devices. This prevents damage from power surges or short circuits.
Next, make sure your inverter matches your battery voltage and can handle the total wattage of your connected devices. Use quality cables with tight connections to avoid voltage drops or overheating.
Always double-check polarity; reversing connections can harm your devices. Finally, keep an eye on your battery’s voltage regularly to avoid deep discharge, which shortens battery life.
Following these steps will keep your system reliable and safe every time you draw power. It’s all about being careful and prepared!
Testing Your Solar Panel and Battery Connection
How can you be sure your solar panel and battery are working together correctly? Testing the connection is key to avoid frustration and ensure efficiency.
Here’s how to do it:
- Check voltage: Use a multimeter to measure the voltage across the battery terminals while the solar panel is exposed to sunlight. You should see an increase, which means it’s charging.
- Inspect connections: Make sure all wires and terminals are tight, clean, and free from corrosion. This helps keep everything running smoothly.
- Test load response: Connect a small device to the battery and check if it powers up without flickering or dropping. If it works steadily, you’re good to go.
- Monitor charging time: Keep an eye on whether the battery charges within the expected timeframe based on your panel’s output. If it’s too slow, there might be an issue.
Following these steps will give you confidence that your system is set up properly and ready to power your needs.
Maintaining Your Solar Battery for Long-Term Use
To keep your solar battery functioning efficiently over time, you need to perform regular maintenance and handle it with care. Check the battery terminals for corrosion and clean them using a mixture of baking soda and water if necessary. Make sure all connections are tight to prevent energy loss.
Also, keep an eye on the electrolyte levels in lead-acid batteries. Top them up with distilled water when required, but never overfill.
Keep the battery in a cool, dry place. Avoid exposing it to extreme temperatures because that can reduce its lifespan.
Regularly inspect the battery for any signs of damage or swelling. And finally, use a smart charger or charge controller to prevent overcharging, which can degrade your battery quickly.
Following these steps will help you get the most out of your solar battery. It’s easier than you might think!
Frequently Asked Questions
Can Solar Panels Work in Cloudy or Rainy Weather?
Yes, your solar panels can still work in cloudy or rainy weather, but they’ll produce less energy. They rely on sunlight, so while output drops, they don’t stop generating power completely during overcast conditions.
How Do Temperature Changes Affect Solar Panel Efficiency?
Just like a knight’s armor can overheat in the sun, solar panels lose efficiency as temperatures rise. You’ll notice they work best in cooler weather, so keep that in mind when planning your solar setup.
It’s pretty interesting how heat affects them, right? So, if you’re thinking about installing solar panels, choosing a cooler spot or a system with good ventilation can make a difference.
What Is the Lifespan of a Typical Solar Panel?
You can expect a typical solar panel to last around 25 to 30 years. Over time, its efficiency slowly decreases, but with proper care, you’ll still get good energy production for decades.
It’s pretty impressive, right? Even as they age, solar panels keep working well enough to make them a smart long-term investment. Just a little maintenance goes a long way in keeping them efficient.
Can I Expand My Solar Setup Later With More Panels or Batteries?
You can definitely grow your solar garden by adding more panels or batteries later. Just make sure your system’s wiring and charge controller can handle the extra energy,
so everything flows smoothly like a well-tuned orchestra.
Are There Any Government Incentives for Installing Solar Panels?
Yes, you can often get government incentives like tax credits, rebates, or grants when you install solar panels. These programs are designed to help make solar energy more accessible.
Make sure to check both local and federal programs. Doing this can save you money and make your solar investment more affordable and rewarding.
Conclusion
Connecting your solar panel to a battery is like planting a seed that grows into a source of reliable energy. By following these simple steps, you’re not just setting up equipment—you’re harnessing the power of the sun to brighten your life sustainably.
Keep your system well-maintained, and it’ll continue to provide energy for years to come. With a little care, your solar setup will flourish, giving you freedom and peace of mind every day.
Remember, connecting a solar panel to a battery is the foundation of an efficient solar power system. Regular maintenance ensures your solar battery and panel work together smoothly, maximizing energy storage and usage. So, take these steps seriously, and enjoy the benefits of clean, renewable energy that keeps your home or devices powered reliably.