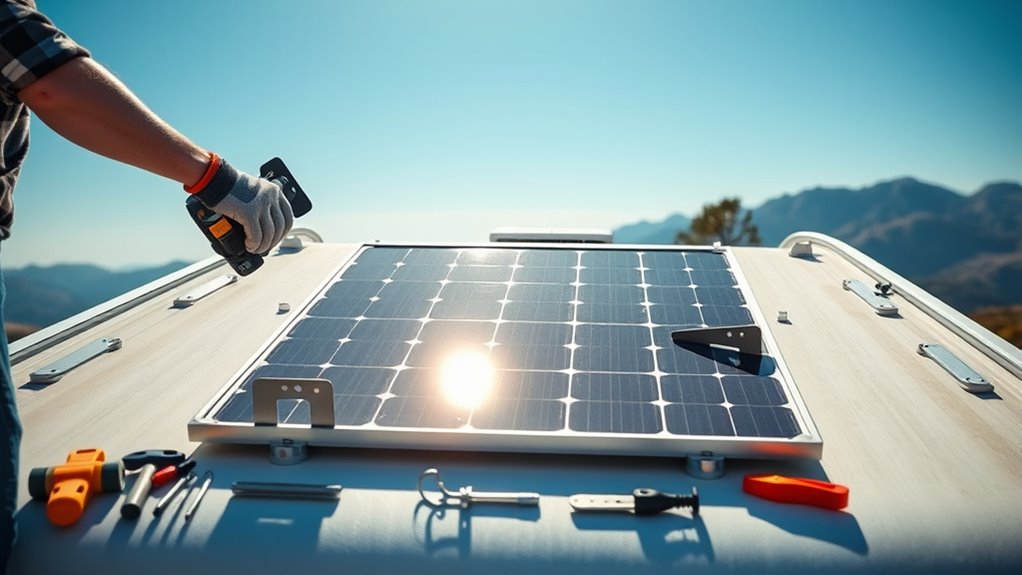
How to Mount Solar Panels on Your RV in 7 Easy Steps
To mount solar panels on your RV in 7 easy steps, start by choosing panels that fit your power needs and the size of your RV roof. It’s important to pick the right panels so you get enough energy without wasting space.
Next, find the sunniest spot on your roof. This will help maximize the power your panels can produce. Once you’ve found the perfect spot, clean and prep the surface thoroughly before installation.
Now, secure the mounting brackets firmly to make sure your panels stay put while you’re on the move.
After that, attach the panels carefully and connect the wiring to your charge controller.
Finally, test the system to make sure everything is working properly. If you run into any issues, troubleshoot them before hitting the road.
Keep following along for more tips to make your RV solar panel installation hassle-free and easy to maintain.
Key Takeaways
- Choose solar panels based on power needs, roof size, and panel type (monocrystalline, polycrystalline, or flexible).
- Find a sunny, unobstructed spot on the RV roof, avoiding shade and ensuring easy access for wiring.
- Clean and inspect the roof, then securely install mounting brackets using waterproof sealant and corrosion-resistant fasteners.
- Attach panels to mounts, connect wiring to the charge controller with waterproof connectors, and route cables neatly.
- Test voltage output, check all connections, and regularly inspect panels and wiring for maintenance and optimal performance.
Choose the Right Solar Panels for Your RV: Power, Size & Type
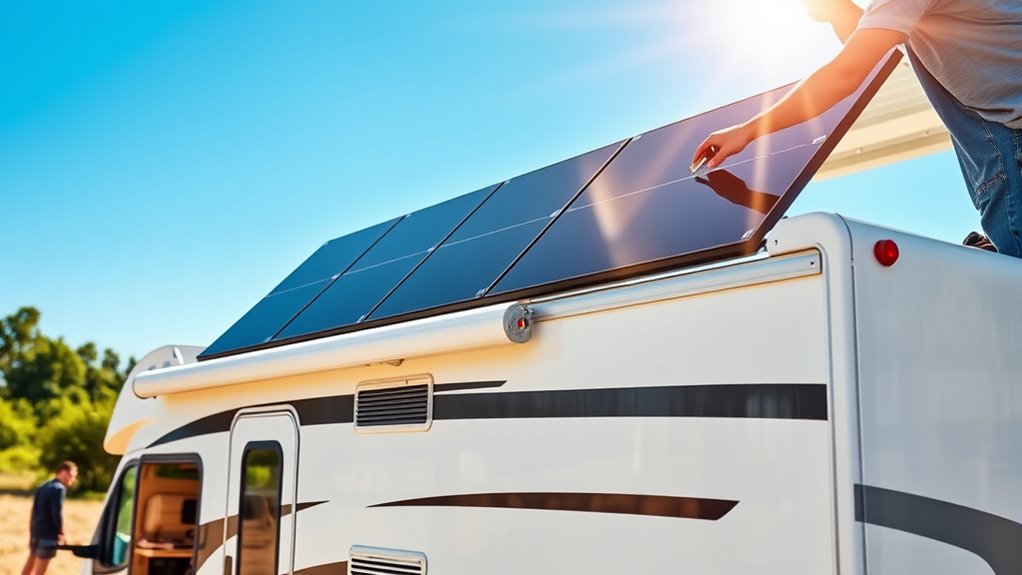
Before installing solar panels on your RV, you need to choose the right ones based on power output, size, and type. First, consider how much power you’ll require daily—this depends on your appliances and usage habits.
Opt for panels that can generate enough wattage to keep your batteries charged without overloading your system. Next, size matters because your roof space is limited. Measure the available area to ensure the panels fit without interfering with vents or antennas.
Choose panels that match your power needs and fit your roof without blocking vents or antennas.
Finally, pick the type of panel: monocrystalline panels are efficient and compact but cost more, while polycrystalline panels are budget-friendly but bulkier. Flexible panels offer lightweight, curved mounting options but usually produce less power.
Making these choices carefully *guarantees* you a setup for efficient, hassle-free solar power on the road.
Find the Best Spot to Mount Your Panels for Maximum Sunlight
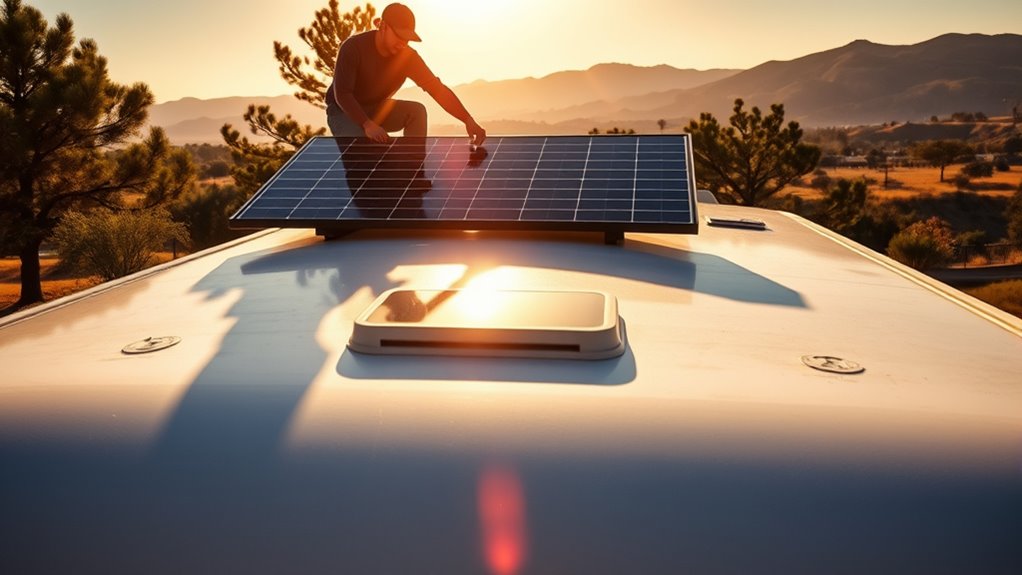
You’ll want to find a spot on your RV that gets the most sunlight throughout the day. Make certain to check your roof space carefully and avoid areas shaded by vents or antennas.
Picking the right location ensures your panels work at their best. It really makes a difference in how much power you can generate. So take your time and choose wisely!
Assess Sunlight Exposure
Where does your RV get the most sunlight during the day? To maximize your solar panels’ efficiency, you need to observe your RV’s exposure from morning to evening.
Track the sun’s path and note any shadows caused by trees, vents, or antennas. Avoid spots shaded for long periods, as even partial shading can substantially reduce power output.
Use a smartphone app or a simple compass to determine the sun’s position relative to your RV. Remember, southern-facing areas generally get the most sun in the northern hemisphere, but your specific environment matters most.
Consider Roof Space
How do you choose the ideal spot on your RV roof for mounting solar panels? First, measure your available roof space carefully, considering any vents, antennas, or air conditioners that may obstruct placement. You want a flat, unobstructed area large enough to fit your panels securely.
Keep in mind the weight distribution; avoid placing heavy panels all on one side to maintain balance. Also, consider access—choose a spot where you can easily reach the panels for cleaning and maintenance without difficulty.
Finally, think about wiring routes inside your RV to keep cable runs short and tidy. By evaluating these factors, you’ll find the best roof space that maximizes sunlight capture and keeps installation practical and efficient.
Avoid Shaded Areas
After finding a suitable roof space that fits your panels and wiring needs, the next step is to make sure the area receives plenty of direct sunlight throughout the day. Avoid shaded spots, as even partial shade can drastically reduce your solar panels’ efficiency.
Look for locations free from tree branches or leaves that cast shadows, antennas, vents, or roof racks blocking sunlight, and nearby buildings or structures that create shade. Also, keep in mind seasonal changes in sun angle that might affect panel exposure.
Gather Tools and Materials
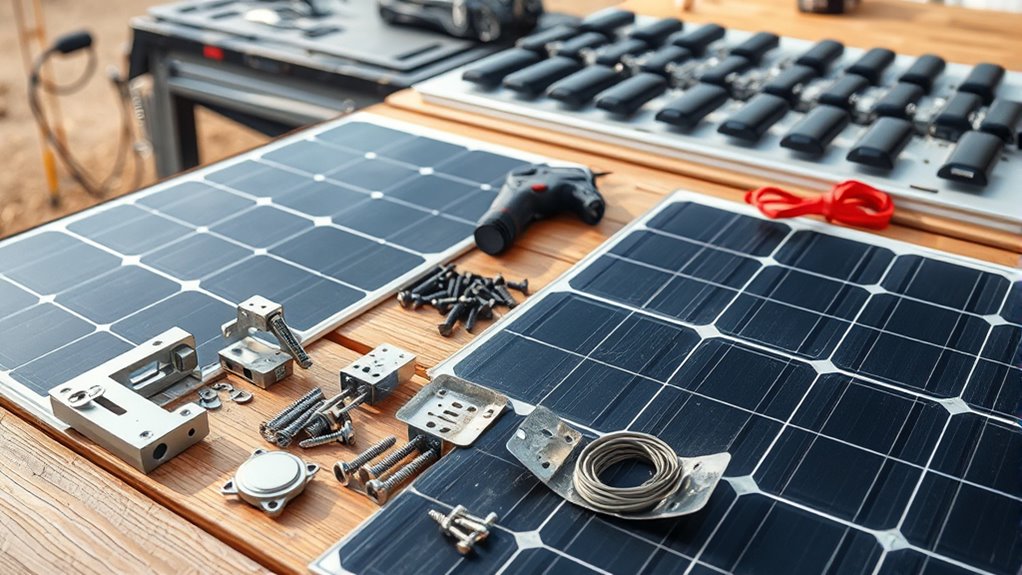
Before you start mounting solar panels on your RV, you’ll need to gather the right tools and materials to guarantee a smooth installation. Make sure you have solar panels suited to your energy needs, mounting brackets, and a charge controller.
Don’t forget wiring, connectors, and sealing materials like silicone to protect against water damage. You’ll also need a drill with appropriate bits, a screwdriver set, a measuring tape, and a marker for accurate placement.
Safety gear such as gloves and safety glasses is essential too. Having a multimeter on hand helps test electrical connections.
Organize everything beforehand to avoid interruptions during installation. With these tools and materials ready, you’ll be fully prepared to install your solar panels efficiently and securely.
Prepare Your RV Roof for Solar Panel Installation
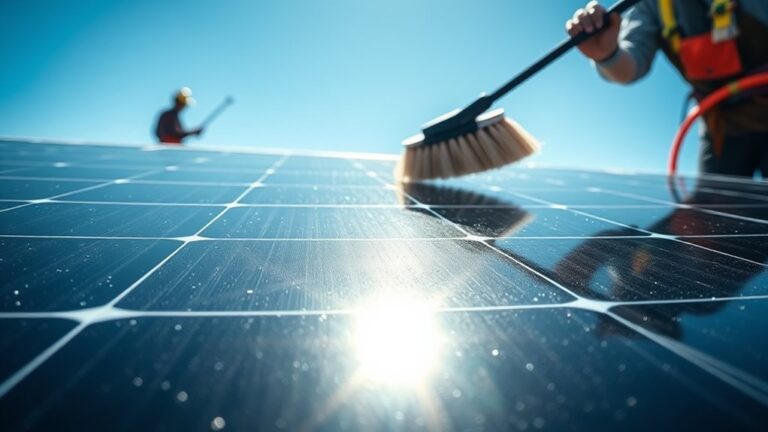
With all your tools and materials ready, you can focus on getting your RV roof set up for the solar panels. Start by thoroughly cleaning the roof surface to remove dirt, debris, and any oil spots that might prevent proper adhesion.
Prepare your RV roof by thoroughly cleaning to ensure strong solar panel adhesion.
Next, inspect the roof for any damage or weak spots that could compromise the installation. You’ll want to repair these areas before moving forward.
Identify the best location for your panels, considering shade, roof space, and wiring access. Finally, gather everything you need for sealing and protecting the roof to prevent leaks.
- Clean the roof thoroughly
- Check for and repair damage
- Choose an ideal panel location
- Prepare sealants and protective materials
This preparation ensures a strong foundation for your solar setup.
Secure RV Solar Panel Mounting Brackets
You’ll need to choose the right type of mounting brackets to keep your solar panels firmly in place on your RV roof. Gather essential installation tools like drills, sealants, and wrenches before you start.
Making certain each bracket is securely attached will prevent damage and guarantee your panels stay put on the road. It’s all about keeping things safe and steady while you’re rolling.
Types Of Mounting Brackets
Though installing solar panels on your RV can seem straightforward, choosing the right mounting brackets is essential for secure and durable placement. The type of bracket you select affects stability, ease of installation, and longevity.
Here are common mounting brackets you’ll encounter:
- Z-brackets: Simple, lightweight, and ideal for flat or slightly curved roofs.
- Tilt brackets: Let you angle panels for ideal sun exposure in different seasons.
- Rail mounting systems: Provide strong support for larger panels and flexible positioning.
- Adhesive mounts: Useful for avoiding roof penetrations, though less secure in rough conditions.
Understanding these options helps you pick brackets that match your RV’s roof type and travel needs. That way, your solar setup stays put and performs well on the road.
Installation Tools Needed
Choosing the right mounting brackets sets the stage, but securing them firmly requires specific tools. You’ll need a cordless drill with various drill bits to pre-drill holes without damaging your RV’s roof.
A socket wrench or ratchet set helps tighten bolts securely. Don’t forget a torque wrench to guarantee you don’t overtighten, which could crack your panels or roof.
A measuring tape and pencil come in handy for precise bracket placement. Use a caulking gun with sealant to waterproof drilled holes.
Finally, a screwdriver set and a level will help you align brackets properly and fasten screws efficiently. Having these tools ready before you start will make the installation smoother and help you avoid unnecessary trips back to the toolbox.
Ensuring Secure Attachment
Once you’ve gathered your tools and brackets, focus on securely attaching the mounting hardware to your RV’s roof. Proper attachment guarantees your solar panels stay in place, even during travel or rough weather.
Start by cleaning the surface thoroughly to remove dirt and debris. Use a high-quality sealant to prevent leaks and protect the roof. When tightening bolts, avoid over-torquing to prevent damage.
Keep these tips in mind:
- Align brackets carefully to distribute weight evenly
- Use corrosion-resistant screws or bolts for durability
- Double-check all fasteners after installation
- Test stability by gently shaking the mounted panels
Following these steps will help you achieve a solid, long-lasting setup that keeps your solar panels secure on the road. Easy, right? Just take it step by step, and you’ll be good to go!
Attach and Connect the Solar Panels
How do you securely attach and connect your solar panels to guarantee peak performance? First, align your panels on the mounting brackets you installed, making certain they’re firmly in place. Use stainless steel bolts and lock washers to fasten the panels, preventing loosening from vibrations while driving.
Next, connect the panel’s positive and negative wires to the corresponding inputs on your charge controller. Make certain all connections are tight and protected with waterproof connectors or heat shrink tubing to avoid corrosion.
Route cables neatly along your RV’s roof, securing them with cable clamps to prevent damage from wind or movement. Finally, double-check your wiring against your system diagram to confirm correct polarity and secure attachment before moving on. This makes certain your panels operate efficiently and safely.
Test Your Solar Panel System and Troubleshoot Issues
Before you rely on your solar panel system to power your RV, you need to test it thoroughly to guarantee everything works as expected. Start by checking the voltage output with a multimeter in direct sunlight.
Next, inspect all connections for tightness and proper polarity. Make sure your charge controller displays the correct input readings.
Finally, monitor the battery’s charging status to confirm the system is effectively storing energy.
If you encounter issues, consider these troubleshooting steps:
- Verify all wiring matches the system diagram and is secure.
- Clean panels to ensure no dirt blocks sunlight.
- Reset or replace the charge controller if readings are off.
- Test individual panels to isolate potential faults.
This approach assures your solar setup runs efficiently and reliably.
Frequently Asked Questions
How Do Solar Panels Affect My Rv’s Resale Value?
Solar panels can boost your RV’s resale value by making it more energy-efficient and appealing to eco-conscious buyers.
They show you’ve invested in sustainable upgrades, which often translates to higher demand and a better selling price.
Plus, having solar panels means less reliance on traditional power sources, which many buyers find super convenient.
Can I Use Solar Panels While Driving My RV?
Yes, you can use solar panels while driving your RV, but they’ll produce less power due to motion and shading.
Make sure your system’s wired correctly with a charge controller to safely charge your batteries on the go. It’s pretty handy to keep your power flowing even when you’re moving.
What Maintenance Is Required for RV Solar Panels?
Keeping your RV solar panels clean is like giving them a fresh breath—wipe off dirt and debris regularly.
You’ll also want to check connections and mounting brackets for tightness to guarantee they keep working smoothly during your adventures.
How Long Do RV Solar Panels Typically Last?
You can expect RV solar panels to last around 25 to 30 years. With proper care and occasional cleaning, they’ll keep generating power efficiently.
This means you can enjoy off-grid adventures without worrying about replacing them anytime soon. Just a little maintenance goes a long way!
Are There Any Legal Restrictions for Solar Panels on RVS?
You don’t need a knight’s permit, but you should check local and state laws for restrictions on solar panel size, placement, and wiring on your RV.
Some areas require permits or inspections—so don’t skip that step! It’s better to be safe than sorry.
Conclusion
So, there you have it—mounting solar panels on your RV is basically rocket science, but with fewer explosions. Just pick the right panels, find that mythical perfect sun spot, and wrestle your roof into submission.
After you’ve nailed those brackets and fiddled with the wiring, you’ll be the proud owner of a solar-powered chariot. Who needs gas stations when you’ve got the sun—and a toolbox full of frustration?
Now go shine, you eco-warrior! Installing solar panels on your RV not only boosts your adventure freedom but also helps you save money and reduce your carbon footprint. With the right setup, you can harness clean, renewable energy wherever the road takes you. So grab your tools, follow these easy steps, and enjoy the benefits of solar power on your travels. Your RV life just got a whole lot greener and more independent!