How to Connect Solar Panels in 5 Easy Steps
First, gather all the necessary tools like solar panels, mounting brackets, wiring, and safety gear. Having everything ready before you start makes the whole process smoother and safer.
Next, connect your panels in series or parallel based on your system’s voltage and current needs. Choosing the right connection method is key to getting the most out of your solar setup.
Then, wire the panels to the charge controller, making sure to match the correct polarity and secure all connections tightly. This step protects your system and helps it run efficiently.
After that, link the charge controller to the battery bank using proper cables and safety fuses. These precautions keep your batteries safe and extend their lifespan.
Finally, connect the inverter, test the system, and monitor performance to confirm everything runs smoothly. Keep going to uncover detailed tips for a flawless setup.
Key Takeaways
- Select and connect solar panels in series or parallel based on voltage and current needs for efficient power output. This helps you get the right balance for your system.
- Use waterproof connectors and properly rated cables to wire panels securely to the charge controller. Always make sure to match the polarity so everything works smoothly.
- Connect the charge controller to the battery bank with insulated cables, ensuring correct polarity. Don’t forget to add a fuse for extra safety.
- Attach the inverter to the battery bank with secure, correctly polarized connections. This step converts your DC power into usable AC power for your home.
- Test the entire system by powering a small device and monitoring performance. This way, you can confirm everything is installed properly and working as it should.
Gather Tools and Materials for Your Solar Panel Setup
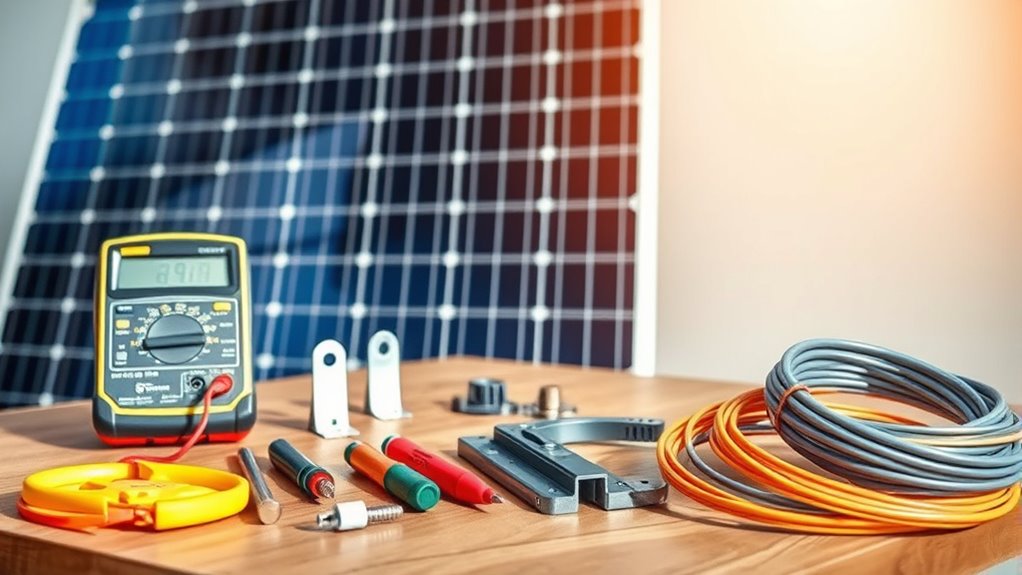
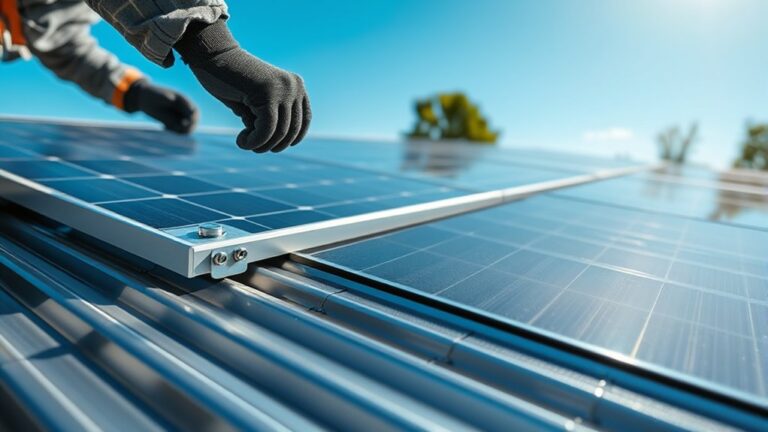
Before you begin installing your solar panels, you’ll need to gather all the necessary tools and materials to guarantee a smooth setup. Start with the solar panels themselves, along with mounting brackets designed for your roof type.
Gather all essential tools and materials, starting with solar panels and roof-specific mounting brackets, for a smooth installation.
You’ll also need a charge controller to regulate power, an inverter to convert DC to AC electricity, and wiring suited for outdoor use. Don’t forget connectors like MC4 plugs, which ensure secure, waterproof connections.
A multimeter will help you test voltage and continuity throughout the process. For installation, have a drill, screwdrivers, wire cutters, and a wrench ready.
Safety gear such as gloves and goggles is essential, too. Having everything organized beforehand saves time and helps you avoid interruptions during your solar panel setup.
Choose and Connect Solar Panels in Series or Parallel
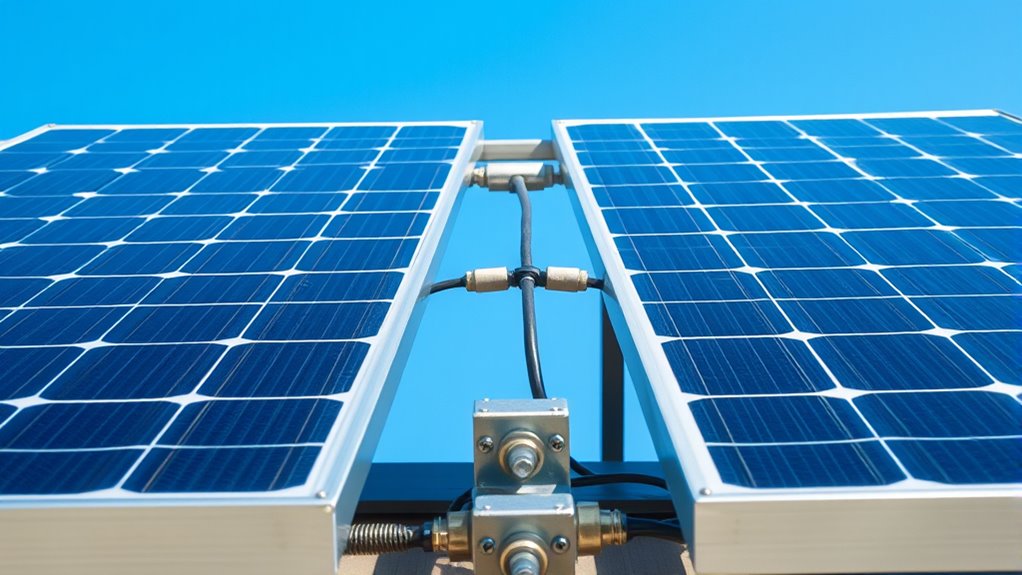
How should you connect your solar panels to maximize efficiency and meet your power needs? You can wire them in series or parallel, depending on your system requirements.
Connecting panels in series adds their voltages together, which is great for higher voltage systems but keeps current the same. Parallel connections combine current, increasing amperage while voltage stays constant, ideal for low voltage setups.
Consider these points when choosing your connection type:
- Series increases voltage; parallel increases current
- Match panel specs to avoid power loss
- Series suits long cable runs better
- Parallel offers flexibility if one panel shades
- Use proper connectors for safety and efficiency
Pick the setup that fits your inverter and battery specs to get the most from your solar array. It’s all about matching things up so you get the best performance.
Wire Solar Panels to the Charge Controller
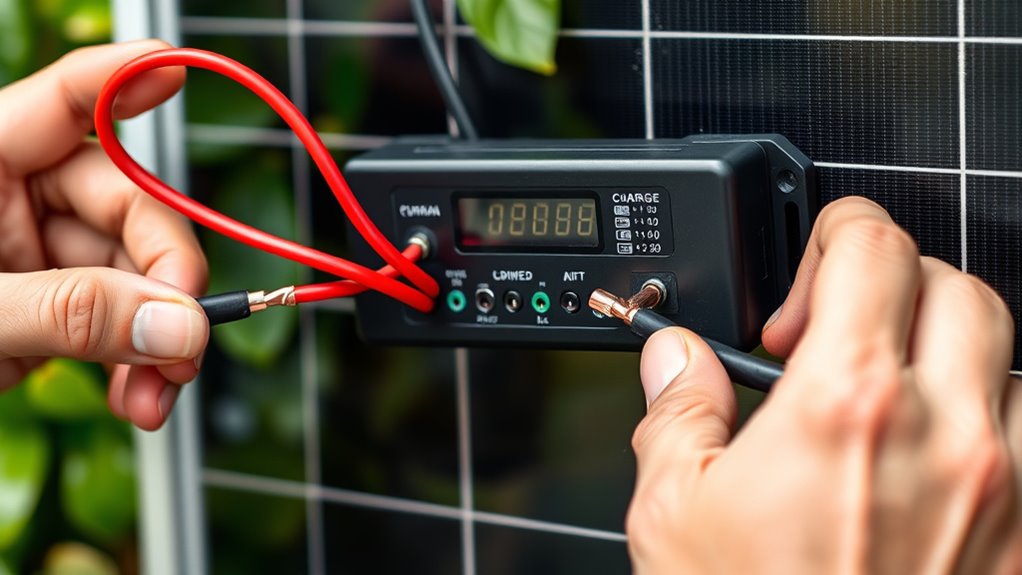
Once you’ve connected your solar panels, you’ll need to wire them to the charge controller to regulate the power flowing into your battery system. Start by turning off all power sources to guarantee safety.
Before wiring panels to the charge controller, always turn off all power sources for safety.
Use appropriately rated solar cables—usually 10 or 12 AWG—and connect the positive and negative wires from your solar panel array to the corresponding input terminals on the charge controller. Make sure to match polarity carefully to avoid damage.
Secure all connections tightly and use waterproof connectors if your setup is outdoors. Finally, check the voltage and current ratings on the charge controller to confirm compatibility with your panel setup.
Proper wiring here ensures efficient, safe energy transfer. It helps prevent overcharging and protects your batteries down the line.
Link the Charge Controller to Your Battery Bank
After wiring your solar panels to the charge controller, you’ll need to connect the charge controller to your battery bank to store the energy generated. This step is vital for efficient energy storage and system safety.
Start by turning off all power sources. Use appropriately sized cables and connect the charge controller’s battery terminals directly to the battery bank, observing the correct polarity.
Make sure all connections are secure and tight to prevent voltage drops or sparks. It’s a good idea to double-check the manufacturer’s instructions for any model-specific requirements.
Here are a few tips to keep in mind: confirm your battery bank voltage matches the charge controller specifications. Use insulated cables rated for your system’s current.
Always connect positive to positive and negative to negative terminals. And don’t forget to install a fuse or circuit breaker between the controller and battery.
Finally, verify all connections before powering up the system to ensure everything is set up safely and correctly.
Connect Your Inverter and Test the Solar System
With your charge controller securely connected to the battery bank, the next step is to hook up your inverter. First, connect the inverter’s input terminals to your battery bank, making sure correct polarity—positive to positive and negative to negative. Tighten the connections securely to avoid any loose contacts.
Once connected, turn on your inverter and check its indicator lights to confirm it’s operating properly. To test the system, plug in a small appliance or device to the inverter’s AC outlet. If the device powers on without issues, your system is functioning correctly.
Finally, monitor the inverter and battery for a few minutes to ensure stable performance. This step confirms your solar setup is ready to deliver reliable power. Easy, right? Just a few simple checks and you’re good to go!
Frequently Asked Questions
How Do Weather Conditions Affect Solar Panel Efficiency?
Weather conditions affect your solar panel efficiency by reducing sunlight during cloudy or rainy days. They can also cause overheating in extreme heat, which lowers performance.
Snow and dust can block panels too. So, keeping them clean helps maintain output. It’s pretty simple but really important!
Can Solar Panels Be Installed on Uneven Surfaces?
Yes, you can install solar panels on uneven surfaces. You’ll need adjustable mounting brackets or custom racking to guarantee panels face the sun correctly.
This setup maximizes efficiency despite the irregular terrain or roof shape. So, even if your roof or ground isn’t perfectly flat, solar panels can still work well for you.
What Maintenance Is Required for Solar Panels?
You’ll want to wash your panels weekly, watch for wear, and wind-blown debris. Checking connections consistently keeps currents clean and continuous.
Don’t forget to fix faults fast to fuel flawless function and full energy flow. It’s all about staying on top of things so your solar setup runs smoothly.
Are There Any Safety Risks When Handling Solar Panels?
Yes, you face safety risks like electric shock and cuts when handling solar panels. Always wear insulated gloves, use proper tools, and avoid working in wet conditions to protect yourself.
Stay cautious and follow safety guidelines. It’s better to be safe than sorry!
How Long Do Solar Panels Typically Last?
Solar panels typically last around 25 to 30 years, like a reliable old friend who keeps showing up. You’ll enjoy steady energy and minimal performance loss if you maintain them well throughout their lifespan.
Just think of it as a long-term investment that keeps paying off. With a little care, they’ll keep doing their job efficiently for decades.
Conclusion
By following these five easy steps, you’ll harness the sun’s power just like Da Vinci harnessed creativity—methodically and effectively. Gathering your tools, wiring panels in series or parallel, connecting to a charge controller, linking batteries, and finishing with your inverter turns a complex task into an achievable masterpiece.
So, don’t just dream of clean energy; take action and watch your solar setup come to life. It’s easier than you think to connect solar panels and start generating your own power. With a little patience and the right steps, you can enjoy the benefits of renewable energy.
Remember, connecting solar panels properly ensures your system runs safely and efficiently. Whether you’re powering a small home or an off-grid cabin, these simple steps will guide you to success. Embrace solar energy today and shine bright like a modern-day Renaissance!