How Do You Wire Solar Panels in 5 Simple Steps
To wire solar panels in 5 simple steps, you’ll want to start by gathering all the necessary tools. Think wire strippers, MC4 connectors, and solar-rated wiring. These tools are essential for a safe and efficient solar panel setup.
Next, you’ll connect your panels either in series or parallel. Series wiring boosts voltage, while parallel wiring increases current—choose based on what your system needs. It’s pretty straightforward once you get the hang of it!
Then, wire the solar array to your charge controller. Make sure the connections are tight and the polarity is correct—this step is super important to avoid any issues down the line.
After that, link the charge controller to your battery bank. Use cables that are properly rated to handle the current safely.
Finally, connect the battery bank to your inverter and test the output. This last step ensures everything’s working as it should. Keep reading to explore each step in detail for a safe and effective solar power setup!
Key Takeaways
- Connect solar panels in series or parallel based on the voltage or current you need for your system. It depends on what your setup requires, so choose carefully.
- Use solar-rated wiring and secure MC4 connectors. These keep your panel connections safe and weatherproof, which is super important for outdoor setups.
- Wire the solar panels to the charge controller next. Make sure you get the polarity right and that all connections are tight and secure to avoid any issues.
- Then, connect the charge controller to your battery bank. Use cables that can handle the current, and double-check the polarity again to keep everything safe.
- Finally, attach the battery bank to the inverter. Match the voltage specifications, and don’t forget to test the power output before you start using the system.
Gather Your Solar Panel Wiring Tools and Materials
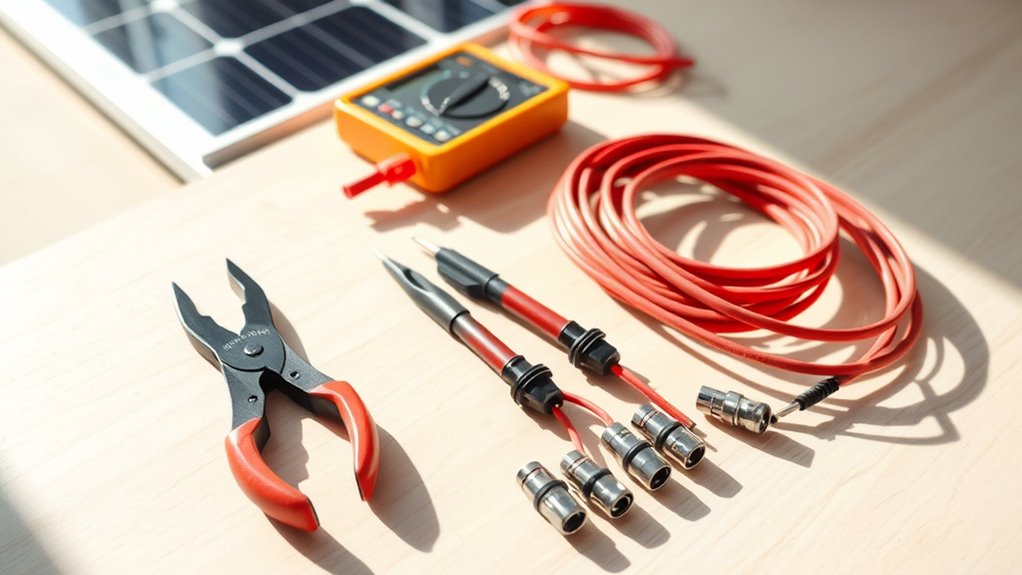
Before you begin wiring your solar panels, you’ll need to gather the right tools and materials to guarantee a smooth process. Start with a good quality wire stripper and crimper to handle your cables safely and efficiently.
Gather quality wire strippers and crimpers to ensure safe and efficient solar panel wiring.
You’ll also need MC4 connectors, which are essential for secure, weatherproof connections. Don’t forget solar-rated wiring, typically 10 or 12 gauge, designed to withstand outdoor conditions.
A digital multimeter will help you verify voltage and continuity throughout the wiring process. Additionally, pick up a screwdriver set and electrical tape for securing connections.
Having cable ties on hand can keep your wiring neat and organized. Preparing all these tools and materials before you start ensures you avoid interruptions and complete your solar panel wiring confidently and correctly.
Choose and Connect Solar Panels in Series or Parallel
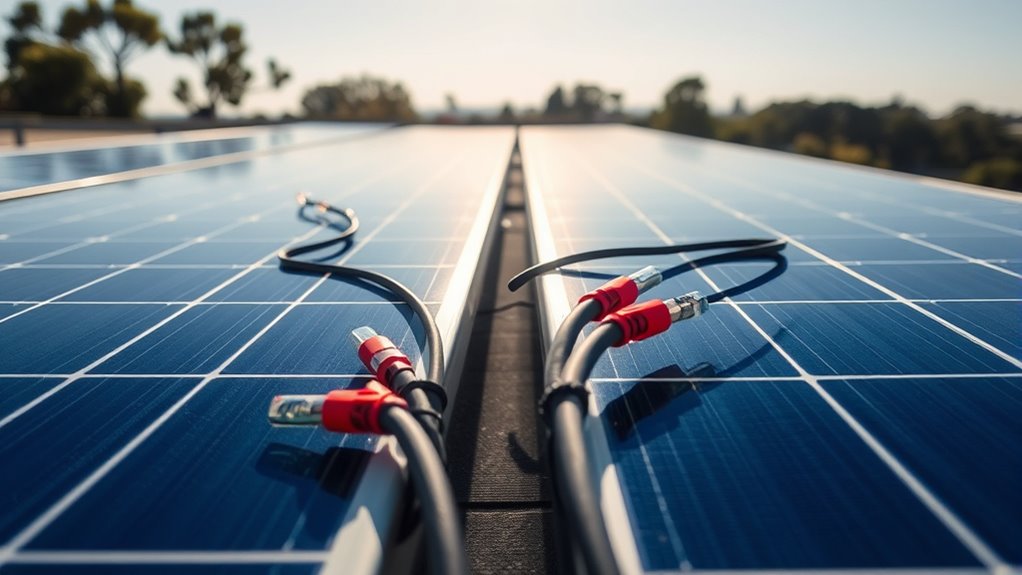
When you decide how to connect your solar panels—either in series or parallel—you directly affect the system’s voltage and current output. Wiring panels in series means connecting the positive terminal of one panel to the negative terminal of the next. This setup increases the total voltage while keeping the current the same.
It’s ideal when you need higher voltage to match your inverter or battery bank requirements. On the other hand, wiring panels in parallel involves connecting all positive terminals together and all negative terminals together. This increases the total current while maintaining the same voltage.
Choose parallel wiring if you want to boost current for systems with lower voltage needs. Think about your system’s voltage and current demands carefully before connecting your panels. That way, you’ll optimize performance and get the most out of your setup.
Wire Solar Panels to the Charge Controller Safely
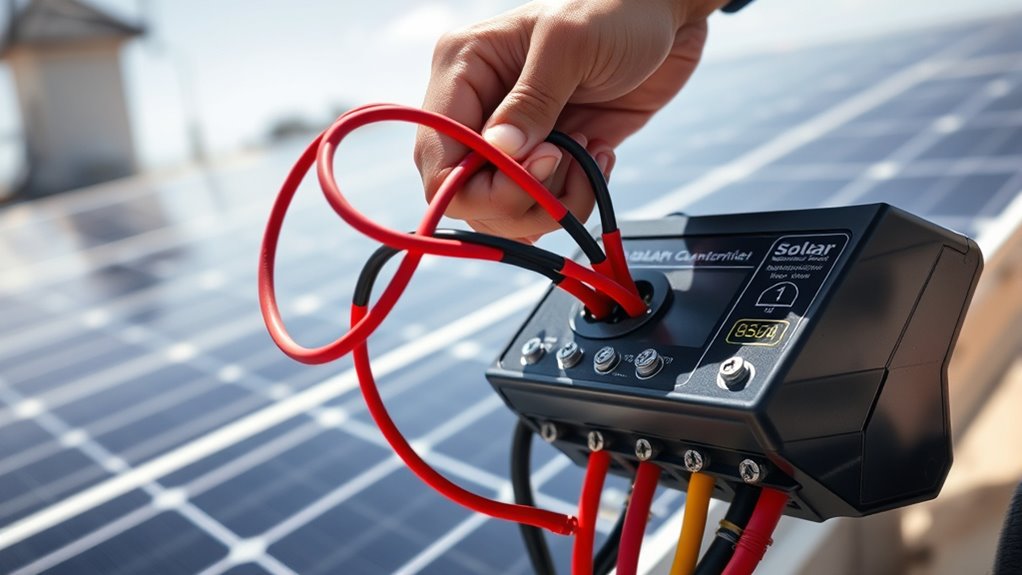
After deciding on your panel wiring configuration, you’ll connect the solar array to the charge controller, which manages power flow to your batteries. First, make certain all connections are tight and secure to prevent voltage drops or overheating.
Use appropriately rated solar cables, typically with UV-resistant insulation, to handle outdoor conditions. Match the cable size to your system’s current to avoid safety hazards.
Choose UV-resistant, properly rated solar cables sized correctly for your system’s current to ensure safety and durability outdoors
Always connect the positive (+) wire from your solar array to the charge controller’s positive input and the negative (–) wire to its negative input. Double-check polarity before powering up.
To protect your system, install a fuse or circuit breaker between the solar panels and the charge controller. This setup reduces the risk of electrical faults and keeps your solar system running safely and efficiently.
Wire the Charge Controller to Your Battery Bank
Since the charge controller regulates the flow of electricity from your solar panels, you’ll need to connect it directly to your battery bank to store the energy. Follow these steps to wire it correctly:
- Identify terminals: Locate the battery positive (+) and negative (-) terminals on your charge controller.
- Use appropriate cables: Choose cables rated for your system’s voltage and current. Make sure they’re thick enough to minimize voltage drop.
- Connect securely: Attach the positive cable from the controller to the battery bank’s positive terminal, and the negative cable to the negative terminal. Tighten connections firmly to prevent loose contacts.
Always double-check polarity before powering your system to avoid damage. Once connected, your charge controller will manage battery charging safely and efficiently.
It’s pretty straightforward, but a little extra caution goes a long way. If you’re unsure, don’t hesitate to ask for help or consult your controller’s manual!
Connect the Battery Bank to the Inverter for Power Use
With your battery bank properly connected to the charge controller, the next step is to link the battery bank to your inverter. This connection allows the DC power stored in your batteries to convert into usable AC power for your home or devices.
Use appropriately rated cables, guaranteeing secure and correct polarity connections. Double-check your inverter’s input voltage matches your battery bank to avoid damage.
| Step | Action | Tip |
|---|---|---|
| 1 | Turn off the inverter | Prevent accidental power flow |
| 2 | Connect positive battery terminal | Use insulated connectors |
| 3 | Connect negative battery terminal | Ensure tight, corrosion-free contact |
| 4 | Turn on inverter and test output | Verify correct voltage and power output |
Frequently Asked Questions
How Do Weather Conditions Affect Solar Panel Wiring Efficiency?
You’ll notice weather conditions like temperature, shading, and moisture affect solar panel wiring efficiency. Heat can reduce output, while moisture risks corrosion.
Proper insulation and positioning help you maintain ideal performance despite these challenges. It’s all about keeping things protected and in the right spot.
Can I Expand My Solar Panel System Later?
Of course, you can’t expand your solar panel system later—said no one ever. You absolutely can add more panels.
Just make sure your inverter and wiring can handle the extra load to keep everything running smoothly. It’s all about making sure the system stays balanced and efficient.
What Safety Precautions Should I Take Before Starting Wiring?
You should turn off all power sources and wear insulated gloves. Use proper tools to make sure everything goes smoothly.
Avoid working in wet conditions, and always double-check your wiring plan. It’s better to be safe than sorry.
Make sure to follow local electrical codes. And if you’re unsure about anything, consider consulting a professional to keep things safe during wiring.
How Do I Troubleshoot Common Wiring Issues?
When your wiring feels like a tangled web, start by checking connections for looseness or corrosion. Use a multimeter to spot voltage drops, ensuring each link shines bright.
Tighten, clean, and replace faulty parts to restore flow. It’s a simple way to get things back on track without much hassle. Just take it step by step, and you’ll have it sorted in no time.
Are There Legal Permits Required for Solar Panel Installation?
Yes, you’ll likely need permits before installing solar panels. Check with your local building department to get the right approvals.
Following regulations helps guarantee your installation is safe and compliant with zoning laws. It’s always better to be safe than sorry!
Conclusion
Now that you’ve wired your solar panels step by step, you’re ready to harness the sun’s power like a pro. Think of your system as a well-orchestrated symphony—each connection plays a crucial role in creating energy harmony.
With your panels, charge controller, battery bank, and inverter all working together, you’re set to enjoy clean, reliable power. Just follow these steps, and soon, you’ll be soaking up the sunshine in more ways than one!
Wiring solar panels correctly is key to maximizing your system’s efficiency and safety. By connecting everything properly, you ensure your solar power setup runs smoothly and lasts longer. So, get ready to enjoy the benefits of renewable energy with confidence!