Build a DIY Solar Power Generator in 3 Easy Steps
To build your DIY solar power generator in three easy steps, start by gathering key parts like solar panels, a deep cycle battery, a charge controller, an inverter, and cables. These components are essential for creating a reliable and efficient solar power system that you can use at home or on the go.
Next, securely mount your solar panels in a sunny spot, making sure they get plenty of sunlight throughout the day.
Then, connect the panels to the charge controller, link the controller to the battery, and finally, connect the battery to the inverter. This setup helps store and convert solar energy into usable electricity.
Finally, test the system by plugging in a small device to ensure everything works properly. Keep following along to discover helpful tips for safe use and maintenance.
You’ll be powering your gadgets with clean, renewable energy in no time!
Key Takeaways
- Mount the solar panel in a location with maximum sun exposure for optimal energy capture. This step is key to getting the most out of your setup.
- Connect the solar panel to the charge controller, making sure you get the polarity right. This helps protect your system from any damage.
- Attach the charge controller to the deep cycle battery by matching positive to positive and negative to negative.
- Then, link the battery to the inverter. This part converts the stored DC power into usable AC electricity for your devices.
- Finally, test everything by plugging in a small device. Check all the connections and make sure everything runs smoothly.
What Parts You’ll Need to Build Your DIY Solar Generator
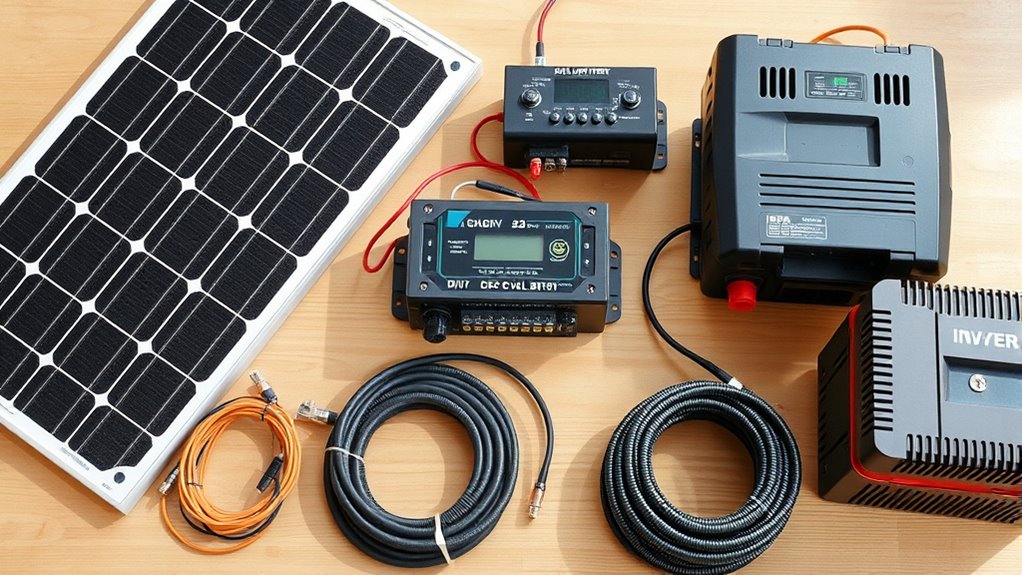
Before you start assembling your solar generator, you’ll need to gather a few essential parts. First, get solar panels—they capture sunlight and convert it into electricity.
Next, you’ll need a deep cycle battery to store the energy your panels generate. A charge controller is vital, too; it regulates the voltage to protect your battery from overcharging.
A deep cycle battery stores energy, while a charge controller safeguards it from overcharging.
Don’t forget an inverter, which converts the stored DC power into AC power for your devices. You’ll also want sturdy cables and connectors to link everything safely and efficiently.
Optionally, a fuse or circuit breaker adds a layer of protection against electrical faults. By gathering these key components, you’ll have everything necessary to start building a reliable and functional DIY solar power generator.
How to Put Your DIY Solar Generator Together Step-by-Step
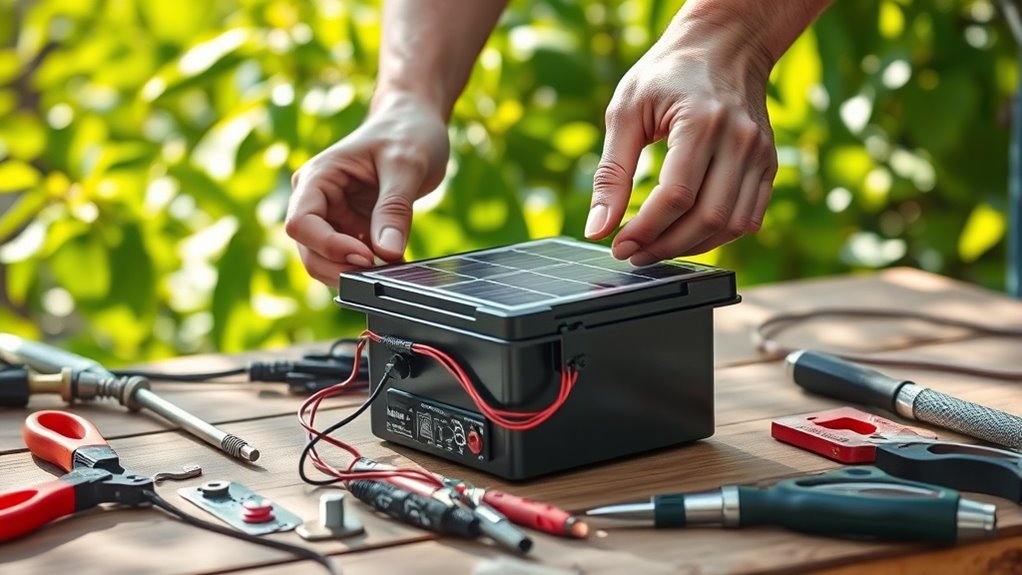
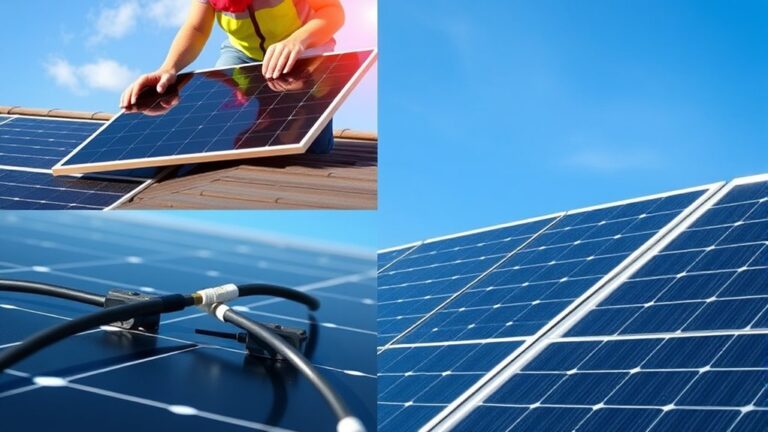
Once you have all your parts ready, you can start assembling your DIY solar generator. First, mount the solar panel securely in a spot with maximum sun exposure.
Next, connect the solar panel to the charge controller using the appropriate cables, making sure to keep the polarity correct. Then, attach the charge controller to the battery terminals. Just remember to connect positive to positive and negative to negative.
After that, link the battery to the inverter. The inverter’s job is to convert the stored energy into usable AC power.
Finally, test your setup by plugging a small device into the inverter to check if everything works. Double-check all connections to ensure they’re tight and safe before you start using it.
Tips for Using and Maintaining Your DIY Solar Generator Safely
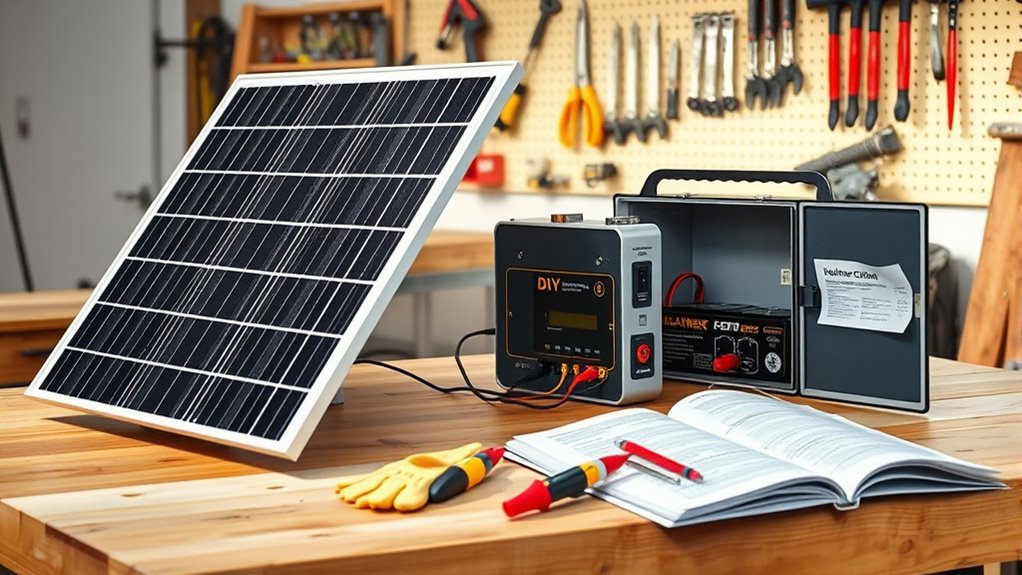
Although your DIY solar generator is designed for durability, you should regularly inspect all connections and components to guarantee safe operation. Keep the panels clean, avoid moisture exposure, and never overload the system.
Proper ventilation prevents overheating, so place your generator where air circulates freely. Store batteries away from direct sunlight and extreme temperatures to extend their life. Always use insulated tools when handling electrical parts to avoid shocks.
| Tip | Action |
|---|---|
| Inspect Connections | Check for loose wires monthly |
| Clean Solar Panels | Wipe dust and debris weekly |
| Avoid Overloading | Monitor device power limits |
| Ensure Ventilation | Position generator in open area |
Frequently Asked Questions
How Much Does a DIY Solar Generator Typically Cost?
A DIY solar generator typically costs between $200 and $1,000, depending on the battery size, solar panels, and other components you choose.
You can save money by selecting parts that fit your specific power needs. It’s all about finding the right balance for what you actually use.
Can a DIY Solar Generator Power an Entire Home?
You can power an entire home with a DIY solar generator, but it depends on your energy needs and system size.
You’ll need enough panels, batteries, and inverters to handle your household’s total power consumption efficiently.
It’s all about matching what you use with what your system can provide. So, the bigger your energy demands, the larger and more complex your setup will have to be.
What Is the Average Lifespan of a Solar Generator?
Ever wonder how long your solar generator will last? Typically, it lasts about 10 to 25 years, depending on battery type and maintenance.
With proper care, you’ll enjoy reliable power for many years to come. It’s all about keeping things in good shape and choosing the right battery for your needs.
Are There Legal Restrictions for Using Solar Generators?
You usually won’t face legal restrictions using solar generators for personal use, but check local regulations. Some areas may have rules on installation, output limits, or noise.
It’s always a good idea to make sure your setup complies with safety codes. That way, you avoid any unexpected issues down the road.
How Do DIY Solar Generators Compare to Commercial Models?
DIY solar generators cost less and let you customize. But commercial models offer higher efficiency, better warranties, and safety certifications.
You’ll trade convenience and reliability for flexibility and savings when building your own. It’s really about what matters most to you—saving money or having a plug-and-play system.
Conclusion
Building your DIY solar generator is like planting a seed in a vast garden of energy—small steps today grow into powerful, sustainable light tomorrow. By gathering your parts and assembling them carefully, you’re setting the foundation for something truly impactful.
Maintaining your creation is just as important. You’re not just harnessing the sun’s power; you’re cultivating independence and resilience. Just like a gardener tends to their plants, you’ll nurture your generator to ensure it thrives.
With a little care, your DIY solar power generator will shine bright whenever you need it most. This simple project empowers you to embrace renewable energy, reduce your carbon footprint, and enjoy reliable, off-grid power. So, start building today and watch your sustainable energy solution grow strong and steady!