Do All Solar Lights Have Batteries and How to Replace Them
Most solar lights do have built-in rechargeable batteries that store energy for nighttime use, though some use supercapacitors instead. These batteries are essential because they hold the power collected from the sun during the day and release it when it gets dark.
Without them, solar lights wouldn’t be able to shine at night.
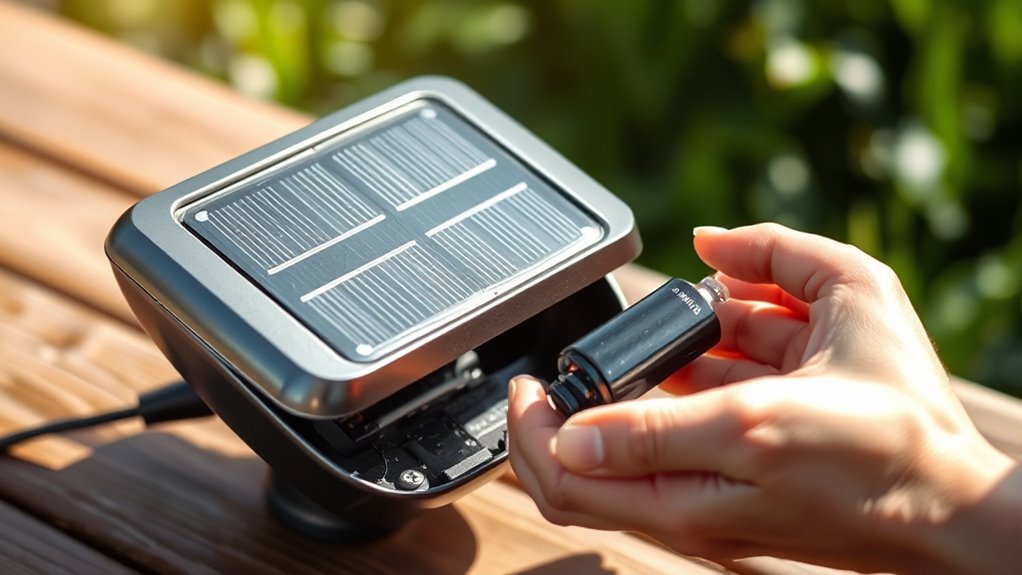
If you notice your solar light dimming or flickering, it’s probably time to replace the battery. Don’t worry—it’s usually a simple fix. Just turn off the light, open the battery compartment, remove the old batteries, and pop in new ones that match the original type.
Taking good care of the battery can help keep your solar light shining bright for longer.
There’s actually a bit more to learn about maintaining these batteries to make sure your lights last as long as possible.
Key Takeaways
- Most solar lights have built-in rechargeable batteries to store energy and power the light at night.
- Some models use supercapacitors instead of batteries, but these are less common.
- Signs batteries need replacement include dimming, flickering, or reduced illumination duration.
- To replace batteries, turn off the light, open the compartment, remove old batteries, insert new ones, and close the compartment.
- Maintain battery life by cleaning panels, avoiding extreme temperatures, protecting from harsh weather, and replacing batteries promptly.
It’s pretty straightforward once you get the hang of it! Just keep an eye on how bright your light stays, and you’ll know when it’s time for a swap.
Do All Solar Lights Have Batteries?
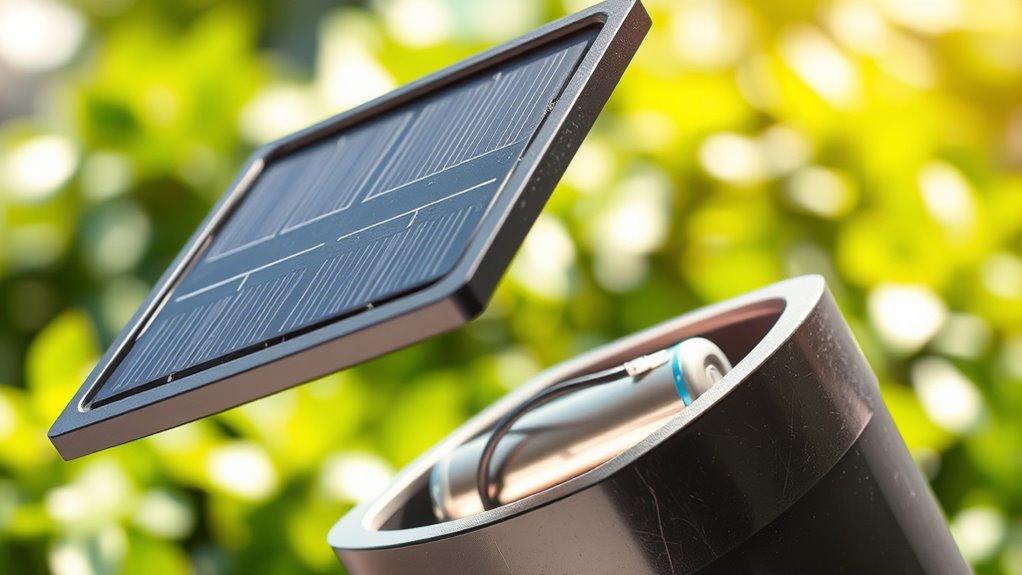
Do all solar lights come equipped with batteries? Yes, almost all solar lights have batteries because they store the energy collected from the sun during the day. Without batteries, the solar light wouldn’t work at night when you need it most.
However, some specialized solar lights might use supercapacitors instead of traditional batteries, but these are less common. When you buy a solar light, you can expect it to include a rechargeable battery inside.
This battery powers the light after sunset, so it’s vital to verify the battery is functioning well. If the light dims or stops working, the battery might need replacing.
What Types of Batteries Do Solar Lights Use?
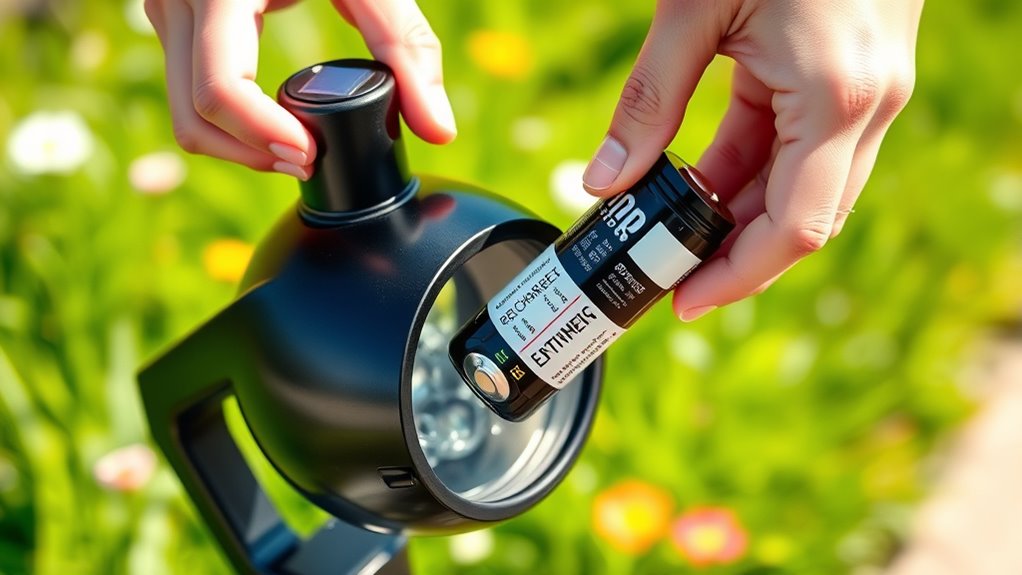
Although solar lights rely on batteries to store energy, the types of batteries they use can vary considerably. You’ll mainly find rechargeable batteries designed to handle daily charging cycles.
Here’s a quick look at common types you might encounter:
| Battery Type | Voltage | Typical Use |
|---|---|---|
| NiMH | 1.2V | Most common in budget lights |
| NiCd | 1.2V | Older models, durable |
| Li-ion | 3.7V | High capacity, premium lights |
| LiFePO4 | 3.2V | Long lifespan, stable voltage |
| Alkaline (non-rechargeable) | 1.5V | Rare, not recommended |
Knowing these helps you choose the right replacements and keep your solar lights shining bright. So, next time you need new batteries, you’ll know exactly what to look for!
How to Tell When Your Solar Light Battery Needs Replacing
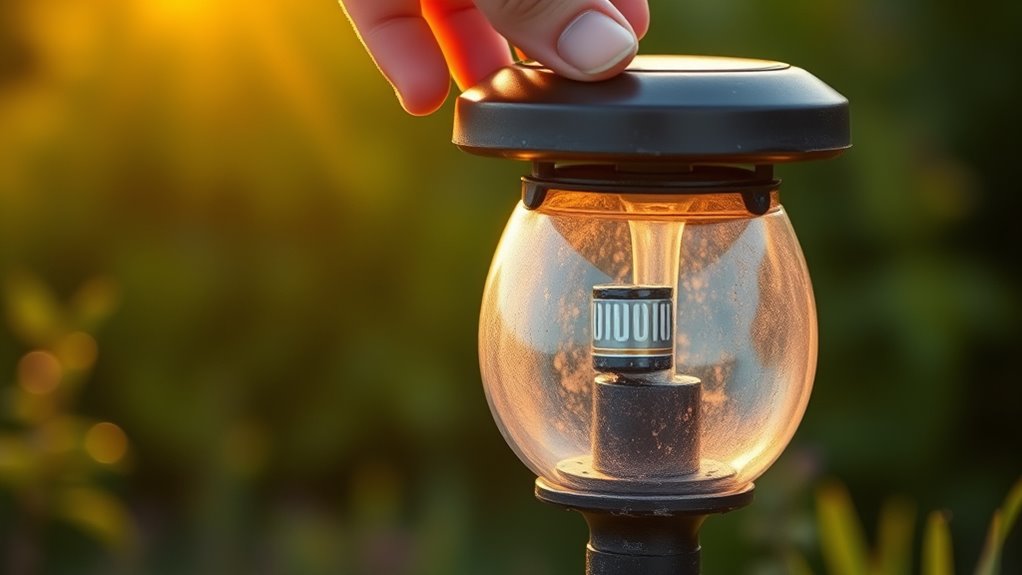
You’ll notice your solar light battery needs replacing when the light starts dimming or flickering.
If the illumination doesn’t last as long through the night, that’s another clear sign.
Paying attention to these changes helps you keep your solar lights working efficiently.
Dimming Or Flickering Light
When your solar light starts dimming or flickering, it’s a clear sign that the battery might be losing its charge capacity. You’ll notice the light isn’t as steady or bright as before, often flickering or dimming intermittently.
This happens because the battery can no longer hold enough power to supply a consistent current. Before replacing the battery, check for other causes like loose connections or dirt on the solar panel.
But if those are fine, the battery is likely the issue. Replacing it will restore your light’s full brightness and steady glow.
Keep in mind, this behavior often precedes complete battery failure, so addressing it early saves you from sudden outages in your solar lighting.
Reduced Nighttime Illumination
How can you tell if your solar light battery is losing its ability to keep your outdoor space well-lit at night? One clear sign is reduced nighttime illumination.
If your solar light shines noticeably dimmer or only stays on for a short time after dark, the battery likely can’t hold a full charge anymore. Over time, rechargeable batteries degrade and lose capacity, so your lights won’t perform as they used to.
To confirm, observe if the light’s brightness fades much earlier than usual or if it doesn’t reach its usual intensity. When you notice these changes, it’s a good idea to replace the battery.
Swapping out the old battery will restore your solar light’s brightness and guarantee your outdoor area stays properly illuminated all night.
Replacing Batteries in Solar Lights: Step-by-Step Guide
Although solar lights are designed to be low-maintenance, their batteries eventually lose charge and need replacing to keep your lights working efficiently.
Here’s a simple step-by-step guide to help you swap out old batteries and brighten your nights again.
| Step | Action | Emotion |
|---|---|---|
| 1 | Turn off the light | Cautious |
| 2 | Open the battery compartment | Curious |
| 3 | Remove old batteries | Relieved |
| 4 | Insert new batteries | Hopeful |
| 5 | Close compartment and test | Satisfied |
How to Pick the Right Replacement Battery
Replacing the batteries in your solar lights renews their performance, but choosing the right replacement battery makes all the difference in how well they work afterward.
First, check the original battery’s size and type—most solar lights use NiMH or NiCd rechargeable batteries, often AA or AAA sizes. Match the voltage exactly; common options are 1.2V cells.
Avoid mixing chemistries or voltages, as this can damage your light or reduce efficiency. Also, select batteries with similar or higher capacity (mAh) for longer run time.
Look for reputable brands to ensure reliability and longer life. Finally, confirm the battery fits your solar light’s compartment without forcing it.
Taking these steps helps you pick the perfect replacement, so your solar lights shine bright and last.
Keep Your Solar Light Batteries Working Longer
To keep your solar light batteries working longer, you should regularly clean the solar panel and avoid exposing the lights to extreme temperatures. Dirt and debris block sunlight, reducing charging efficiency, so wipe the panel with a damp cloth every few weeks.
Regularly clean your solar panels and protect lights from extreme temperatures to boost battery life and charging efficiency.
Extreme heat or cold can damage the batteries, so place your solar lights in areas with moderate climate exposure. Also, turn off the lights during extended periods of bad weather to prevent unnecessary battery drain.
If your solar light has a switch, use it to save energy when not in use. Finally, replace old batteries promptly to maintain the best performance.
With these simple steps, you’ll extend your solar lights’ battery life and keep them shining bright for longer.
Frequently Asked Questions
Can Solar Lights Work Without Sunlight Exposure?
No, solar lights won’t work without sunlight because they rely on solar panels to charge their batteries during the day.
Without sunlight, they can’t store energy, so they won’t turn on at night for you. It’s pretty straightforward!
Are Solar Lights Waterproof for Outdoor Use?
Yes, most solar lights are waterproof for outdoor use, but you should check the IP rating before buying.
You’ll want to confirm they can handle rain and moisture to keep them working properly year-round. It’s better to be safe than sorry when it comes to weather protection.
How Long Do Solar Lights Typically Last?
You’ll find solar lights typically last around 2 to 5 years, depending on battery quality and exposure.
With proper care, you can extend their life, keeping your outdoor spaces beautifully lit for longer than you expect.
Can Solar Lights Be Recycled or Disposed of Safely?
Yes, you can recycle solar lights, but you should remove and recycle the batteries separately.
Make sure to dispose of the plastic and metal parts according to your local recycling guidelines. This way, you guarantee a safe and eco-friendly disposal.
Do Solar Lights Affect Local Wildlife or Insects?
Imagine fireflies dimming near your garden lights—solar lights can disrupt local wildlife and insects by confusing their natural behaviors.
You should choose eco-friendly options with warm LEDs to minimize this impact and protect nighttime ecosystems.
It’s really about finding a balance that lets you enjoy your garden without disturbing the little creatures that live there.
Conclusion
Just like the sun fuels your solar lights, their batteries keep the glow alive when darkness falls. Not all solar lights hide the same kind of battery, but when yours dims, it’s time to swap out the old for fresh energy.
By choosing the right replacement and caring for it well, you’ll keep your outdoor sparkle shining bright. It’s all about turning night into a gentle dance of light, powered by your hands and the sun’s endless gift.
Remember, not all solar lights have the same battery type, so knowing which battery your light uses is key to a smooth replacement. Regularly replacing and maintaining these batteries ensures your solar lights keep working efficiently, giving you reliable illumination.
So, if your solar lights start to fade, don’t worry—it’s probably time to replace the battery. This simple step keeps your garden or pathway glowing beautifully, harnessing the sun’s power while you enjoy hassle-free, eco-friendly lighting all year round.