10 Steps to Wire a Solar Panel to a Battery
To wire a solar panel to a battery, start by gathering all the necessary tools and verifying the panel’s positive and negative wires with a multimeter. This step is crucial to ensure you get the connections right from the beginning.
Next, choose a battery that matches your solar panel’s voltage and energy needs to avoid any compatibility issues.
Once you have your battery, connect the solar panel to a charge controller. This device regulates the voltage and current coming from the panel to protect your battery.
Then, link the charge controller to the battery, making sure to maintain correct polarity and secure fittings to prevent any loose connections.
Use proper connectors and organize the wiring neatly to keep everything safe and efficient.
After setting up, test the system’s voltage and check for any wiring issues.
Lastly, don’t forget to maintain your battery regularly to extend its lifespan.
Ready to explore detailed steps and safety tips?
Key Takeaways
- Gather all tools, verify solar panel and battery compatibility, and identify panel wires using a multimeter for correct polarity. This step is crucial to avoid any mishaps later on.
- Connect the solar panel to the charge controller’s PV input, then connect the battery to the controller’s BAT terminals, maintaining correct polarity. Double-check those connections before moving on.
- Use proper connectors, insulate wires, and secure all connections to ensure safety and prevent damage or loose wiring. Taking your time here can save you a lot of trouble down the road.
- Test the system voltage and current with a multimeter, verifying proper charging and checking for wiring or connection issues. If something looks off, don’t hesitate to recheck everything.
- Regularly maintain battery connections, clean terminals, monitor voltage, and follow safety protocols to ensure system longevity and performance. Keeping up with maintenance keeps your system running smoothly.
Gather Your Tools and Materials
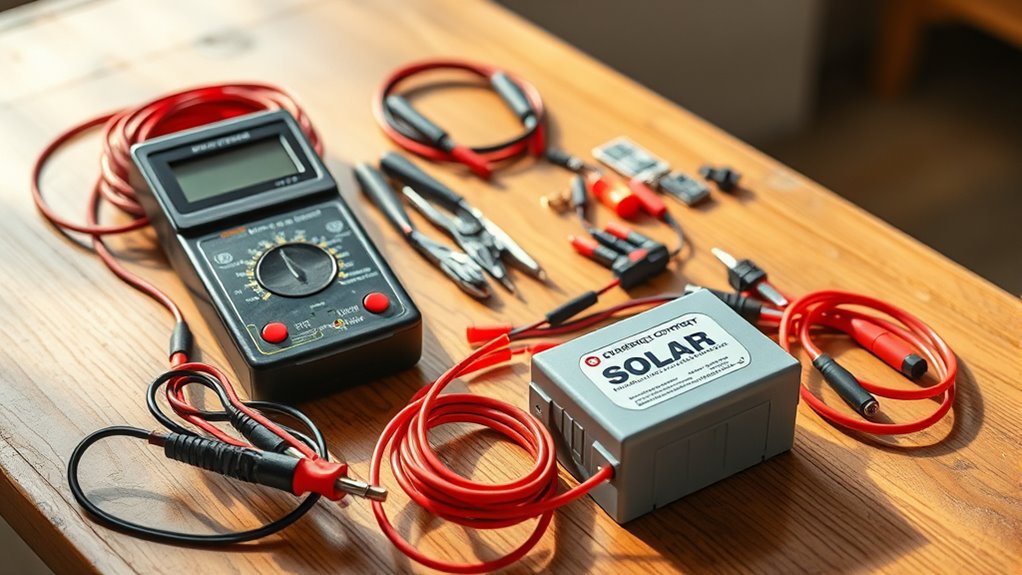
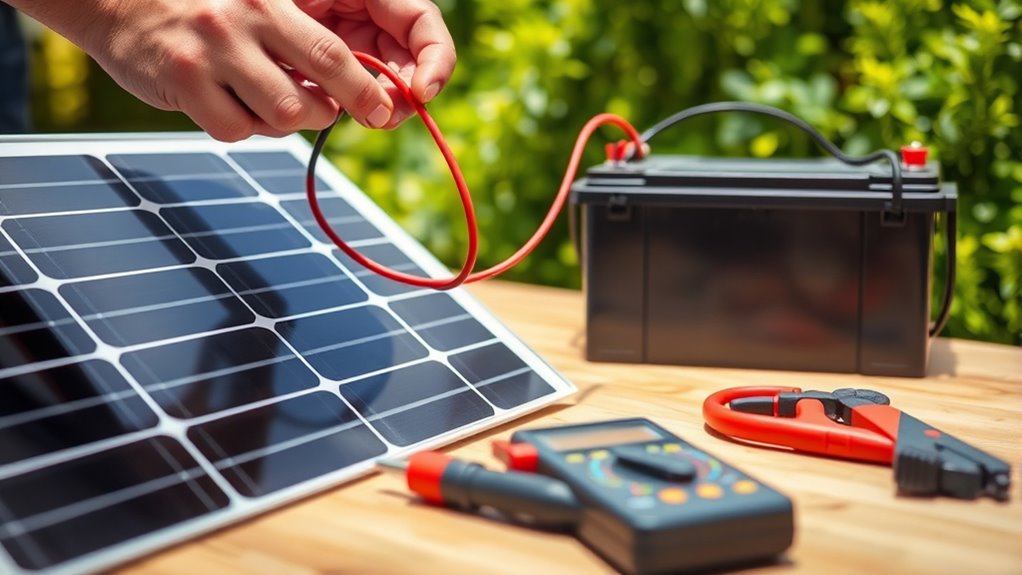
Before you begin wiring your solar panel to a battery, make sure you have all the necessary tools and materials on hand. You’ll need a solar panel, a compatible battery, and appropriate wiring—usually insulated copper wires.
Ensure you have your solar panel, compatible battery, and insulated copper wires ready before starting wiring.
Grab a charge controller to prevent overcharging your battery. Don’t forget wire cutters and strippers for clean connections, plus a screwdriver for terminal screws.
Having a multimeter handy helps you test voltage and continuity later. Safety gear, like gloves and safety glasses, protects you during the process.
Organize everything in one spot to avoid interruptions. Double-check the specifications of your components to guarantee compatibility.
Preparing properly now saves time and prevents mistakes when you start the actual wiring. With your tools and materials ready, you’re set to move on confidently.
Identify Positive and Negative Solar Panel Wires
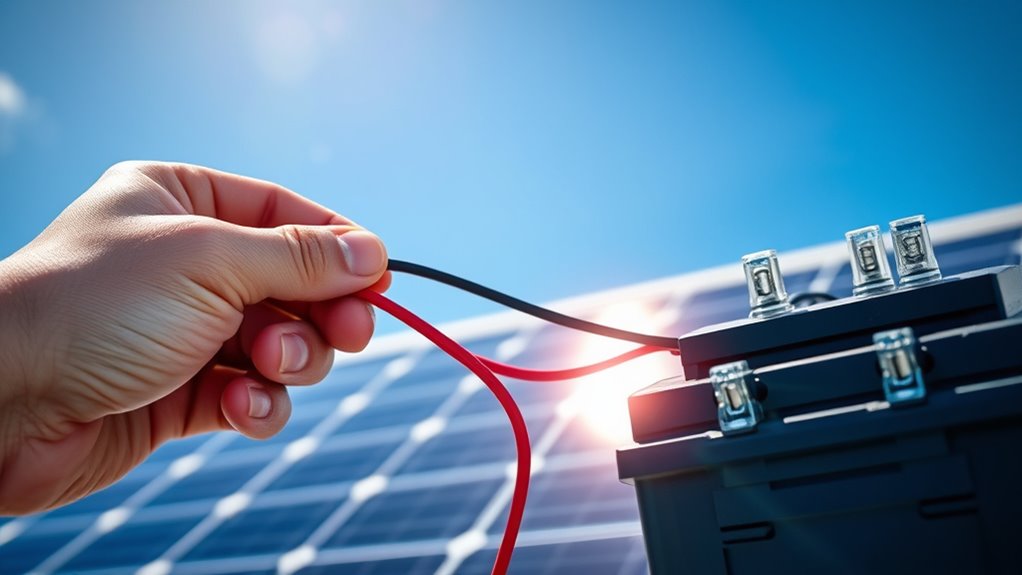
Before connecting your solar panel, you’ll need to identify the positive and negative wires. They’re usually marked by color codes like red for positive and black for negative.
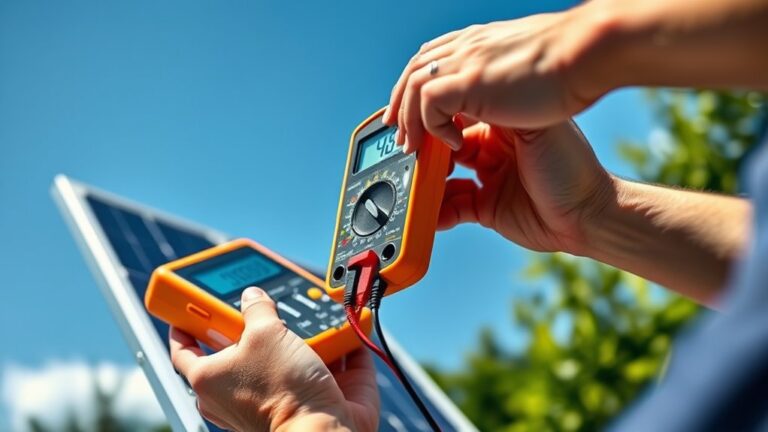
If the colors aren’t clear, don’t worry. You can use a multimeter to verify the polarity safely.
This step guarantees you wire your system correctly. It also helps you avoid any damage.
Wire Color Codes
When you start connecting your solar panel, you’ll need to recognize the wire color codes to correctly identify the positive and negative connections. Properly identifying these wires helps prevent damage and ensures your system works efficiently.
Typically, manufacturers follow standard color conventions that you can rely on.
Here are common wire color codes to watch for:
- Red: Positive (+) wire
- Black: Negative (−) wire
- Blue: Sometimes used for positive in some panels
- Green or Green with Yellow Stripe: Ground wire
- White: Occasionally used as negative or neutral in certain setups
Always double-check the panel’s documentation, as color codes can vary slightly.
Getting these right makes wiring your solar panel to the battery safer and a lot more straightforward.
Polarity Verification Methods
Knowing the wire color codes gives you a good starting point, but it’s important to verify the polarity of your solar panel wires to avoid mistakes.
First, use a multimeter set to measure DC voltage. Place the probes on the wires while the panel is exposed to sunlight. If the meter shows a positive reading, the red probe is on the positive wire and the black probe is on the negative.
If the reading is negative, just swap the probes to identify the correct polarity. Another method is checking for markings or symbols near the wire terminals, often a “+” or “-” sign.
Always double-check before connecting to your battery to prevent damage or short circuits. This simple step guarantees your wiring is safe and effective.
Choose the Right Battery for Your Solar Panel Setup
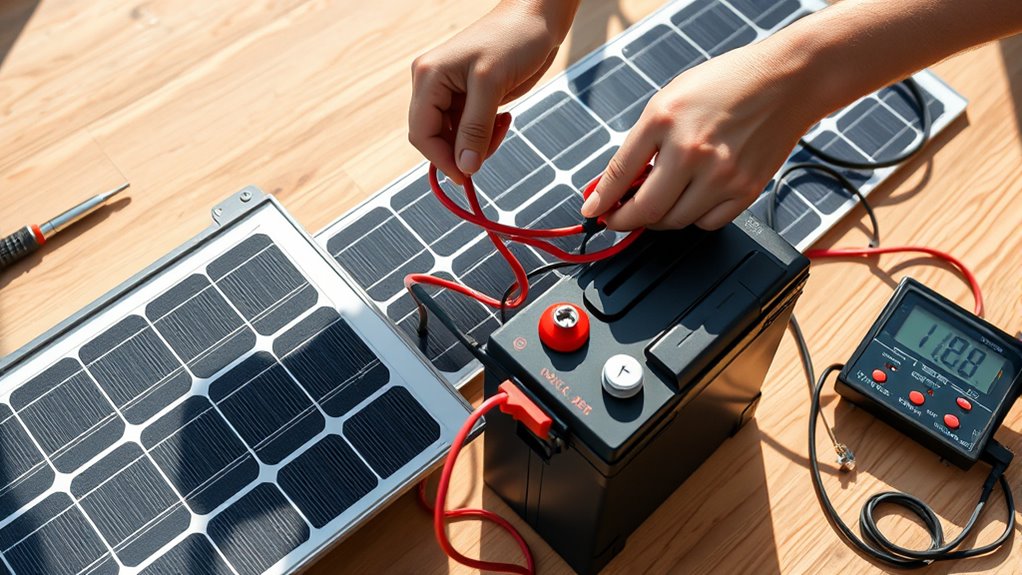
You’ll want to pick a battery type that fits your solar panel’s output and your energy needs. Make sure the battery’s capacity and voltage match your system to avoid any issues.
Also, consider the battery’s lifespan and maintenance requirements to keep everything running smoothly. It’s all about finding the right balance that works for you.
Battery Types Overview
Choosing the right battery for your solar panel setup can make all the difference in performance and longevity. You need to understand the main battery types to pick one that fits your needs and budget.
Here are five common types you’ll encounter:
- Lead-Acid (Flooded): Affordable and reliable but requires regular maintenance.
- Sealed Lead-Acid (AGM/Gel): Maintenance-free and safer but slightly more expensive.
- Lithium-Ion: Lightweight, long-lasting, and efficient with a higher upfront cost.
- Nickel-Based: Less common for solar use, mainly for specialized applications.
- Flow Batteries: Emerging tech with great scalability and lifespan but currently pricey.
Knowing these types helps you make an informed choice for your solar power system’s success. It’s all about matching what you need with what’s available.
Capacity and Voltage Matching
Although selecting the right battery type is essential, matching your battery’s capacity and voltage to your solar panel system is equally important to guarantee peak performance. First, check your solar panel’s voltage output—commonly 12V, 24V, or 48V—and ensure your battery matches this voltage to prevent damage or inefficiency.
Next, consider the battery’s capacity, measured in amp-hours (Ah). This determines how much energy your battery can store and deliver. You want a capacity that supports your energy needs without oversizing, which can be costly and inefficient.
Calculate your daily energy consumption and pick a battery that can handle this load with some margin. Proper capacity and voltage matching ensures your system runs smoothly, charges efficiently, and prolongs battery life.
Lifespan and Maintenance
How long your battery lasts and how much upkeep it needs can make a big difference in your solar setup’s overall efficiency and cost. Choosing a battery with a longer lifespan reduces replacements, saving you money and time.
Maintenance varies by battery type—some need regular water refills, while others are maintenance-free. It’s good to know what kind of care your battery requires to keep it running smoothly.
To keep your battery in top shape, follow these tips:
- Regularly check for corrosion on terminals
- Keep the battery clean and dry
- Monitor charge levels to avoid deep discharges
Also, store batteries in a cool, shaded area. And don’t forget to follow manufacturer guidelines for maintenance schedules. It all helps your battery last longer and perform better!
Connect the Charge Controller to Your Solar Panel and Battery
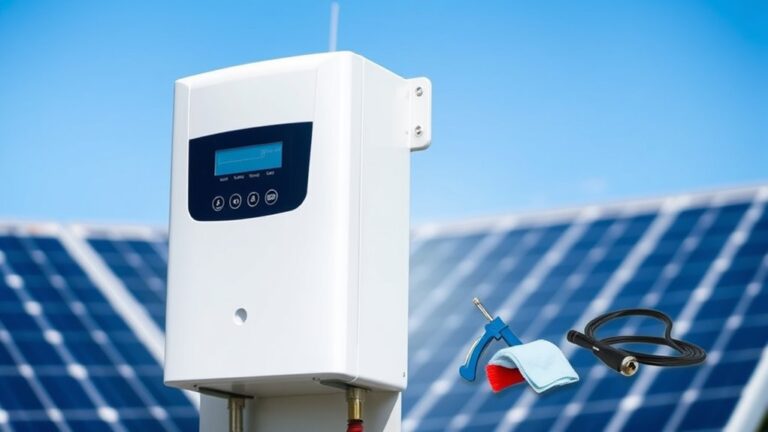
Before connecting your charge controller, make sure you’ve identified the correct terminals for the solar panel and battery inputs. The charge controller acts as the middleman, regulating power flow to prevent overcharging.
Start by connecting the solar panel wires to the charge controller’s solar input terminals, usually marked with a solar panel icon or labeled “PV.” Next, connect the battery cables to the battery terminals on the controller, often labeled “BAT.”
Pay close attention to polarity—positive to positive, negative to negative—to avoid damage. Once connected, the charge controller will monitor and adjust the voltage and current, protecting your battery and ensuring efficient charging.
Double-check all connections before powering up to confirm everything’s secure and correctly placed. It’s always better to be safe than sorry!
Use Proper Connectors and Secure Your Wiring
Since secure and reliable connections are essential for your solar setup, using the proper connectors guarantees efficient power transfer and prevents hazards like corrosion or shorts.
Secure, reliable connections with proper connectors ensure efficient power transfer and prevent corrosion or shorts.
Choose connectors designed for solar applications, such as MC4 connectors, to assure weather resistance and durability. Make sure your wiring is tight and well-insulated to avoid any accidental disconnections or exposure.
To secure your wiring effectively, use cable ties or clamps to bundle and fasten wires neatly. Also, avoid sharp bends or kinks in the cables—they can cause problems down the line.
Keep wires away from heat sources or moving parts to prevent damage. It’s a good idea to label each wire clearly for easy identification.
Finally, double-check that connectors fit snugly and lock in place. Following these steps helps keep your system safe and running smoothly.
Test Your Solar Panel and Battery Connections
Although you’ve securely connected your solar panel and battery, you’ll want to test the system to verify everything works correctly and safely. Start by using a multimeter to check the voltage at the battery terminals. With sunlight hitting the panel, the voltage should be within the expected range, typically around 12 to 18 volts for a 12V system.
Next, measure the current output from the solar panel to ensure it matches the panel’s rated amperage. Confirm the battery is charging by monitoring the voltage increase over time. Also, inspect all connections visually for any signs of loose wires or corrosion.
Testing now helps you catch any issues early, guaranteeing your solar setup performs efficiently and lasts longer. It’s a simple step that really pays off in the long run.
Troubleshoot Common Wiring Issues
When your solar panel system isn’t charging the battery as expected, you’ll want to quickly identify and fix common wiring issues. Start by checking all connections for tightness and corrosion. These things can block current flow, which messes up your charging.
Next, verify that the polarity is correct. If you accidentally reverse the positive and negative wires, the system won’t charge at all. Also, take a look at the fuse or circuit breaker to make sure it hasn’t blown or tripped.
Don’t forget to inspect the wires themselves. Damaged or loose terminals can interrupt the circuit and cause problems. And finally, confirm your charge controller is properly connected. This device regulates voltage and prevents battery damage, so it’s pretty important.
Common wiring issues include:
- Loose or corroded connections
- Incorrect polarity wiring
- Blown fuses or tripped breakers
- Damaged or frayed wires
- Improper charge controller setup
Fix these to get your system charging properly again.
Maintain Your Solar Battery System
How do you guarantee your solar battery system keeps performing at its best? Regular maintenance is key.
Check connections, clean terminals, and monitor battery voltage frequently. It really helps to keep the battery in a cool, dry place to extend its life. Also, avoid overcharging by using a reliable charge controller.
Here’s a simple maintenance checklist:
| Task | Frequency | Tip |
|---|---|---|
| Check connections | Monthly | Tighten loose wiring |
| Clean terminals | Every 3 months | Use a baking soda solution |
| Monitor voltage | Weekly | Keep between recommended levels |
Expand or Upgrade Your Solar Power Setup
Keeping your solar battery system in good shape sets a solid foundation for expanding or upgrading your setup. When you’re ready to boost your system’s capacity or efficiency, plan carefully to match new components with your existing setup.
Think about your energy needs and future goals before making any changes. It really helps to have a clear plan.
Here’s how to expand or upgrade effectively:
- Add more solar panels to increase power generation.
- Install a higher-capacity battery for longer energy storage.
You can also upgrade your charge controller to handle increased input. Using thicker gauge wiring is smart, too—it supports higher current safely.
Don’t forget to integrate a monitoring system. It lets you track performance and troubleshoot easily.
Following these steps guarantees your upgraded solar power system runs smoothly and meets your growing energy demands.
Safety Tips for Wiring Solar Panels and Batteries
Because working with solar panels and batteries involves electricity, you need to prioritize safety at every step. Always wear insulated gloves and safety goggles to protect yourself from electric shocks and sparks.
Make certain the solar panel is covered or disconnected while wiring to prevent accidental current flow. Use properly rated wires and connectors to handle the system’s voltage and current.
Double-check all connections for tightness to avoid loose contacts that can cause overheating. Keep your workspace dry and clear of clutter to reduce the risk of accidents.
Never wire batteries in parallel or series without understanding the implications. Incorrect wiring can damage your system or cause dangerous short circuits.
Finally, consult the manufacturer’s guidelines and local electrical codes to ensure compliance and safety. It’s always better to be safe than sorry!
Frequently Asked Questions
How Do Temperature Changes Affect Solar Panel Efficiency?
You’ll notice solar panels become less efficient as temperatures rise because heat reduces their voltage output. Cooler temperatures help panels perform better, so keeping them cool can boost the energy you get from your system.
It’s pretty interesting how just a change in temperature can make a difference. When it’s hot, the panels don’t work as well, but when it’s cooler, they really shine. So, if you want to get the most out of your solar setup, finding ways to keep the panels cool is a smart move.
Can I Use a Solar Panel to Charge Multiple Batteries Simultaneously?
Think of your solar panel as a river splitting into streams; yes, you can charge multiple batteries simultaneously.
But you’ll need a proper charge controller and wiring setup to guarantee each battery gets the right flow without overloading.
It’s all about making sure everything is balanced and safe. That way, your batteries stay healthy and charge efficiently.
What Is the Lifespan of a Typical Solar Battery?
You can expect a typical solar battery to last around 5 to 15 years, depending on its type and usage.
Proper maintenance and avoiding deep discharges will help you extend its lifespan considerably. Taking good care of your battery really pays off in the long run.
How Do Solar Panels Perform in Cloudy or Rainy Weather?
You might think solar panels stop working in clouds or rain, but they still generate power—just less efficiently. While sunlight’s weaker, your panels can capture diffused light, keeping your system running even on gloomy days.
Are There Any Tax Incentives for Installing Solar Power Systems?
Yes, you can get tax incentives for installing solar power systems, like federal tax credits and state rebates.
Check local programs too, as they often help reduce upfront costs and make solar installation more affordable for you.
It’s definitely worth looking into, since these incentives can save you a good amount of money.
Conclusion
Wiring your solar panel to a battery is like planting a seed—you’re setting the foundation for sustainable energy growth. By following these steps carefully, you’ll guarantee a safe, efficient setup that powers your space reliably.
Remember to double-check your connections and prioritize safety throughout the process. Maintaining your system regularly is key to long-term success.
With patience and attention, your solar setup will keep shining bright and ready for future upgrades. You’ve got this! Proper wiring, safety checks, and regular maintenance ensure your solar panel and battery system runs smoothly and efficiently, giving you dependable renewable energy for years to come.