How Do Bubbles Go on a Solar Cover: Up or Down?
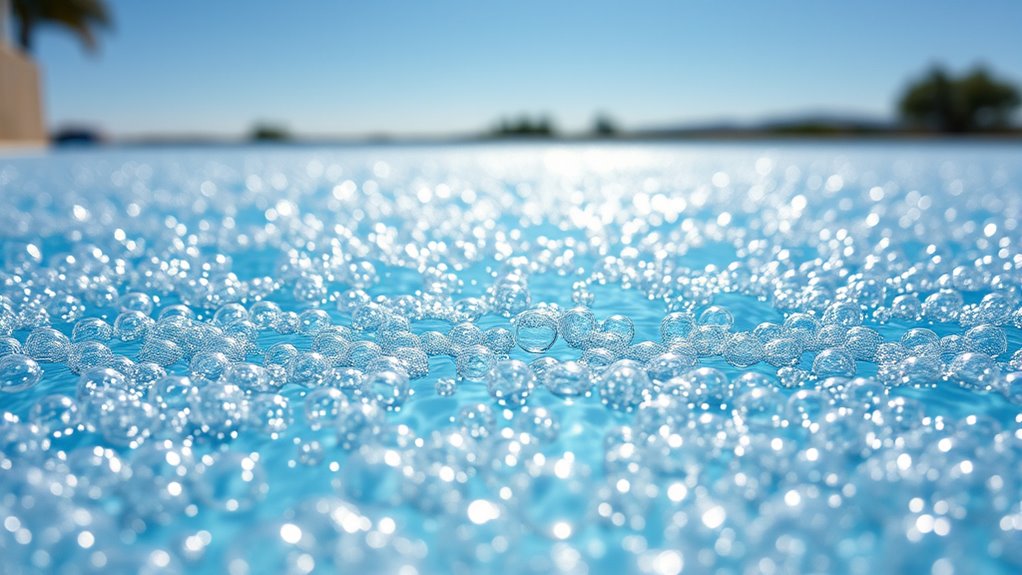
You should always place the bubbles on your solar cover facing down. This simple step is key to trapping heat more effectively and keeping your pool warmer for longer periods.
When the bubbles face down, they create an insulating layer right against the water, which helps retain the warmth.
Plus, having the bubbles on the bottom protects them from direct exposure to the sun, wind, and pool chemicals. This extra protection extends the lifespan of your solar cover and prevents damage that could reduce its effectiveness.
If you place the cover incorrectly, you’ll notice quicker heat loss and less overall efficiency.
So, if you want to get the most out of your solar cover, understanding why bubble direction matters is a great next step. It’s a small detail that makes a big difference!
Key Takeaways
- Bubbles on a solar cover should face down toward the water for optimal heat retention and insulation. This way, the cover works better to keep your pool warm.
- Facing bubbles down also protects them from sun, wind, and chemical damage. That means your cover will last longer and stay in good shape.
- When the bubbles face down, they trap heat more effectively. This helps warm the pool faster and reduces heat loss at the same time.
- If the bubbles face up instead, it lowers the insulation and energy efficiency. So, it’s important to get the orientation right.
- Plus, having the bubbles down prevents debris from building up on the cover. It also helps avoid bubble punctures and wear, keeping the cover durable.
Should Solar Cover Bubbles Face Up Or Down?
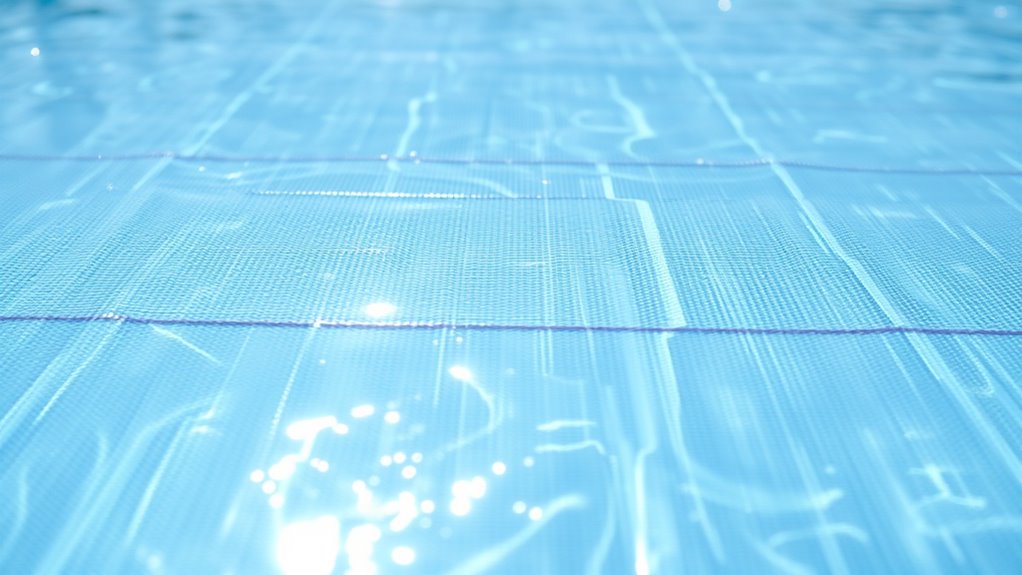
Although it might seem minor, the orientation of the bubbles on your solar cover considerably affects its performance. When you place the cover, you’ll notice one side has the raised bubbles while the other is smooth.
The orientation of your solar cover’s bubbles plays a key role in its heat retention effectiveness.
The bubbles trap heat by creating pockets of air, so you want them positioned thoughtfully. Many believe the bubbles should face up to directly capture sunlight and retain warmth.
This setup helps insulate the water beneath by reducing heat loss through evaporation and convection. However, it’s essential you handle the cover carefully to avoid damaging the bubbles, as punctures reduce effectiveness.
Ultimately, choosing which way the bubbles face influences how efficiently your pool retains heat, so it’s worth paying attention when you lay the cover on your pool.
Why Should Solar Cover Bubbles Face Down?
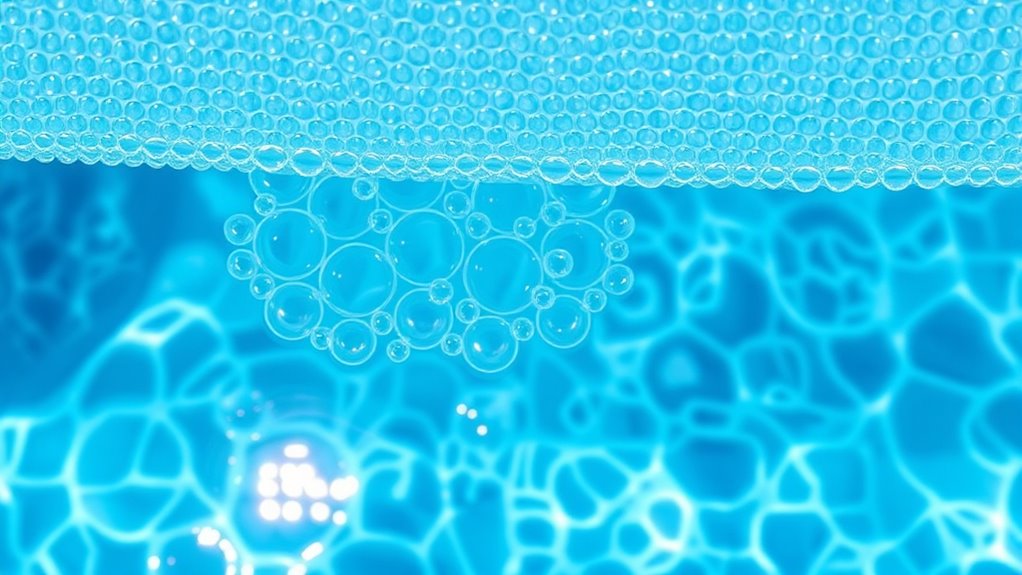
You want the bubbles facing down to trap heat more effectively and keep your pool warm. This orientation also protects the bubbles from damage caused by sun and wind exposure.
Heat Retention Efficiency
When you place the solar cover on your pool, positioning the bubbles facing down considerably boosts heat retention. The bubbles trap heat by creating an insulating layer between the water and the air.
When the bubbles face down, they sit directly against the water’s surface, minimizing heat loss. This close contact helps to retain warmth absorbed during the day and slows down evaporation, which is a major cause of heat loss.
If the bubbles face up, they’re exposed to cooler air and wind, reducing their ability to keep heat in. By ensuring the bubble side faces down, you maximize the cover’s efficiency, keeping your pool warmer for longer and saving energy on heating costs.
This simple step makes a noticeable difference in your pool’s temperature. It’s an easy way to get the most out of your solar cover!
Bubble Protection Purpose
Beyond just trapping heat, having the bubbles face down also protects them from damage caused by sun exposure and pool chemicals. When bubbles face down, the pool water cushions them, reducing wear and tear.
This orientation extends the cover’s lifespan, saving you money on replacements. Plus, it prevents the bubbles from popping prematurely, maintaining effective insulation.
Here’s why bubbles should face down:
| Benefit | Reason | Result |
|---|---|---|
| UV Protection | Water shields bubbles | Less sun damage |
| Chemical Resistance | Bubbles submerged in water | Less chemical exposure |
| Durability | Reduced bubble popping | Longer cover life |
| Heat Retention | Bubbles trap heat efficiently | Warmer pool water |
| Cost Efficiency | Less frequent replacements | Saves money |
How Bubble Direction Impacts Solar Cover Performance
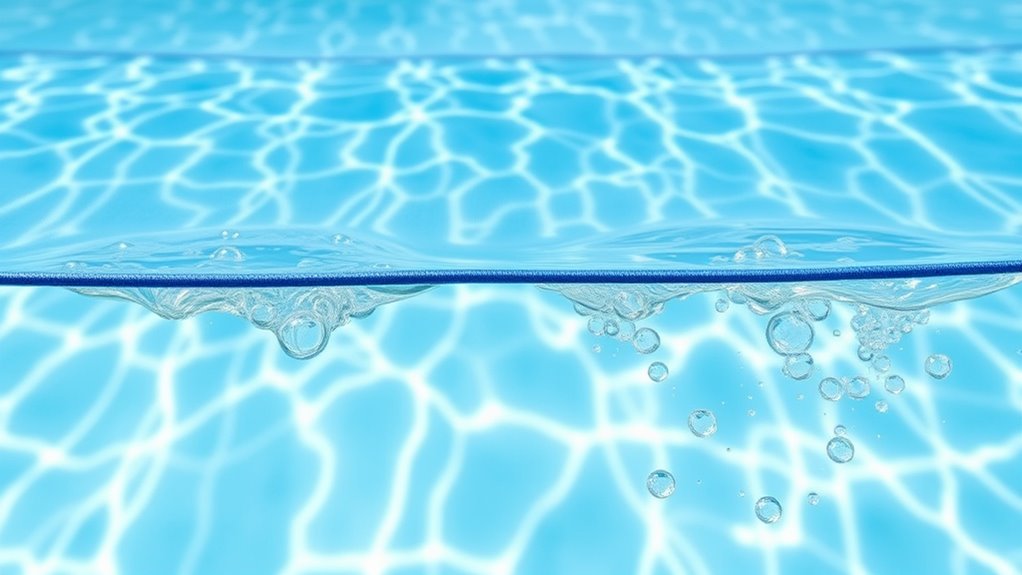
Although it might seem like a minor detail, the direction of the bubbles on your solar cover plays a crucial role in its effectiveness. When you place the bubbles facing down, they trap heat more efficiently by creating a layer of insulation between the cover and the water.
This helps warm your pool faster and retains heat longer. If you position the bubbles facing up, the cover won’t insulate as well, reducing its ability to warm the water and protect against heat loss.
Additionally, downward-facing bubbles prevent debris from collecting inside the bubbles, keeping the cover cleaner and more durable. By making sure the bubbles face down, you maximize your solar cover’s performance, ensuring your pool stays warmer and your energy use stays lower.
Common Mistakes When Positioning Solar Cover Bubbles
Misplacing the bubbles on your solar cover can considerably reduce its ability to warm your pool and keep debris out. Many pool owners accidentally position the bubbly side incorrectly, which limits heat absorption and insulation.
You might also place the bubbles facing down, reducing direct sunlight capture. Or, install the cover unevenly, causing air pockets and inefficient heating.
Sometimes, people forget to remove debris before placing the cover, which can damage the bubbles. Leaving bubbles exposed to sharp edges or rough surfaces can also cause punctures.
Avoiding these mistakes helps maintain your solar cover’s effectiveness. Remember, the bubble side should face down towards the water to trap heat efficiently, while the smooth side faces up to protect the bubbles and reflect sunlight.
Positioning really matters, so take care to align your cover properly.
How To Install And Maintain Your Solar Cover
When you install your solar cover correctly, you’ll maximize its ability to heat your pool and protect it from debris. Start by laying the cover on the pool surface with the bubbles facing down into the water—this traps heat efficiently.
Properly installing your solar cover with bubbles down maximizes heat retention and keeps debris out.
Make sure to smooth out wrinkles so the cover has full contact with the water. This little step really helps with keeping the heat in.
When it’s time to remove the cover, using a cover reel is a smart move. It helps avoid tears and makes handling way easier.
Don’t forget to rinse your cover regularly with fresh water. This washes away dirt and chemicals that can wear down the material over time.
Also, store the cover in a shaded spot when you’re not using it. This keeps the sun from damaging it.
Try not to drag the cover over rough surfaces either—that’s a quick way to get punctures.
Stick to these simple tips and you’ll keep your solar cover working great and lasting longer!
How To Tell When It’s Time To Replace Your Solar Cover
You’ll know it’s time to replace your solar cover when you spot visible wear and tear like cracks or holes.
If you notice your pool isn’t heating as efficiently as before, that’s another clear sign.
Keeping an eye on these issues helps you maintain the best performance.
Visible Wear And Tear
Although solar covers are designed to last, visible wear and tear signals it’s time to contemplate a replacement. You should regularly inspect your cover for signs that it’s no longer protecting your pool effectively.
Look out for cracks or splits in the plastic bubbles, fading or discoloration indicating UV damage, holes or punctures that let debris through, and uneven or peeling edges where the cover no longer seals properly.
These issues reduce the cover’s ability to trap heat and keep your pool clean. If you spot any of these problems, it’s a clear sign that your cover’s lifespan is ending.
Acting promptly can save you from bigger pool maintenance headaches later on. So, keep an eye on your cover and don’t wait too long to make a change!
Declining Heat Efficiency
Visible damage to your solar cover often goes hand in hand with a drop in its ability to retain heat. If you notice your pool water isn’t warming as effectively, it’s a clear sign your cover’s efficiency is declining.
Over time, bubbles can flatten or burst, reducing the cover’s insulation. You might also find the water temperature drops faster overnight or on cloudy days.
When your cover no longer traps heat well, you’re losing energy and increasing heating costs. Regularly check for these signs—if your solar cover isn’t performing, it’s time to replace it.
Waiting too long wastes energy and undermines your pool’s comfort. Replacing your cover guarantees you maintain maximum heat retention and get the most from your solar investment.
Frequently Asked Questions
What Materials Are Solar Covers Typically Made From?
Solar covers are typically made from durable, UV-resistant polyethylene or polypropylene. These materials trap heat effectively, helping you keep your pool warm while resisting damage from sun exposure and chemicals.
You’ll find them lightweight and flexible too. That makes them easy to handle and store when not in use.
Can Solar Covers Help Reduce Pool Chemical Usage?
You’ll save a mountain of chemicals by using solar covers! They reduce evaporation, keeping chlorine and other chemicals in your pool longer.
Are Solar Covers Effective in Cold Climates?
Yes, solar covers can be effective in cold climates by trapping heat and reducing evaporation. You’ll still need to manage ice buildup and may want a thicker cover, but they definitely help extend your pool’s usability.
They work by holding in the warmth your pool gets during the day, which is super helpful when temperatures drop. Just keep an eye on any ice that forms, since that can cause damage if left unchecked.
How Long Do Solar Covers Usually Last?
Solar covers last about 3 to 5 years, like a loyal shield protecting your pool from the sun’s harsh arrows.
You’ll want to check for wear and replace it when it starts losing its magic.
It’s kind of like keeping an eye on an old friend—once it’s tired, it’s time to say goodbye and get a new one.
Can Solar Covers Prevent Debris From Entering the Pool?
Yes, solar covers help prevent debris from entering your pool by acting as a barrier. They keep leaves, dirt, and insects out, making pool maintenance easier.
This means you won’t have to clean your pool as often. It’s a simple way to keep things tidy and save time.
Conclusion
You might worry that placing the bubbles down won’t capture enough sun, but actually, having the bubbles face down traps heat more effectively by insulating your pool water. This setup also protects the bubbles from popping due to sun exposure, extending your cover’s life.
So, always position the bubbles down to maximize warmth and durability. Follow this simple step, and you’ll enjoy a warmer pool and a longer-lasting solar cover.
Remember, the key to getting the most out of your solar cover is placing the bubbles down. This method not only boosts heat retention but also prolongs the cover’s lifespan by shielding those delicate bubbles from the sun’s harsh rays. By doing this, you save money in the long run and keep your pool comfortably warm for swimming season after season. So next time you put on your pool cover, just flip it bubble-side down—you’ll thank yourself later!