
How to Charge Solar Lights Effectively in Shade
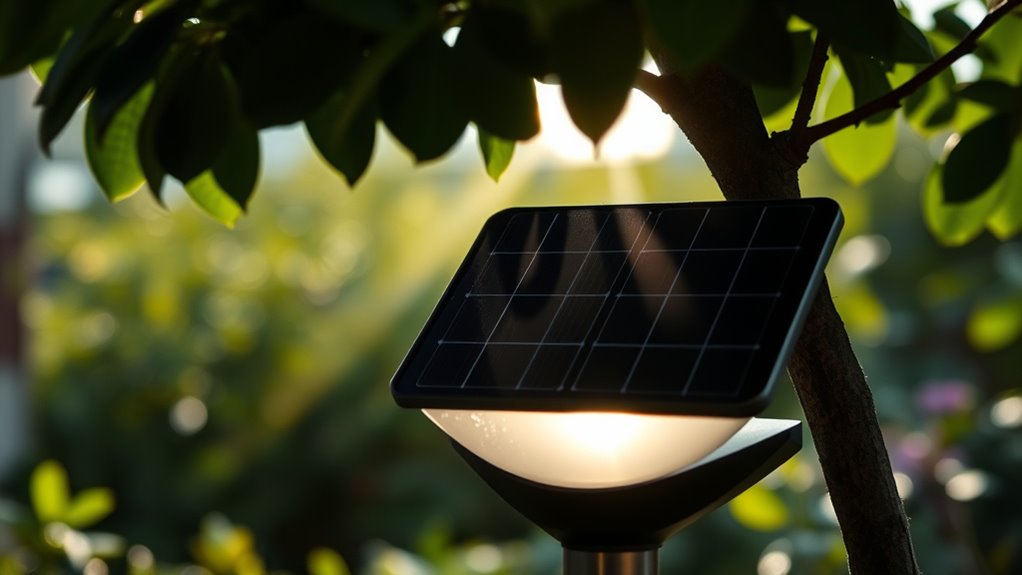
To charge your solar lights effectively in shade, it’s important to find spots where they can soak up the most indirect sunlight. Think about placing them near reflective surfaces like walls or windows that bounce light around. Adjustable mounts angled toward the sun can also help catch those rays even when the direct sun isn’t available.
Choosing solar lights with high-efficiency panels and sensitive sensors designed for low light conditions makes a big difference. Don’t forget to keep the panels clean and free of debris—that way, they can absorb as much light as possible.
When natural light is limited, having backup charging options can keep your lights bright and reliable. There are also some smart tricks to boost charging and maintain your solar lights’ performance over time. It’s all about making the most of the light they do get, even in shady spots!
Key Takeaways
- Place solar lights in the brightest nearby spots with minimal shade to maximize sunlight exposure.
- Choose solar lights with high-efficiency panels and sensitive sensors designed for low-light conditions.
- Adjust panel angles and use reflective surfaces to increase indirect sunlight on solar panels.
- Regularly clean panels and remove debris to maintain optimal solar energy absorption.
- Use backup charging methods during prolonged shade or cloudy weather to ensure consistent lighting.
It’s all about making the most of the light you do have and keeping your panels in tip-top shape!
How Shade Reduces Solar Light Charging Efficiency
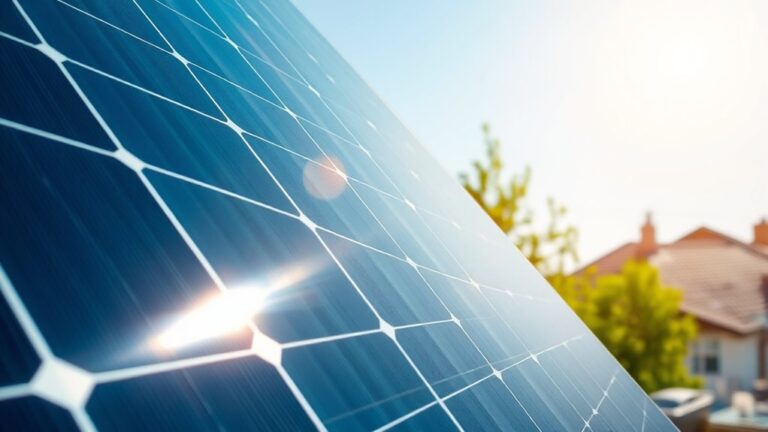
Although solar lights are designed to capture sunlight efficiently, shade considerably limits the amount of energy they can absorb. When your solar panel sits in shade, it receives less direct sunlight, which reduces the energy converted into electricity.
Shade significantly reduces solar panels’ ability to absorb sunlight and generate electricity efficiently.
This means your solar light won’t charge fully or may take much longer to do so. Even partial shading from trees, buildings, or other objects blocks sunlight, hurting performance.
You’ll notice shorter lighting times and dimmer illumination at night. Since solar panels rely on consistent exposure to sunlight, any interruption can markedly impact their efficiency.
To keep your solar lights working well, you need to understand how shade interferes with their charging process and take steps to minimize its effects whenever possible.
Pick Solar Lights That Work Well in Low Light
Since shade can considerably limit how much sunlight your solar lights absorb, choosing models designed to perform well in low-light conditions can make a big difference. Look for solar lights with high-efficiency photovoltaic panels that capture diffuse sunlight better than standard panels.
Lights equipped with larger solar cells or advanced monocrystalline panels are excellent for low-light environments. Also, consider lights with sensitive light sensors that adjust brightness based on available energy, helping them last longer during cloudy or shaded periods.
Some solar lights come with rechargeable batteries designed to store energy more efficiently, ensuring consistent performance even when sunlight is limited. By picking solar lights built for shade, you’ll get more reliable illumination and reduce the frustration of lights that barely charge or dim too quickly.
Position Solar Lights to Charge Better in Shade
You can improve charging by placing your solar lights in the brightest spots you can find nearby. Try using reflective surfaces like white walls or mirrors to bounce more light onto the panels.
Also, adjust the angles of your lights to capture the maximum available sunlight throughout the day. This way, even if they’re in a bit of shade, they’ll soak up as much sun as possible.
Choose Brightest Nearby Spots
When solar lights sit in the shade, they won’t charge as well, so you’ll want to place them in the brightest nearby spots available. Look around your garden or yard for areas that receive the most sunlight during the day, even if it’s just a small patch.
Position your solar lights there to maximize their exposure. Avoid spots shaded by trees, buildings, or fences. Even a few hours of direct sunlight can considerably improve charging.
If you can’t find completely sunny spots, choose locations with filtered light or morning sun, which is less intense but still effective. By placing your solar lights in these brighter nearby locations, you’ll help ensure they store enough energy to shine brightly throughout the night.
Use Reflective Surfaces
Although shade limits direct sunlight, reflective surfaces can boost your solar lights’ exposure by bouncing additional light onto their panels. Position mirrors, white walls, or light-colored fences near your solar lights to maximize this effect.
Even simple items like aluminum foil or shiny metal trays can serve as reflectors, directing more sunlight toward the solar panels. Just be sure the reflective surfaces face the sun to capture and redirect as much light as possible.
This strategy doesn’t replace direct sunlight but considerably improves charging efficiency in shaded areas. Also, regularly check and clean both your solar panels and reflective surfaces to keep the light reflection ideal.
Adjust Light Angles
Since solar panels need to capture as much light as possible, adjusting the angle of your solar lights can substantially boost their charging efficiency in shaded spots. Tilt the panels toward the direction where sunlight filters through, even if it’s indirect.
You might need to experiment with different angles throughout the day to find the best position. Keep in mind, solar panels perform better when facing south (in the Northern Hemisphere) or north (in the Southern Hemisphere).
If your lights come with adjustable mounts, use them to fine-tune the tilt and rotation. Regularly check and readjust as trees or structures grow or change throughout the seasons.
Use Reflectors to Boost Solar Light Charging in Shade
If your solar lights struggle to charge in shaded areas, you can boost their efficiency by using reflectors. Reflectors redirect available sunlight toward the solar panel, maximizing the light it receives even in less sunny spots.
You can create or position reflectors using simple materials that focus light effectively. It’s easier than you might think!
Consider using these reflector options:
- Aluminum foil sheets for a quick, inexpensive reflector
- Mylar blankets for a lightweight, highly reflective surface
- White-painted boards angled toward the sun
- Mirrors strategically placed to catch and reflect sunlight
- Commercial solar reflectors designed specifically for garden lights
Give these a try, and you’ll likely see better charging performance in those shady spots!
Keep Your Solar Lights Clean and Efficient
You should clean your solar lights regularly to keep them working at their best. Use gentle cleaning materials like a soft cloth and mild soap to avoid damaging the panels.
Staying on top of this simple task helps your lights charge more efficiently, even in the shade. It’s an easy way to make sure you get the most out of your solar setup.
Regular Cleaning Routine
Although solar lights rely on sunlight to charge, dirt and debris on their surfaces can block valuable rays and reduce their efficiency. To keep your solar lights working at their best, establish a regular cleaning routine.
Cleaning them frequently ensures they absorb maximum sunlight, even when in shaded areas.
Here’s a quick checklist to maintain your solar lights:
- Inspect for dust and grime buildup weekly
- Wipe solar panels gently with a soft cloth
- Remove leaves, spider webs, and bird droppings
- Check for water spots after rain or watering
- Clean before and after seasonal changes
Sticking to this routine keeps your solar lights bright and charging effectively, no matter the shade. It’s a simple way to make sure they shine as brightly as possible!
Use Appropriate Cleaning Materials
When cleaning your solar lights, choosing the right materials makes a big difference in preserving their efficiency and longevity. Use a soft cloth or sponge to gently wipe the solar panels, avoiding abrasive materials that can scratch the surface.
Mild soap mixed with water works well for removing dirt and grime without damaging the panels. Steer clear of harsh chemicals or solvents, as they can degrade the solar cells and reduce charging capability.
Also, avoid excessive water exposure; a damp cloth is better than rinsing the lights directly. By using appropriate cleaning tools and solutions, you guarantee your solar lights stay clear and function at their best.
This is especially important when charging in shaded areas where every bit of sunlight counts. Taking this simple step helps maintain peak performance over time.
When to Use Backup Charging for Solar Lights
How do you know it’s time to use backup charging for your solar lights? When sunlight is scarce or inconsistent, relying solely on solar power can leave your lights dim or off. Backup charging guarantees your lights stay bright when shade or weather limits solar energy.
Think about using backup charging if you notice things like prolonged cloudy or rainy days reducing sunlight. Or maybe your lights are dimming earlier than usual at night.
Consider backup charging when extended cloudy days or early dimming affect your solar lights’ brightness.
It’s also a good idea if your lights are placed in heavy shade or under dense foliage. You might also see shortened battery life or slow charging from the solar panels.
And if you have increased outdoor activity that needs reliable lighting, backup charging can come in handy.
Using backup charging during these times keeps your solar lights functional and prevents frustration, especially when natural charging isn’t enough. It’s a simple way to make sure your lights don’t let you down.
Frequently Asked Questions
Can Cloudy Weather Affect Solar Light Charging in Shade?
Yes, cloudy weather reduces the sunlight your solar lights get, especially in shade, so they charge slower.
You’ll notice dimmer or shorter-lasting light. So, placing them in the brightest spot possible helps maximize charging.
How Long Do Solar Light Batteries Typically Last?
Solar light batteries typically last between 1 to 3 years, depending on usage and battery type.
You’ll want to replace them when you notice dimmer light or shorter run times. That way, your lights stay bright and effective.
Are There Specific Brands Known for Shade-Efficient Solar Lights?
You’ll find brands like Sunforce and Gama Sonic known for shade-efficient solar lights. They use advanced panels and batteries that capture lower light levels, helping your lights stay bright even when direct sunlight is limited.
Pretty handy, right? Especially if you have spots in your yard that don’t get much sun. These brands really focus on making sure your lights work well, no matter the shade.
Can Solar Lights Be Charged Using Artificial Light?
You can charge solar lights using artificial light, but you won’t get full power, full brightness, or full runtime.
Artificial sources work, but they’re weaker, slower, and less effective than natural sunlight for charging solar lights. So, while it’s possible, it’s not the best option if you want your lights to shine their brightest.
How Do Temperature Changes Impact Solar Light Performance?
Temperature changes impact your solar lights by affecting battery efficiency. Cold weather slows down charging and reduces runtime.
On the other hand, extreme heat can actually damage the batteries. You’ll likely notice performance drops when the temperatures get harsh.
Conclusion
Charging solar lights effectively in the shade takes a bit of strategy. Imagine your backyard with tall trees casting shadows. By choosing low-light solar lights and placing reflective panels nearby, you can boost their charging.
Keeping them clean guarantees they soak up every bit of sunlight. If needed, you might even top them off with a quick plug-in charge.
With these steps, your shaded garden can still glow brightly all night. Remember, optimizing solar lights in shade means focusing on light absorption and clever placement. This way, even in less sunny spots, your solar lights will charge well and shine brightly through the night.


6 Comments